
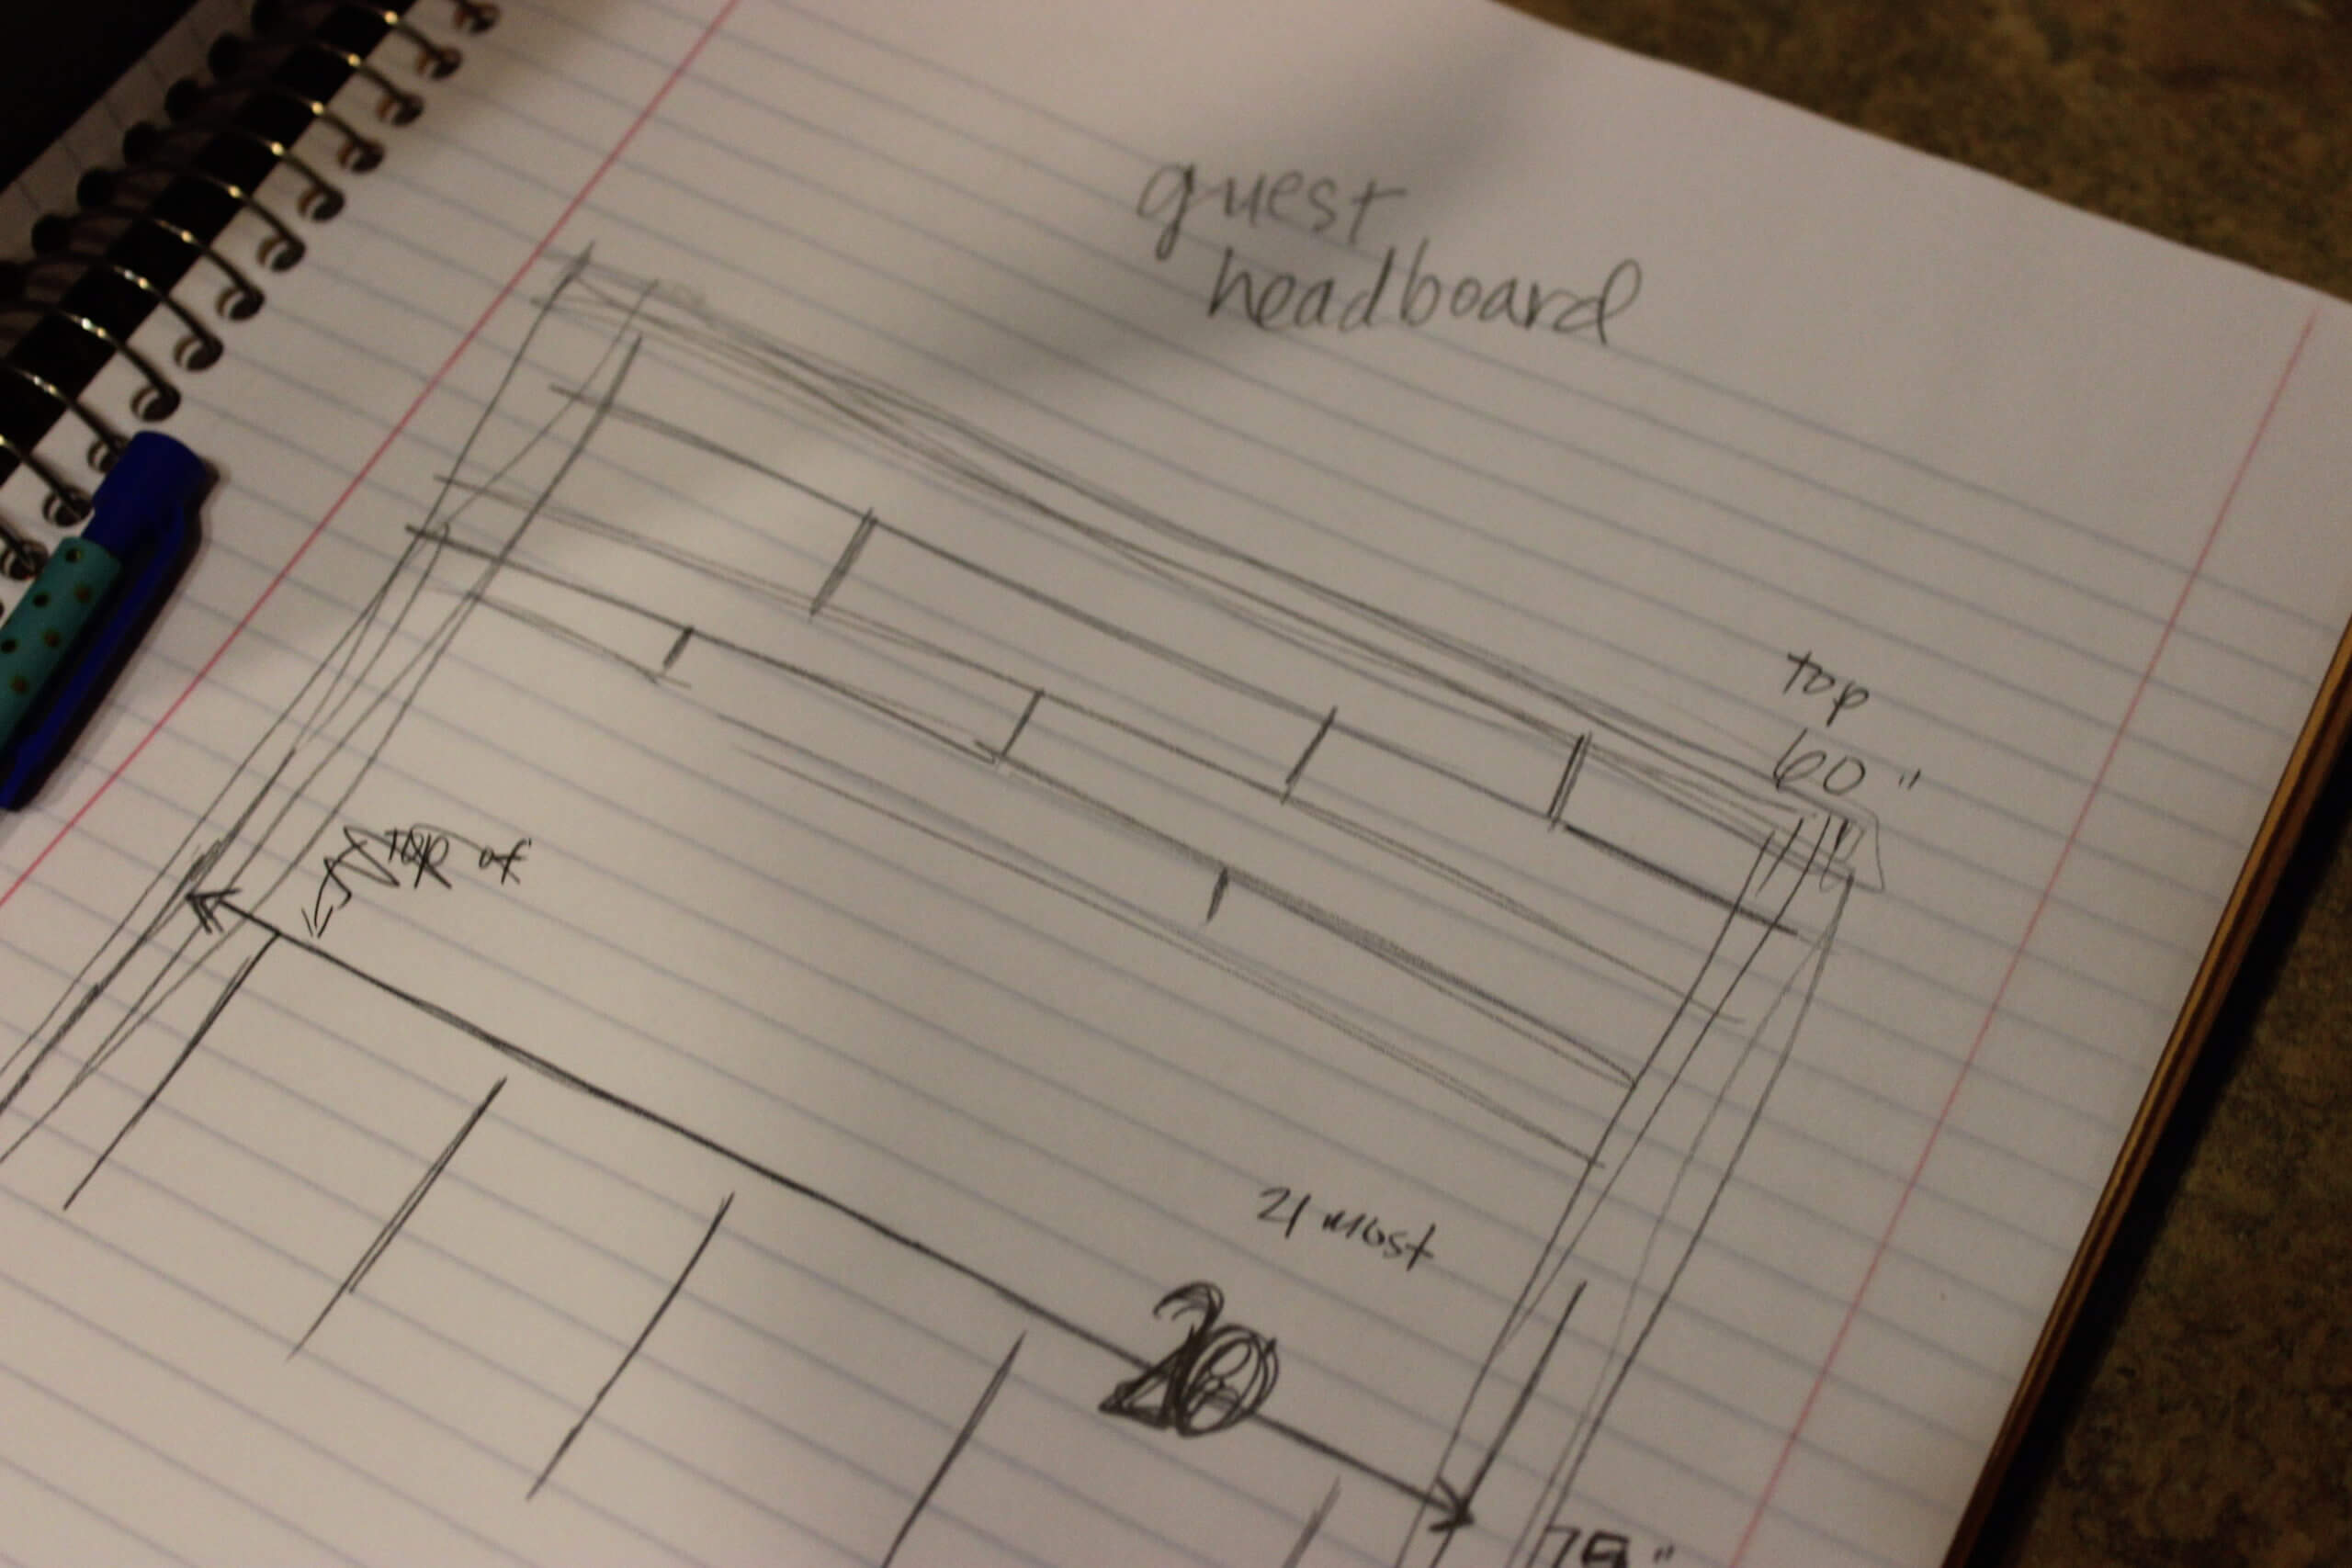
We are so lucky to have found a home in Arizona that has 4 bedrooms & is within our budget. We love having a guest room because it makes it so much easier for people to visit us & feel comfortable having their own space. Pinterest sucks me in every time & I always end up at either Tattoos or Pallets. I knew that we could make a headboard for hardly anything & after selling the current bed set – we’d be all profit. I sketched out a really basic plan for how I thought it would be best to build (based off of the frame we have, other pallet headboards I’d read about on Pinterest & Chad’s ideas.)
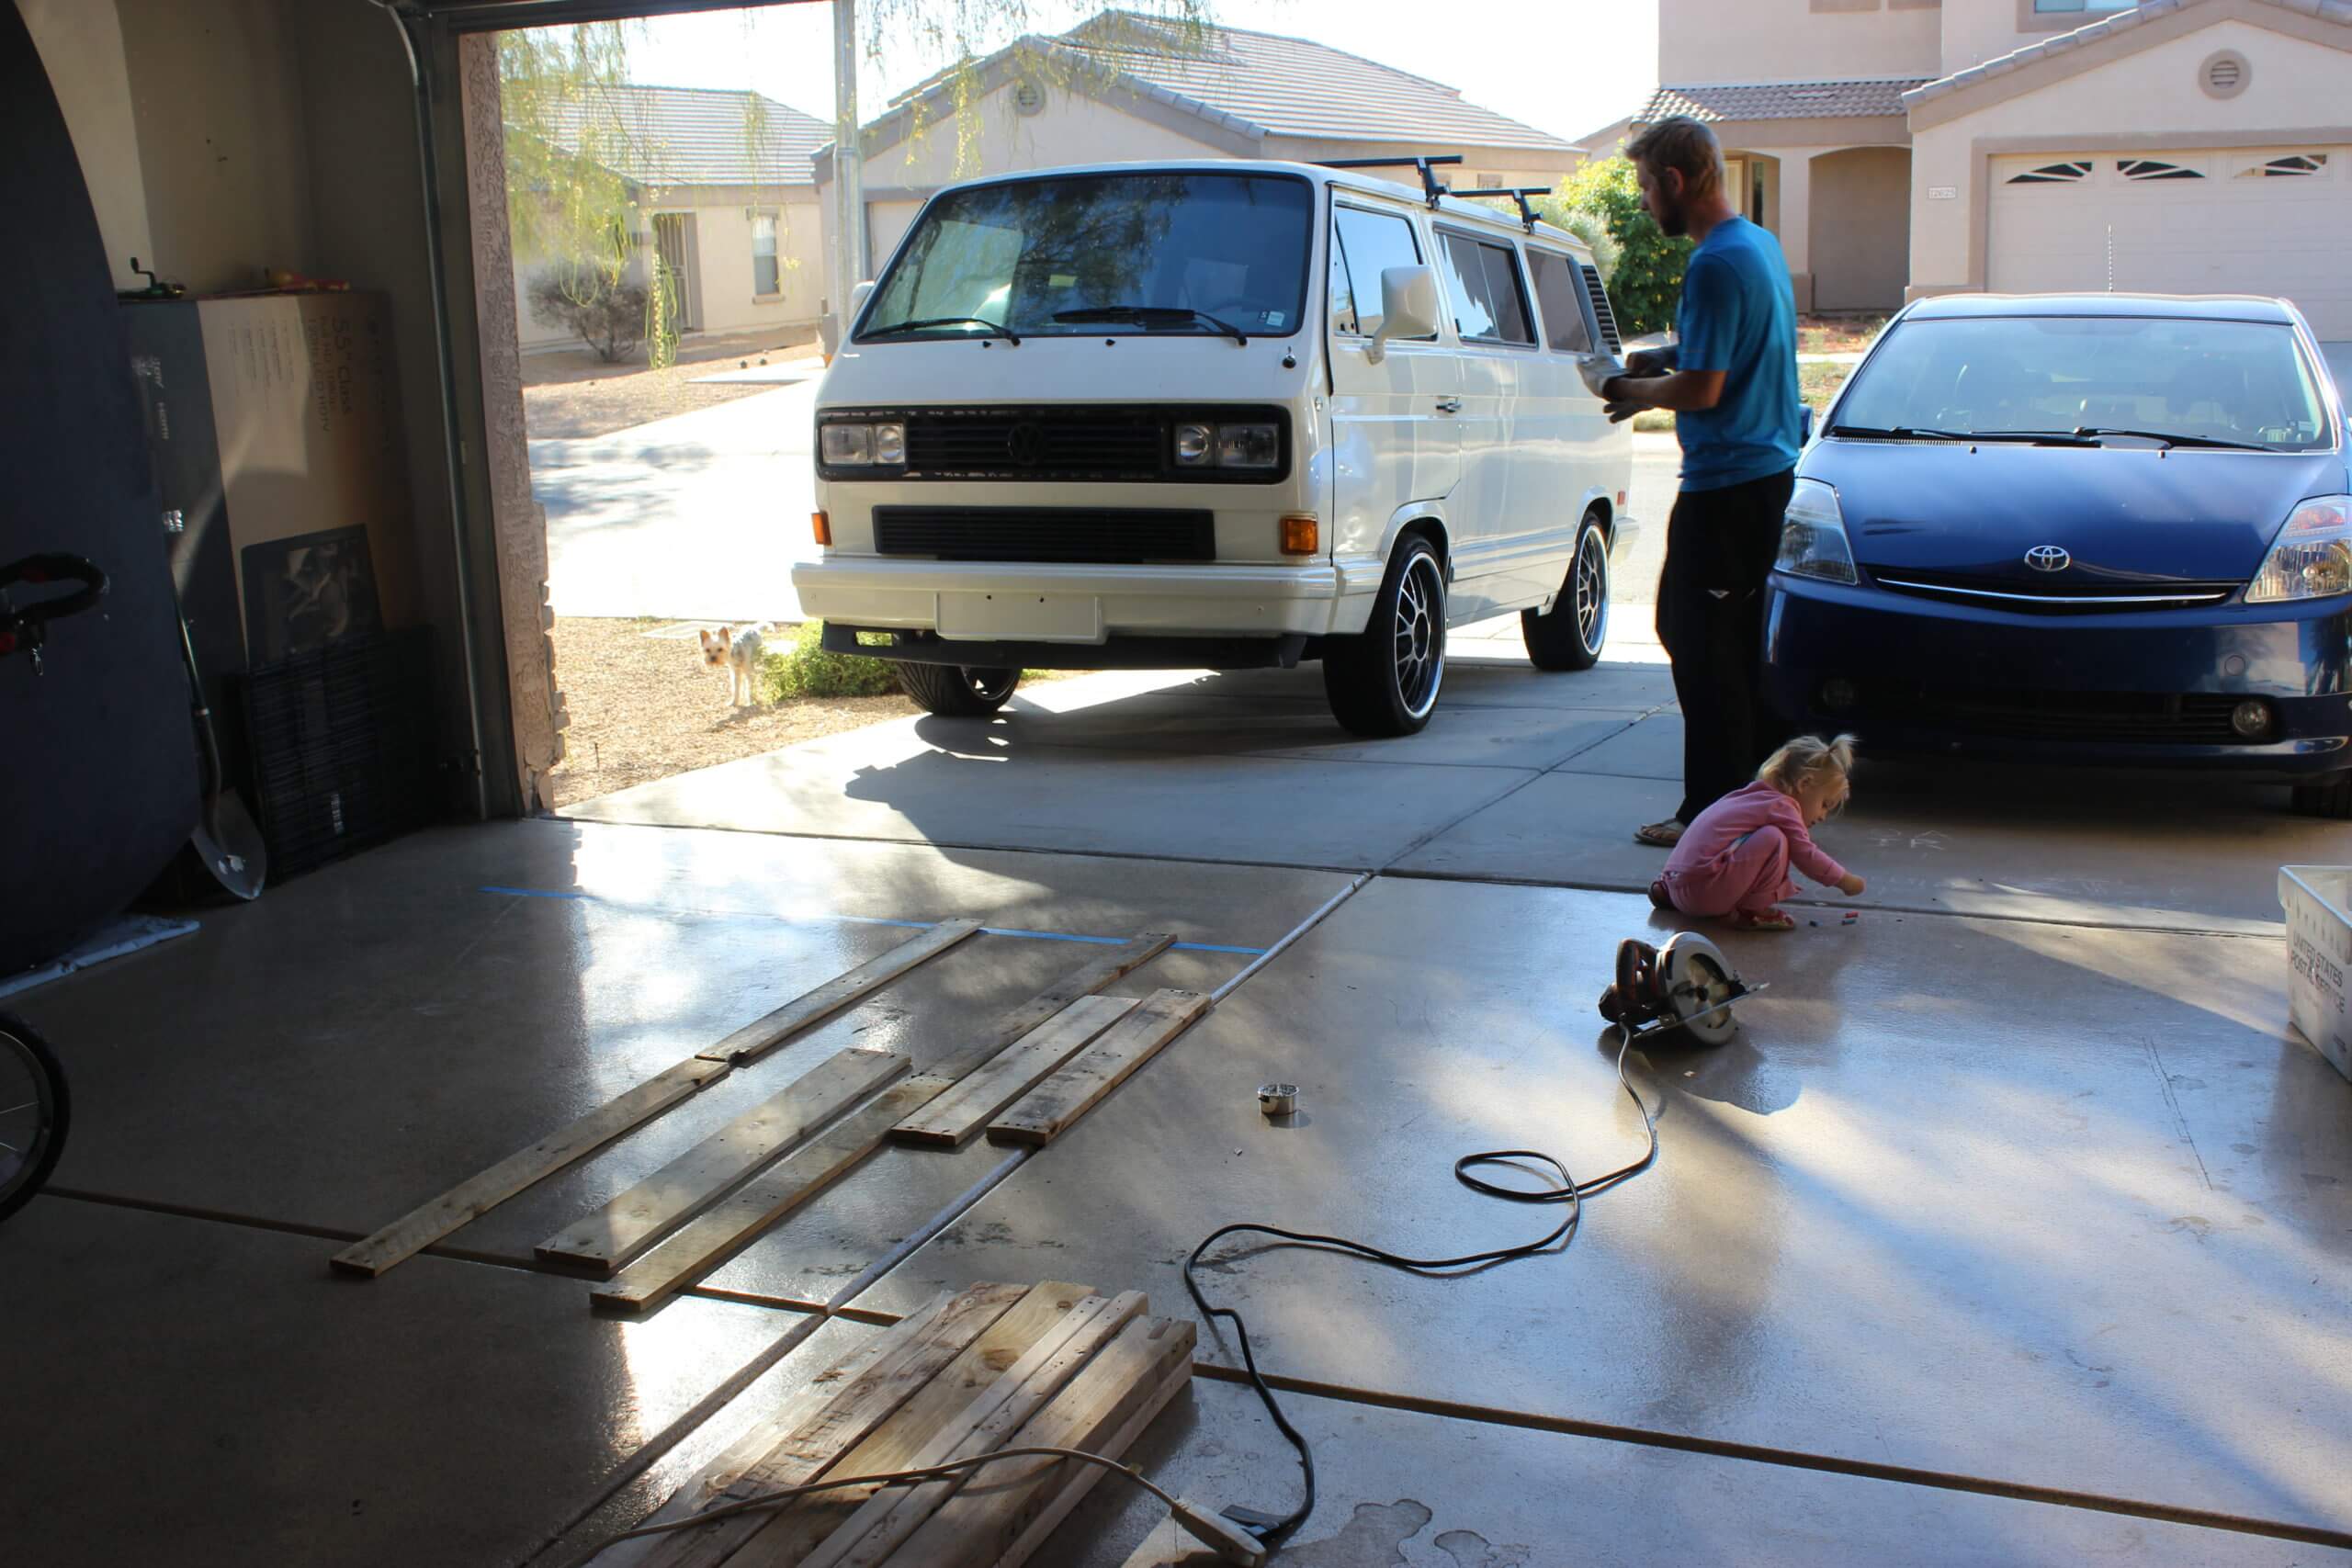
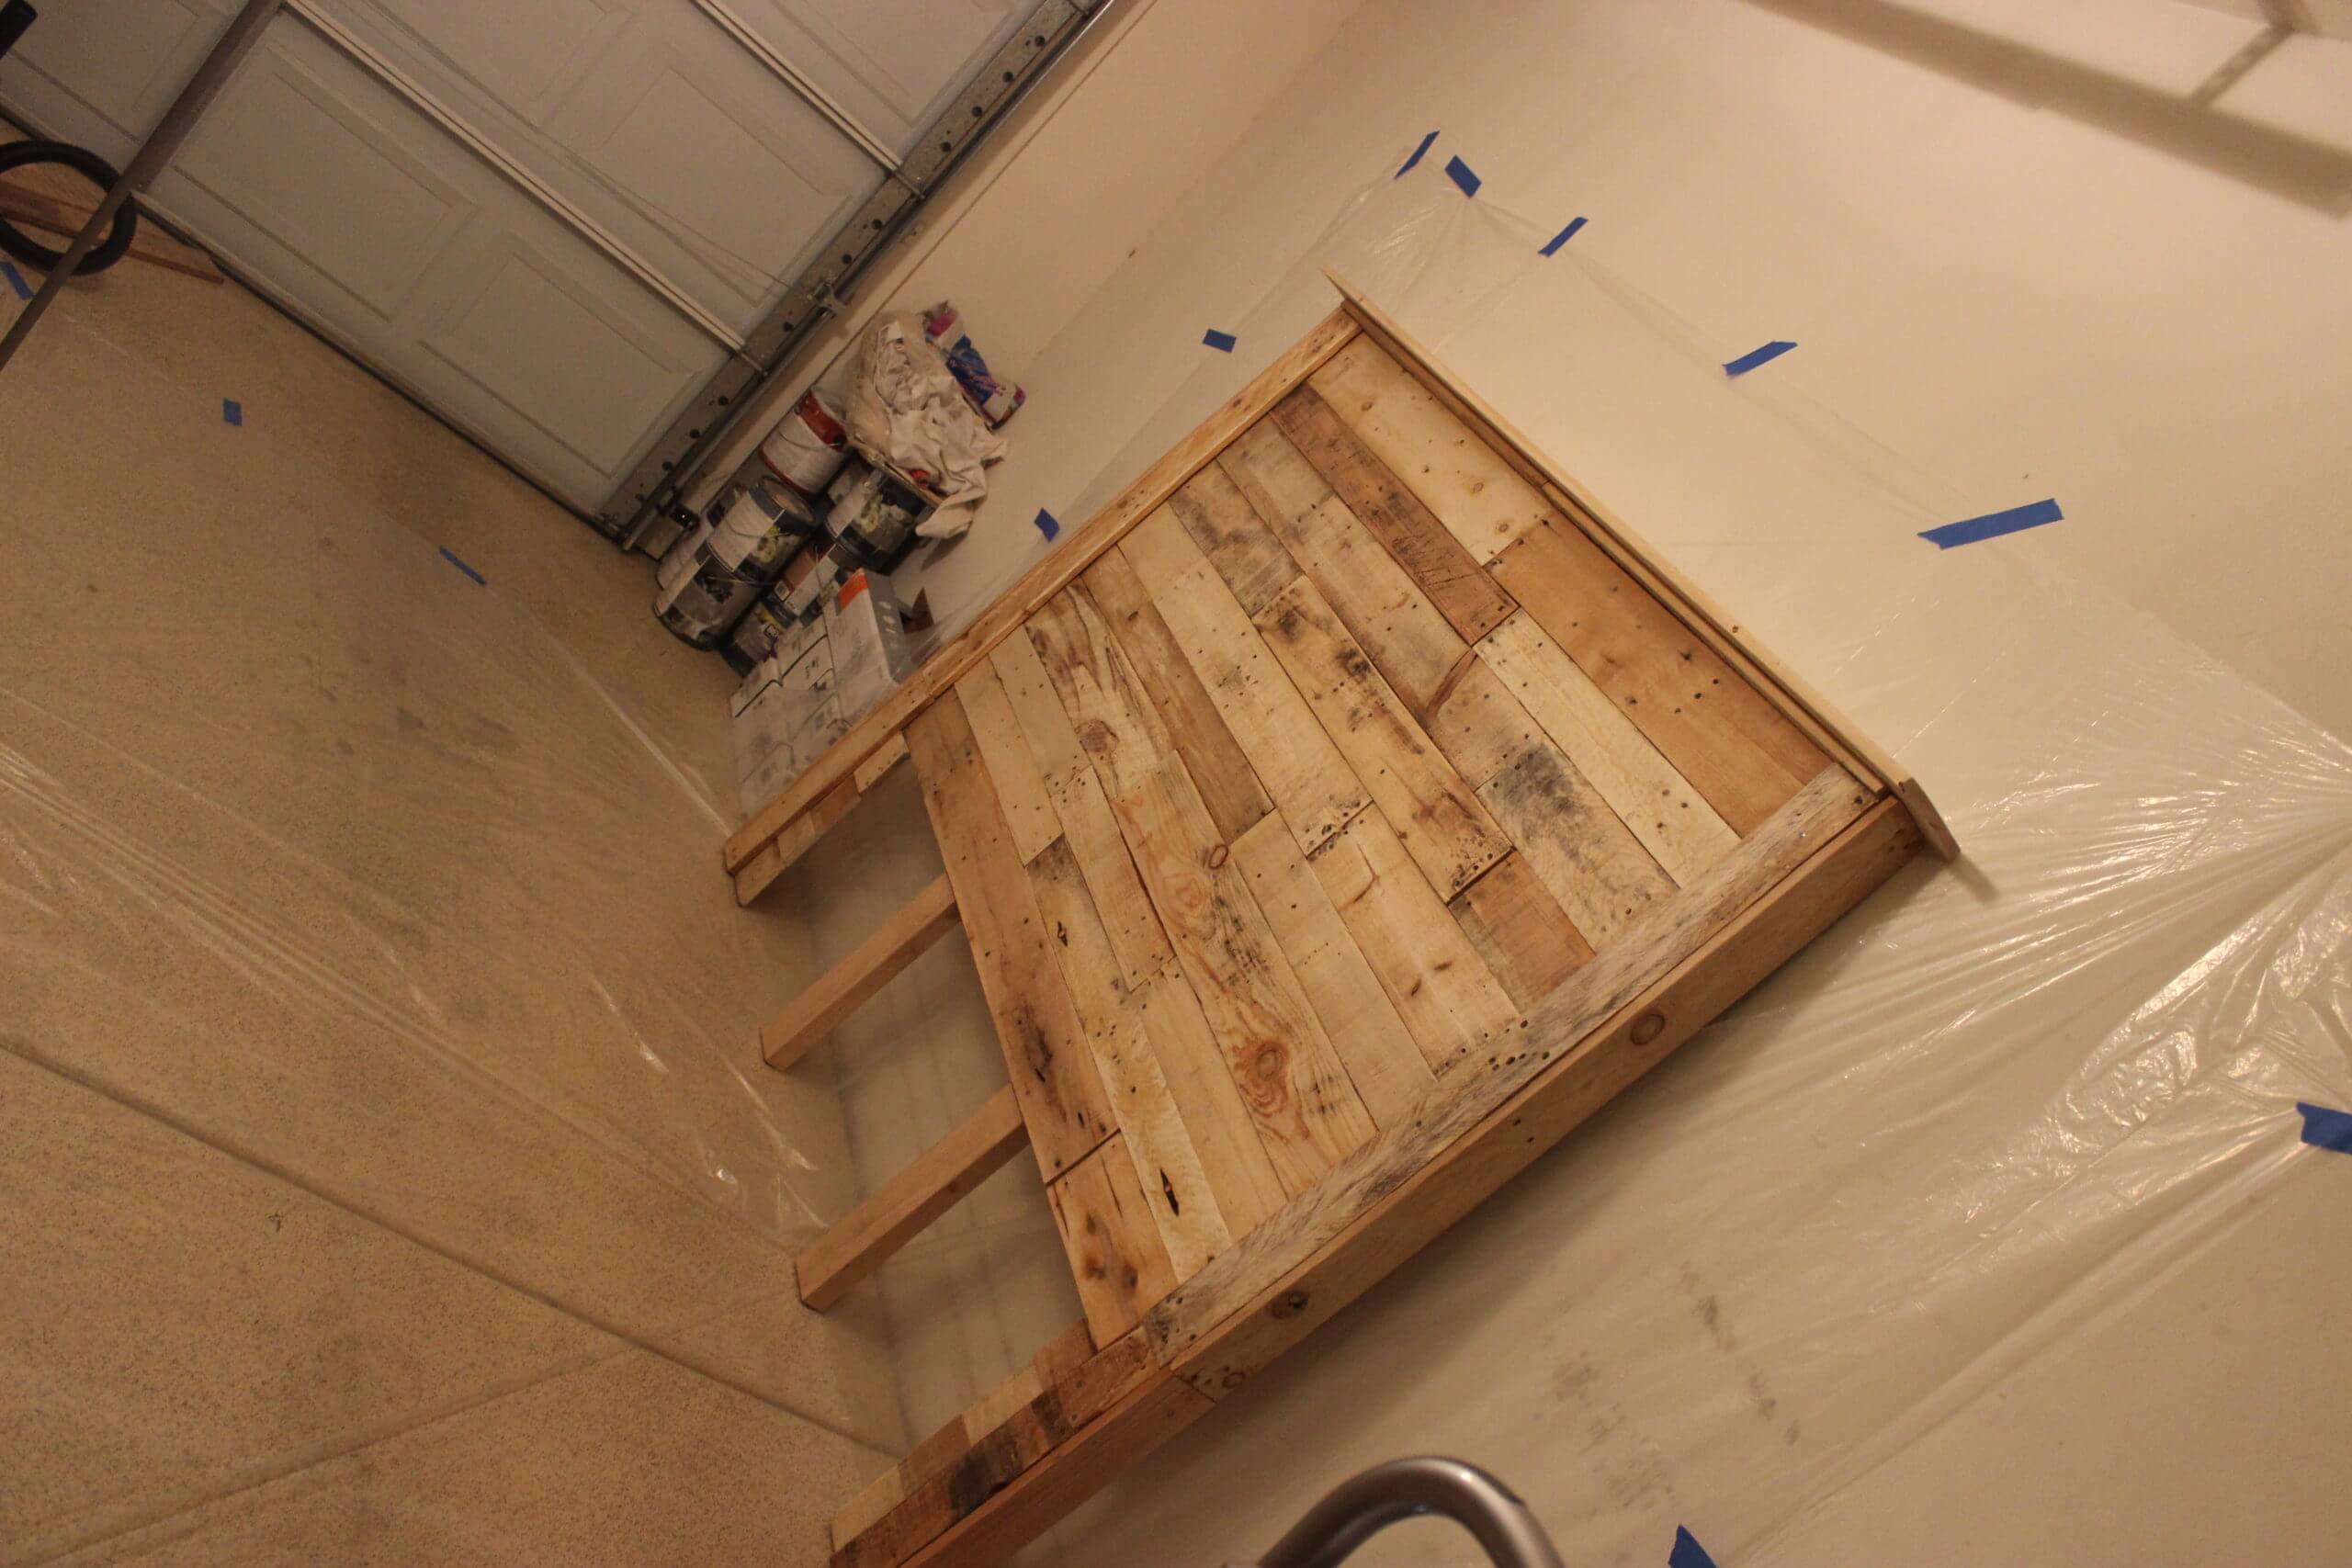
Chad went out one night & came home with a van full of pallets & we (Chad) started slowly ripping them all apart. We haven’t purchased the coveted Sawzall yet, so Chad used his guns & a flat pry bar to take them apart piece by piece. This took a large majority of our time because he was very careful to not split or ruin any of the wood. I wanted a wide variety of sizes & colors so we had just about every option for our headboard. We used one of the seams in the concrete floor & then some painters tape as a guide to how much pallet would be visible on the headboard.
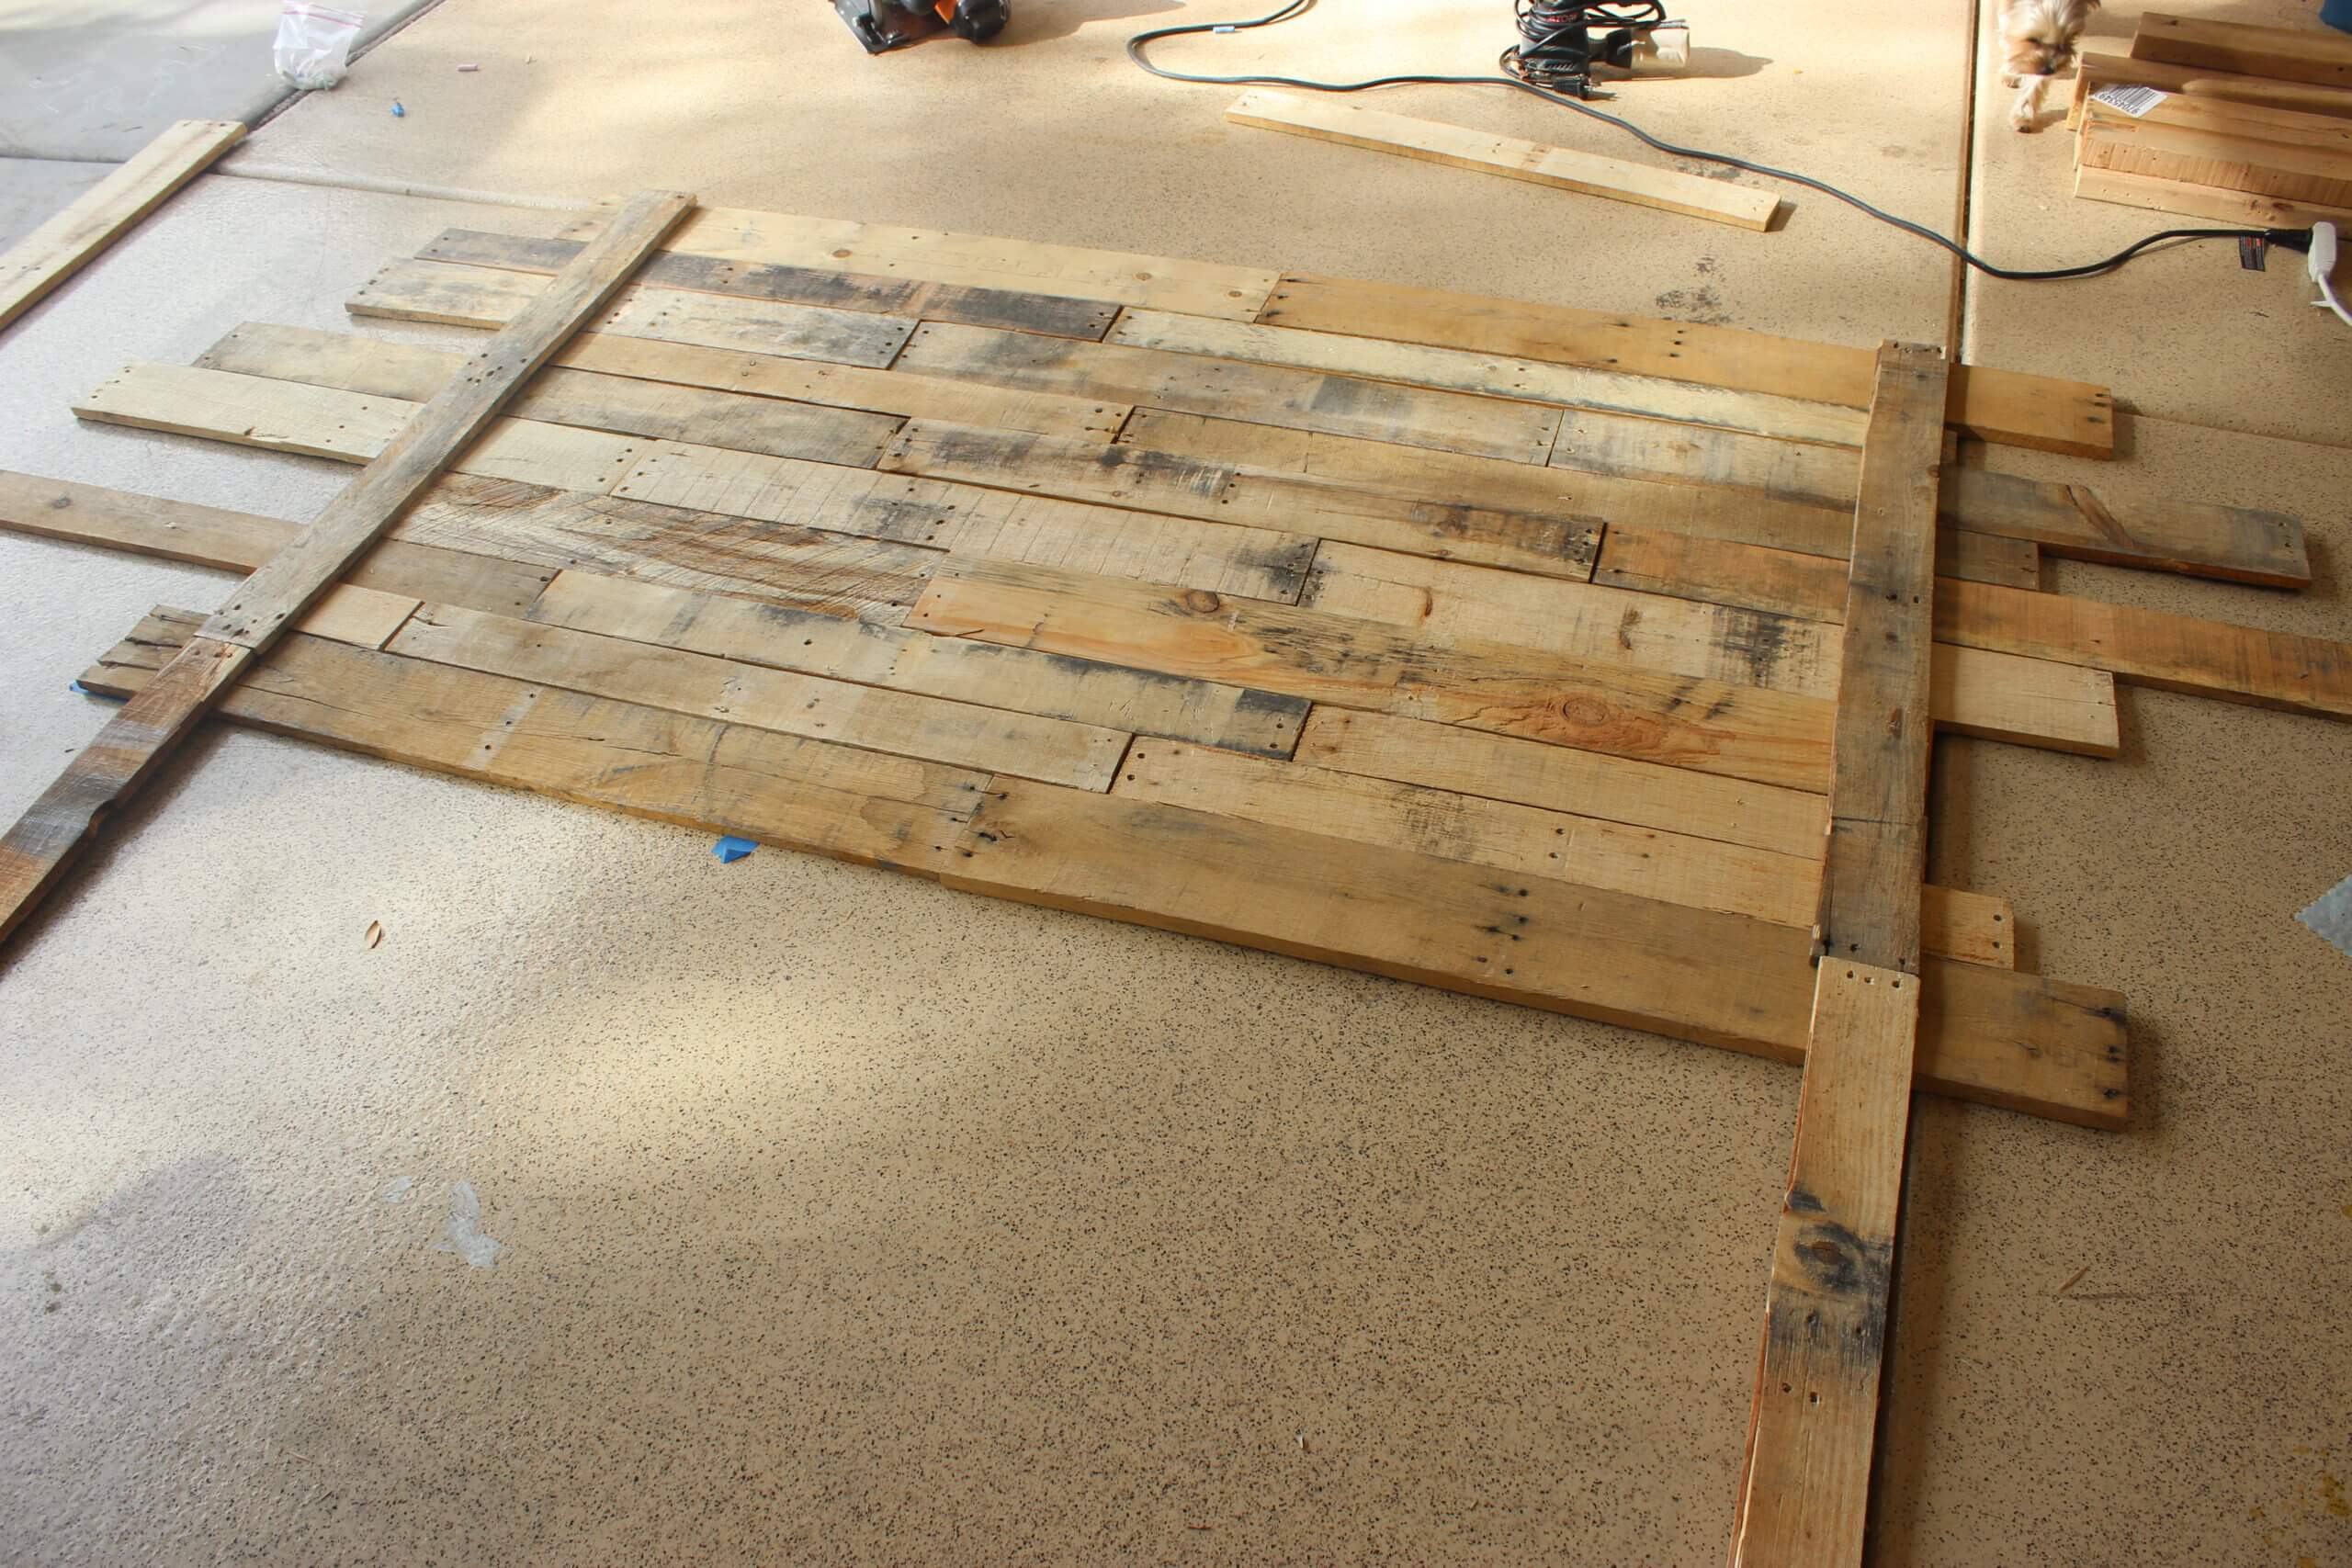
I layed out all the pieces I liked & then just started lining them up & piecing them together. I wanted to vary the sizing a bit, so I did a big row, then two small, then three big, etc.
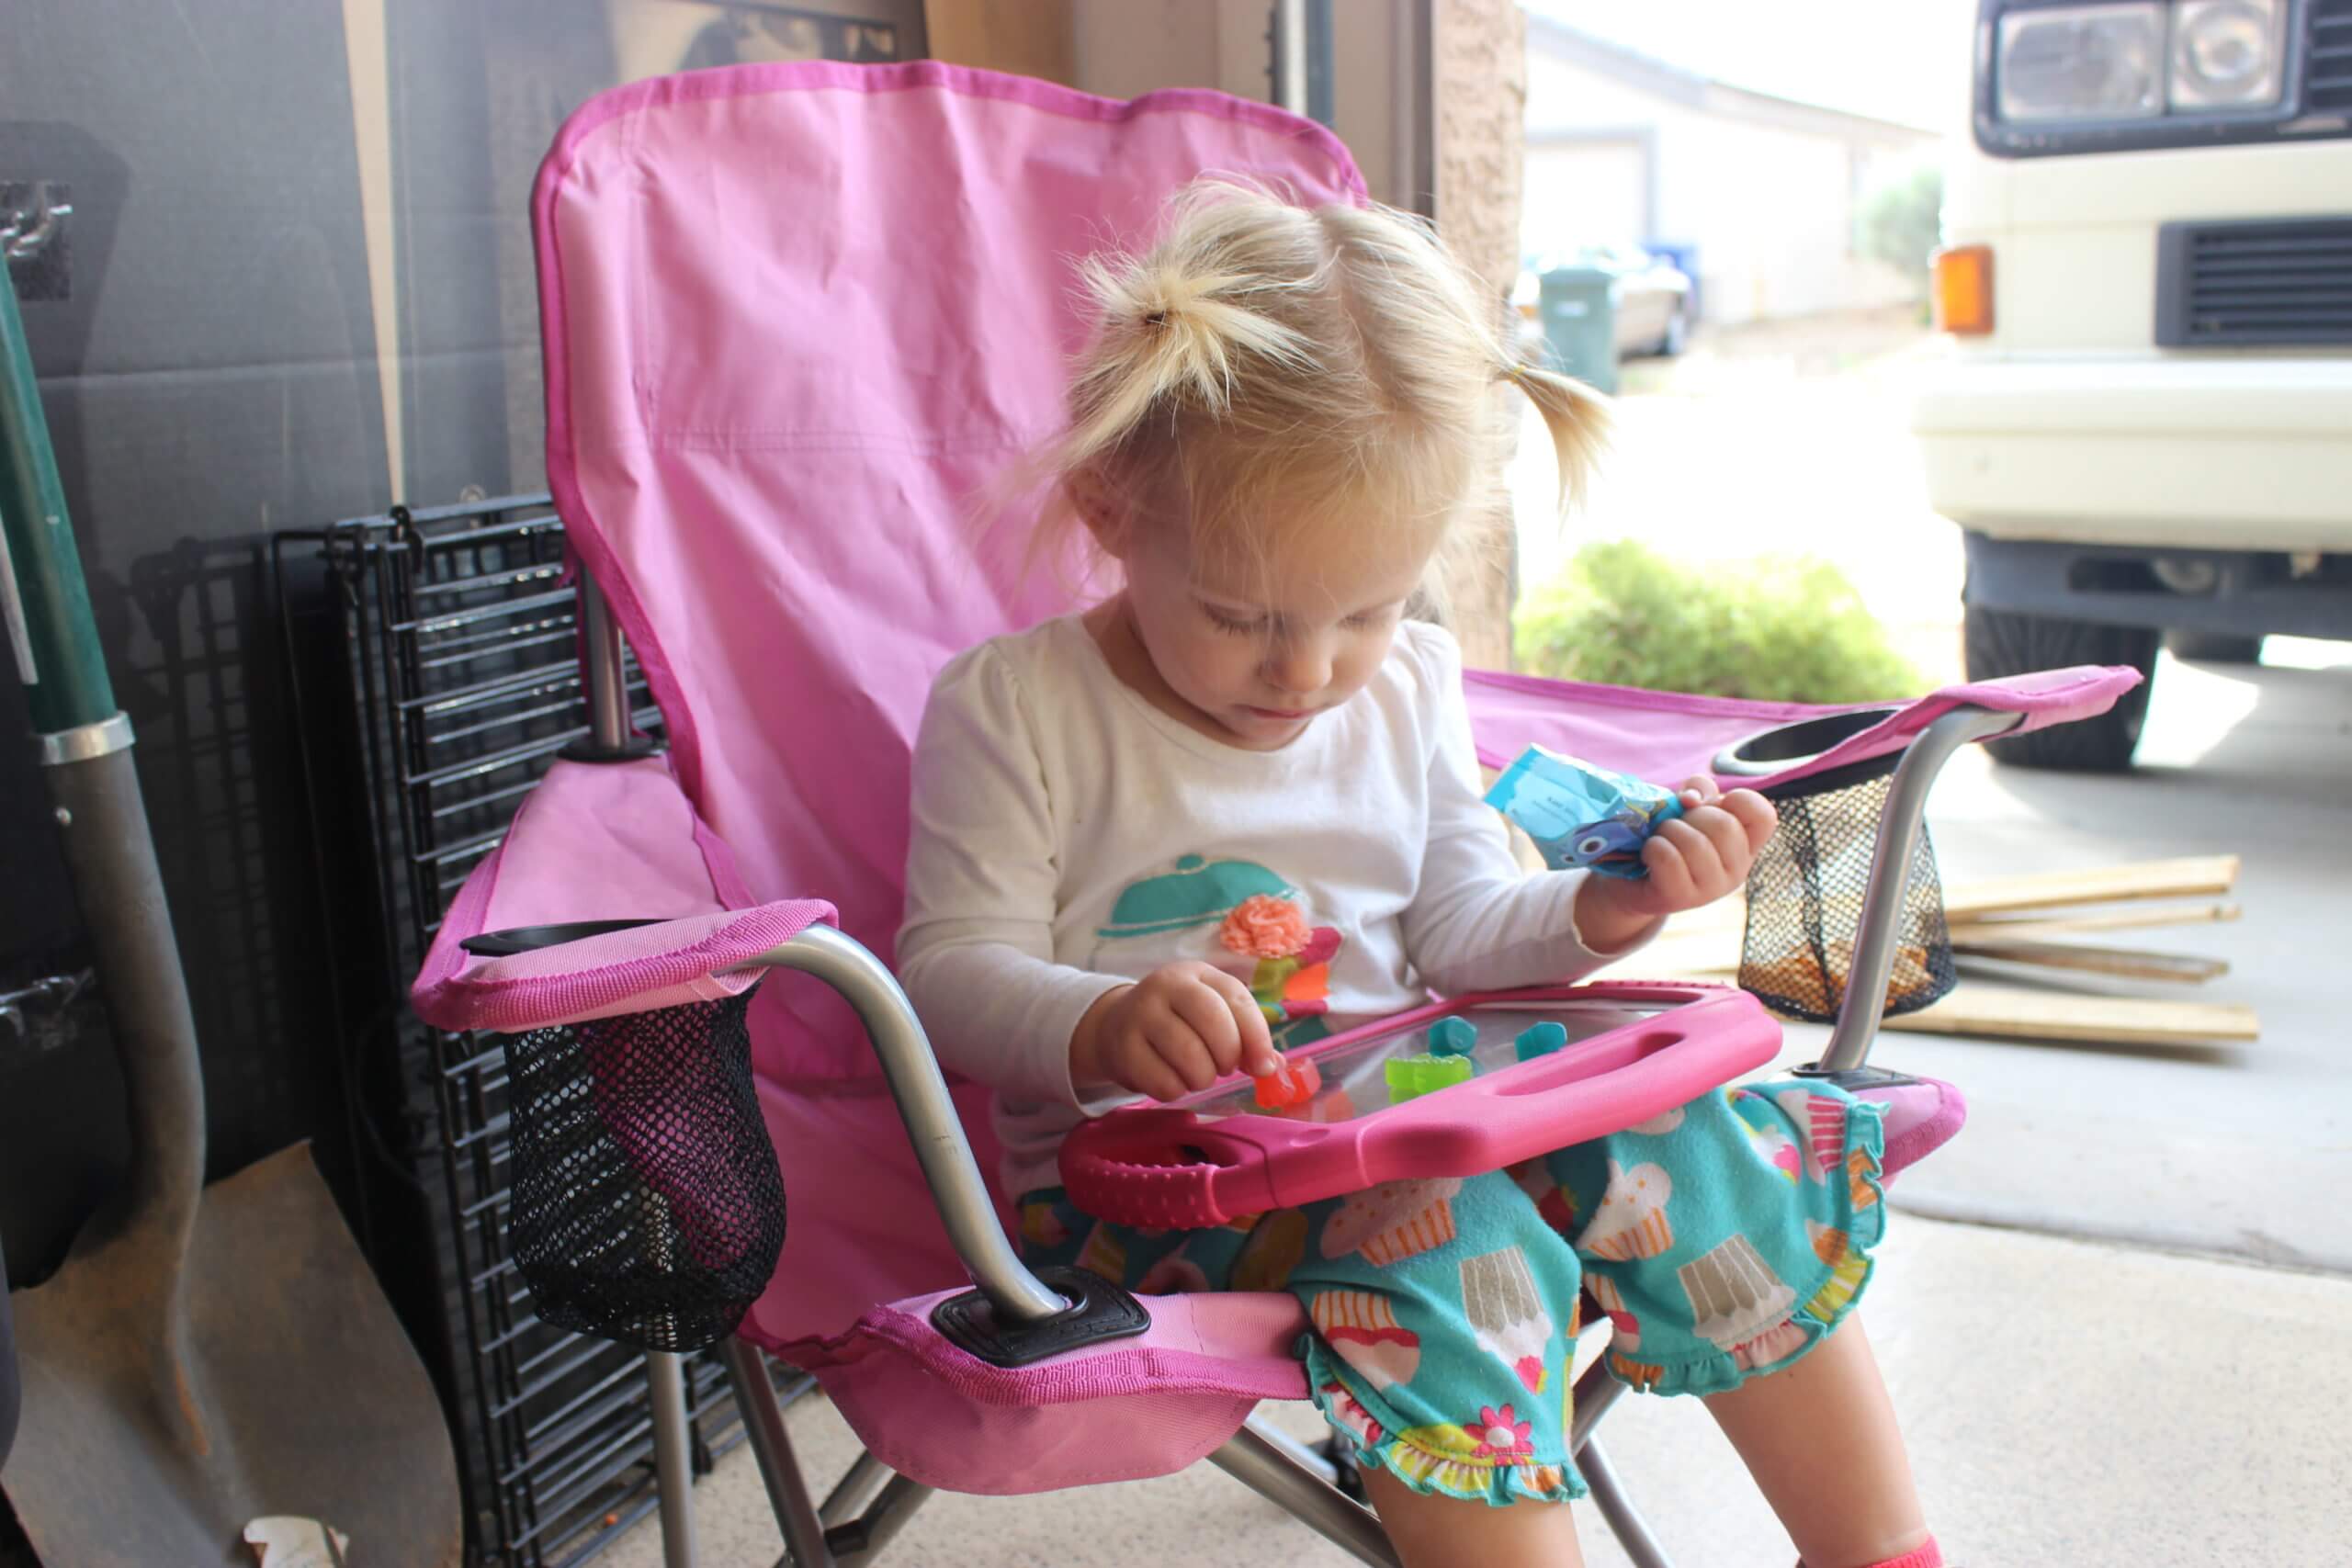
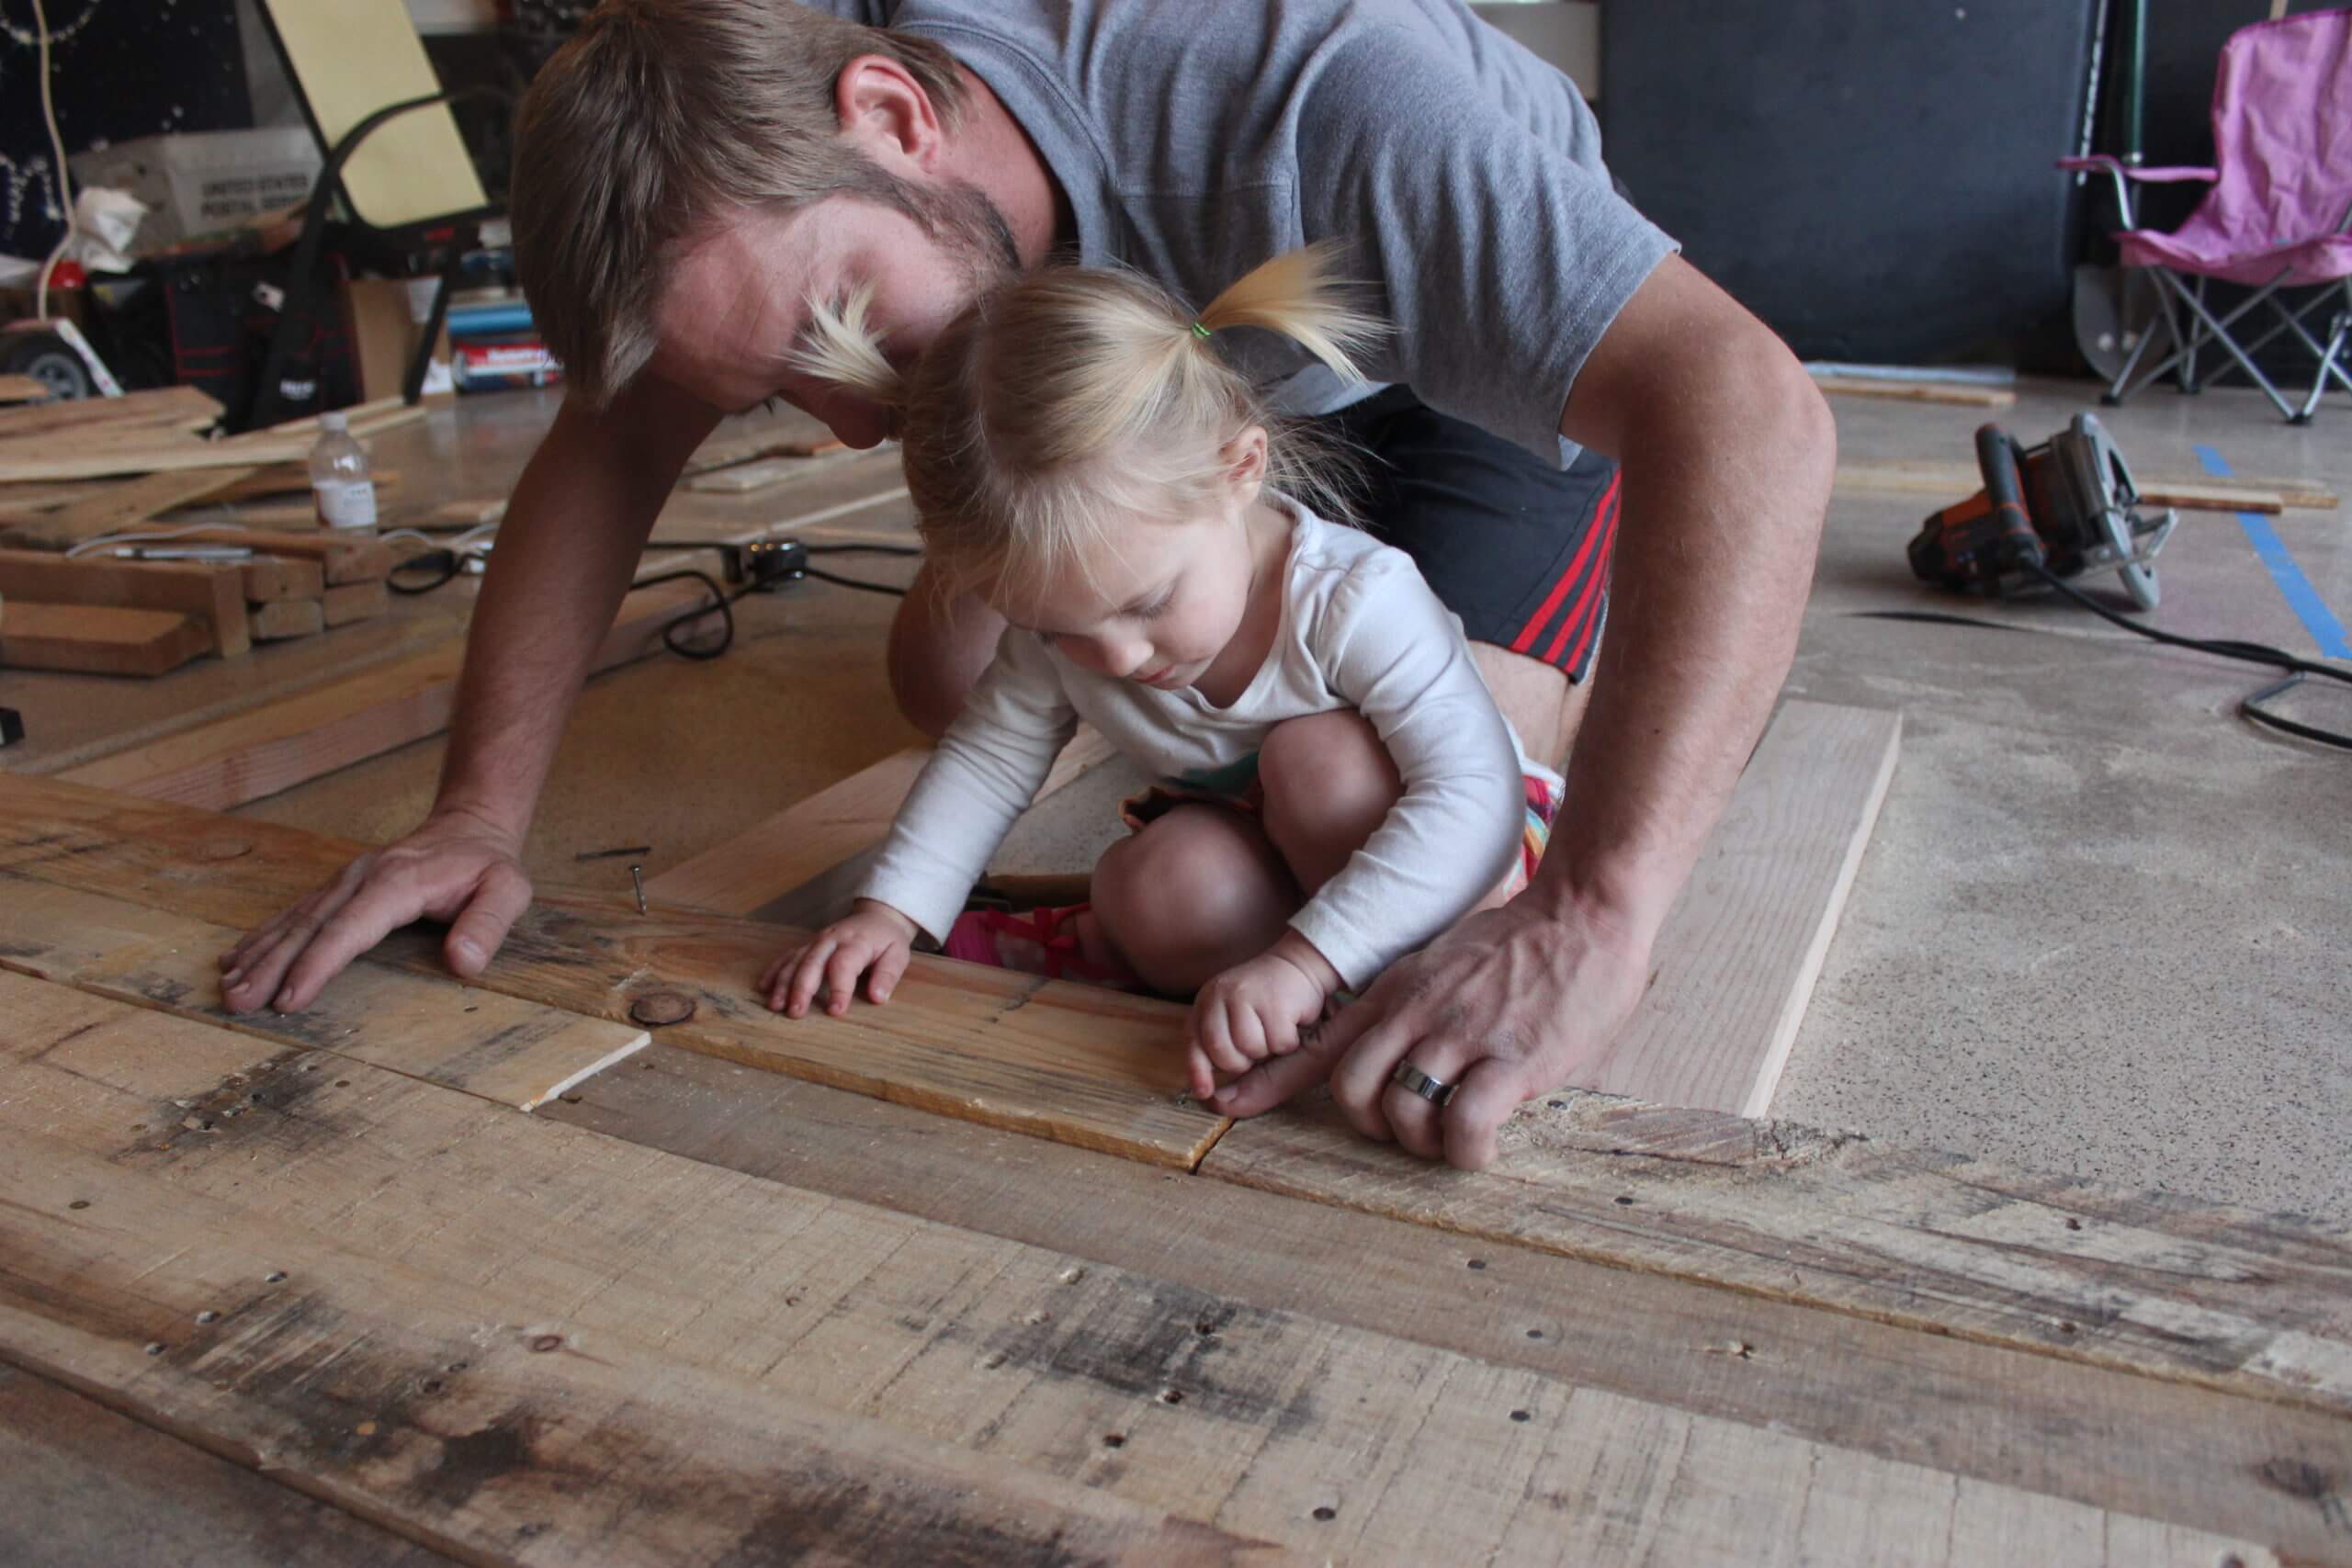
We had a project manager and she was very strict about how quickly and efficiently we were working. She made sure we were working hard & that everything was going as planned. After I picked out all the pieces I liked & had them laid out we set up our back foundation (two 10ft 2×4’s – cut to 5 feet) and made sure they were all level and then we went piece by piece starting from the top & cut & nailed the pallets into the 2×4’s. Chad even flattened and used ALL the nails from the pallets so we didn’t have to purchase any!

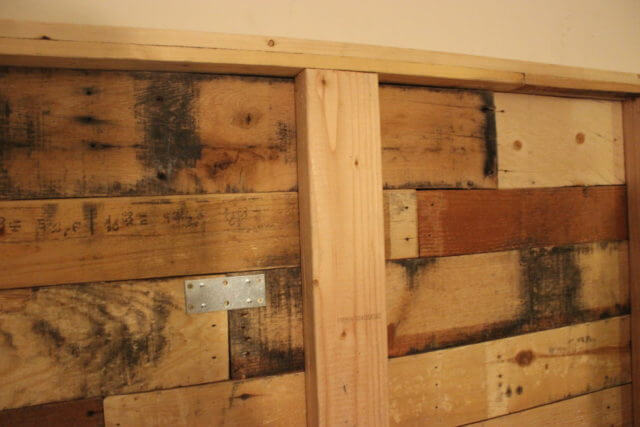
Most of the pallets lined up with our four back pieces, but there were a few that didn’t so we picked up a 4 pack of brackets from Home Depot & screwed them into the back to make sure the pieces didn’t move.
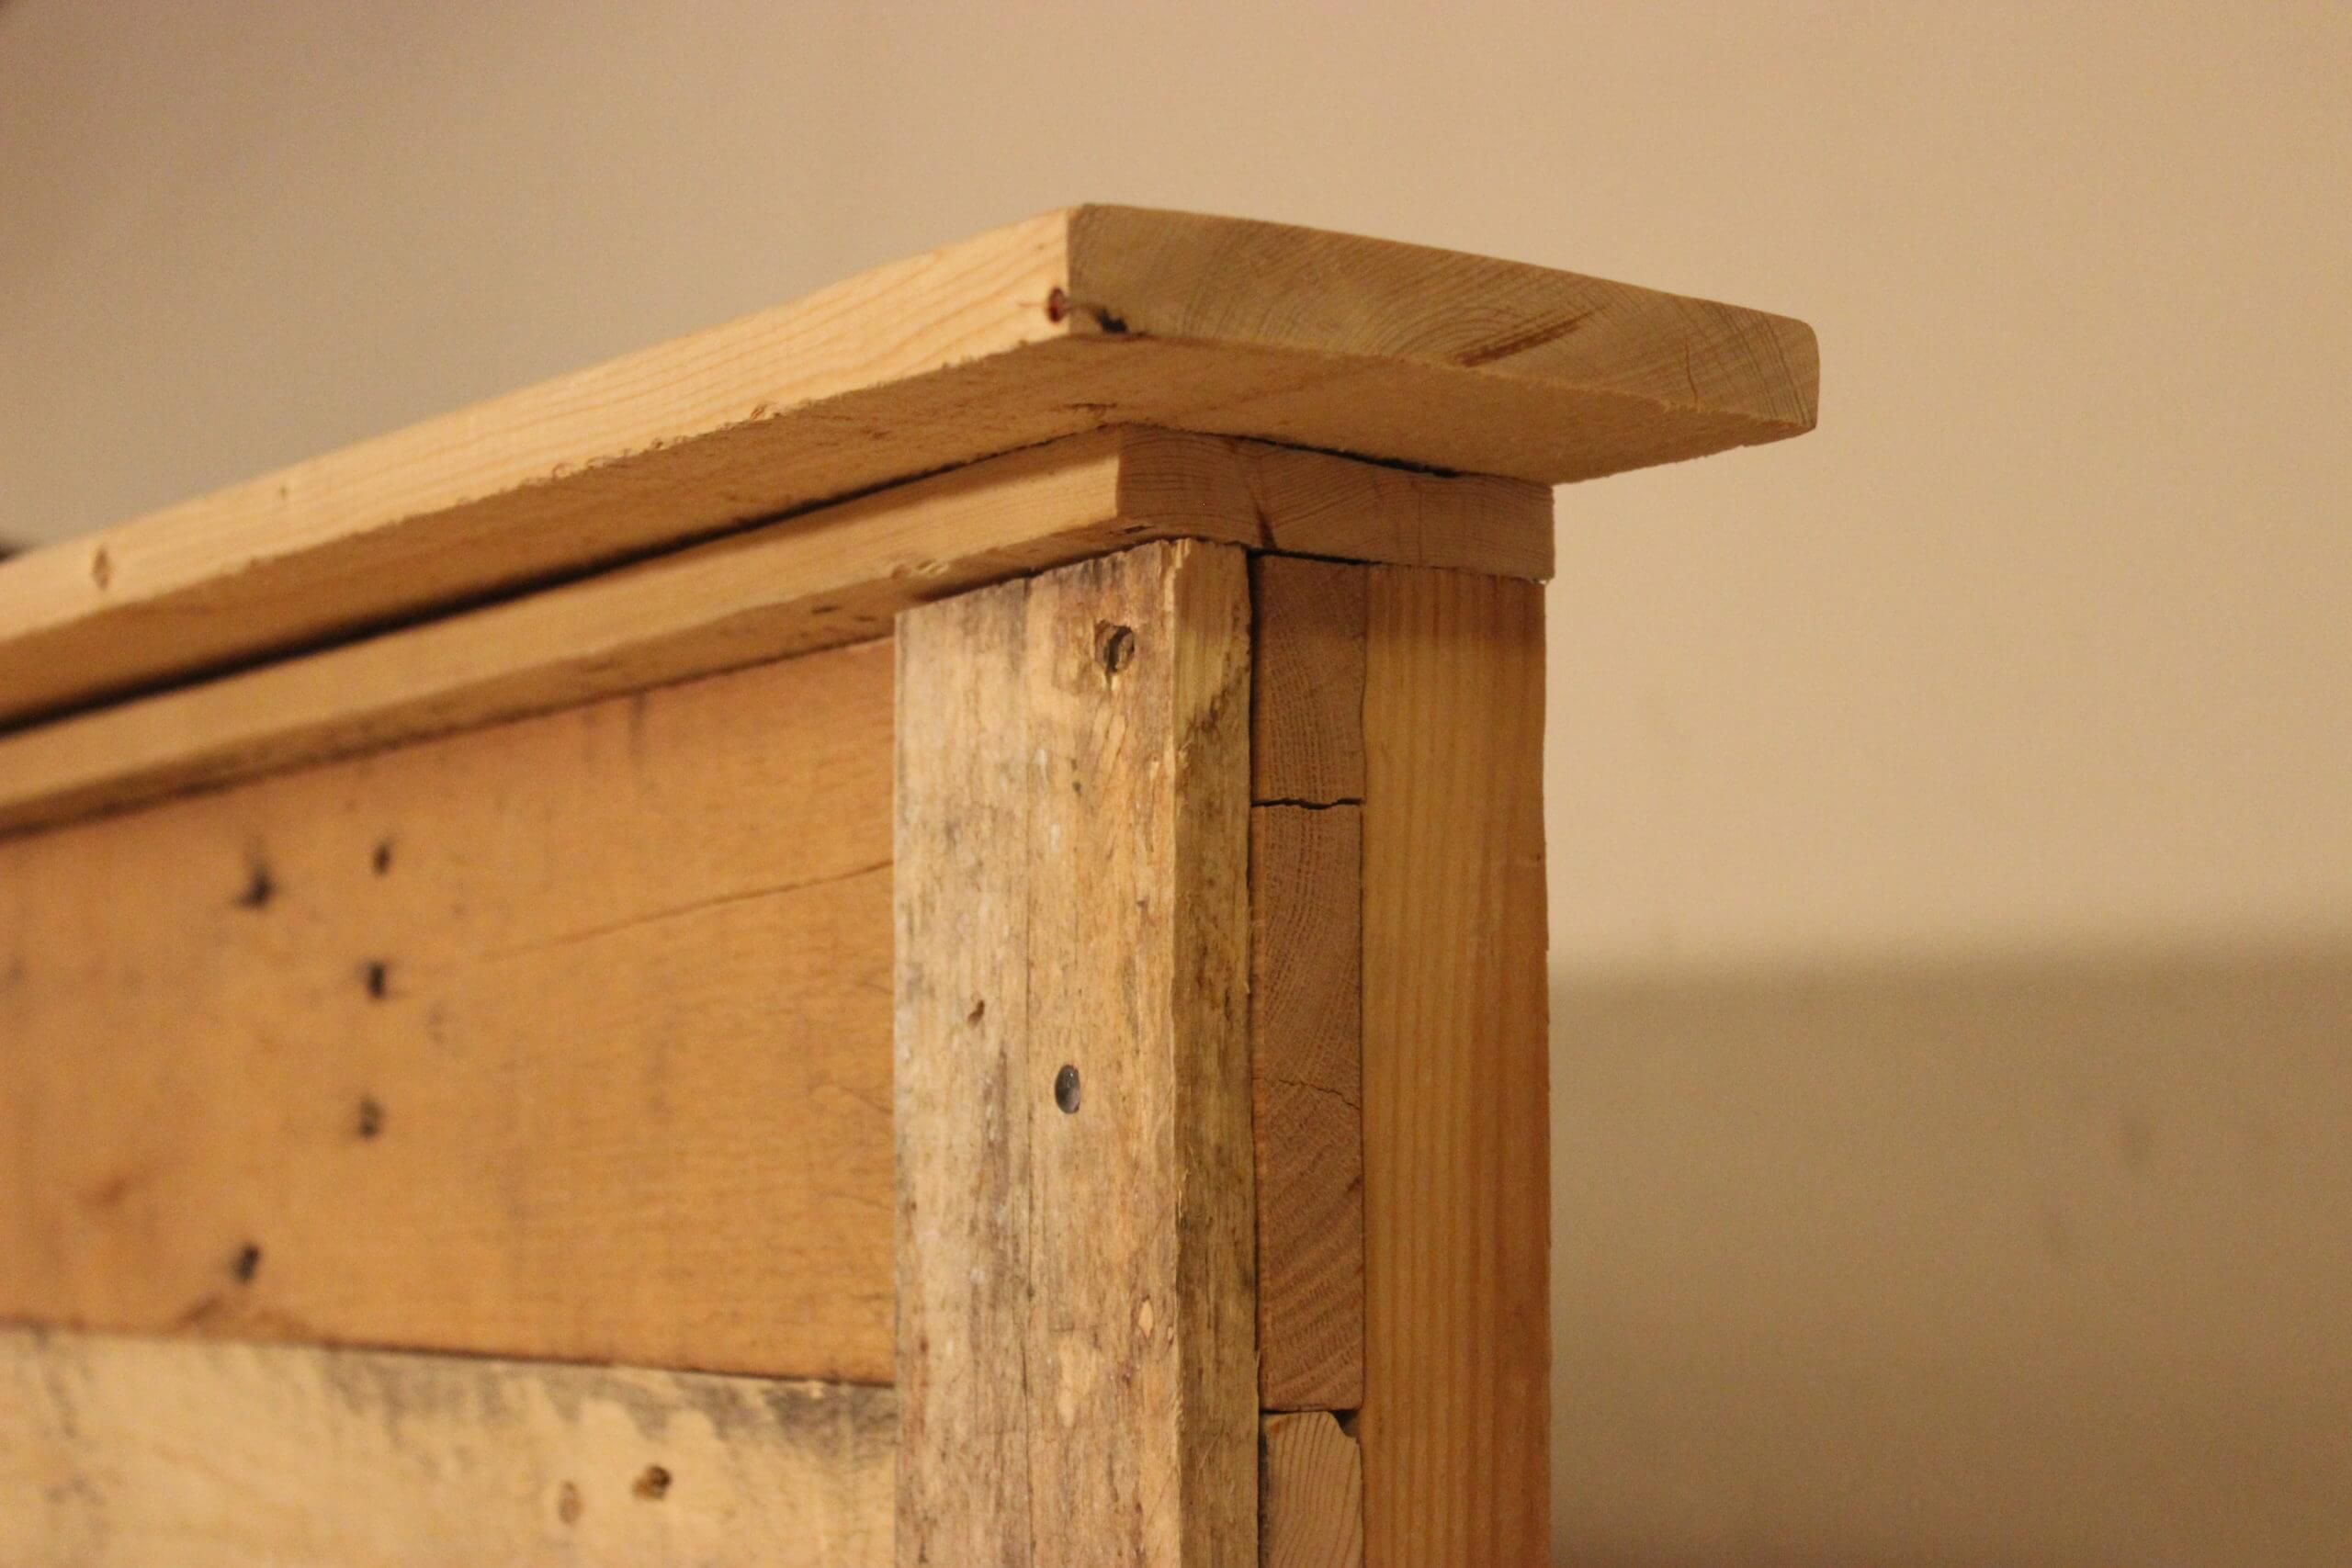
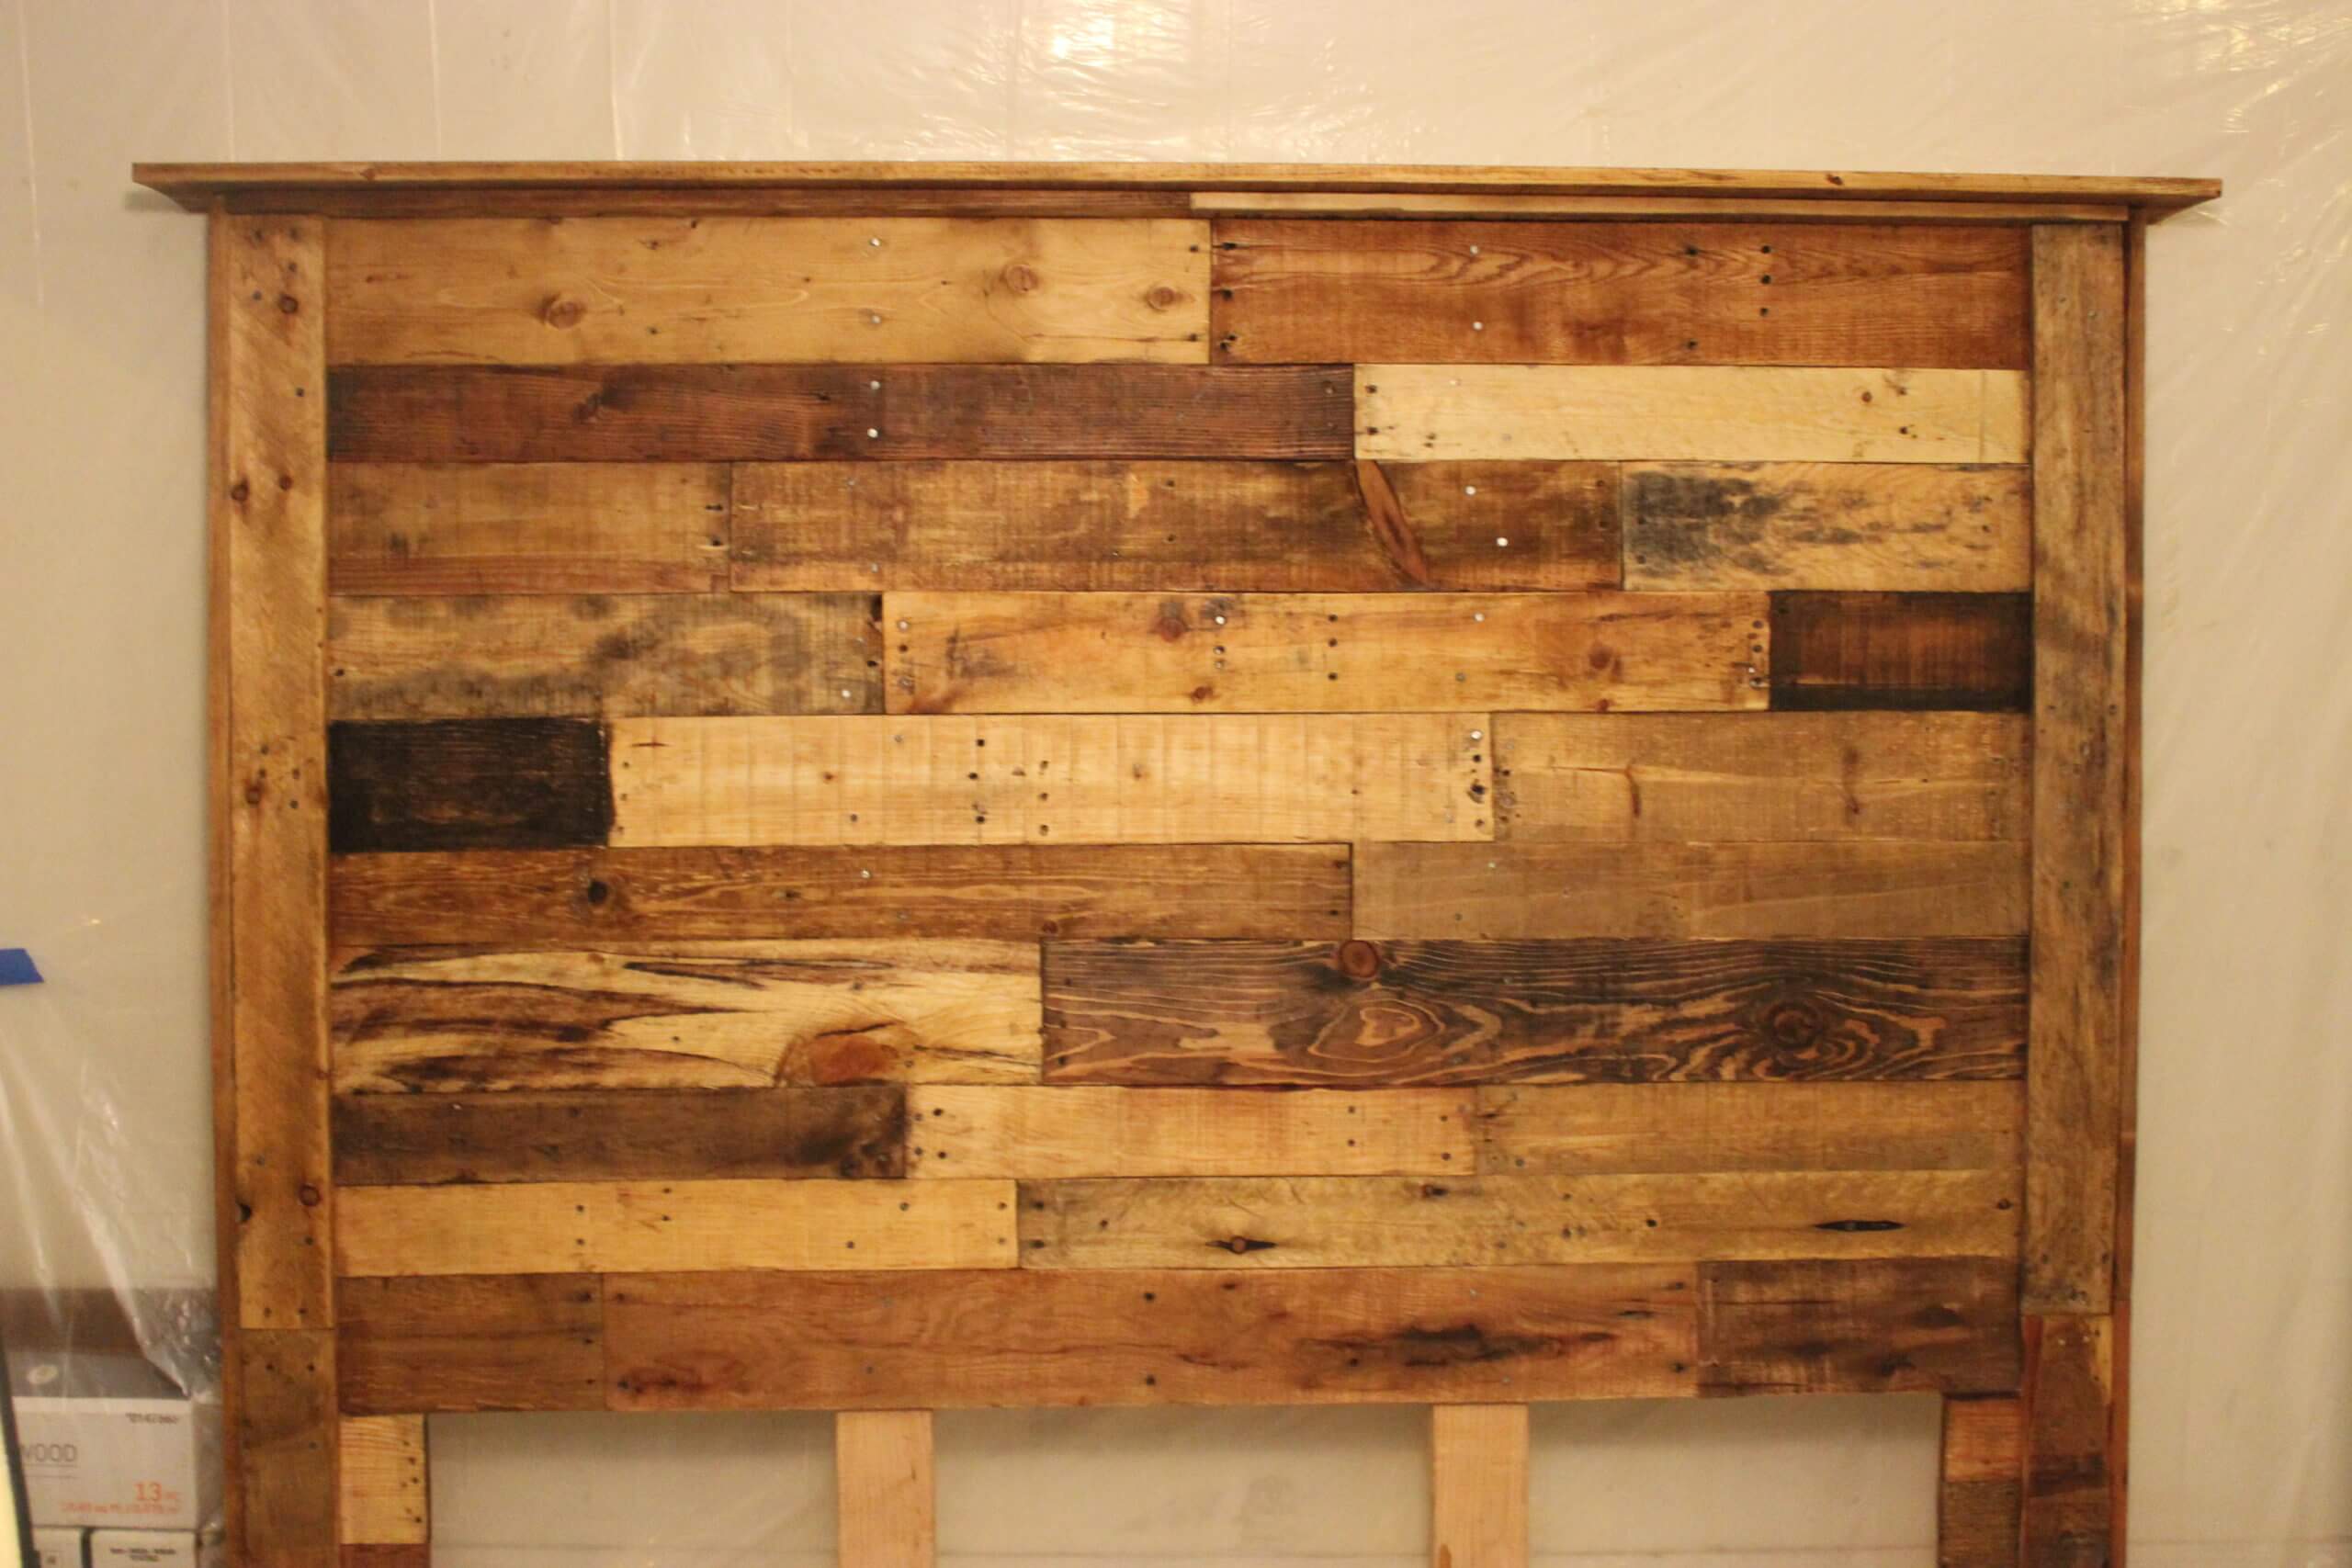
We also decided that we wanted to add some pallets to the sides & top to give it a more put-together look. After I saw it all put together, I decided (and I didn’t like having to purchase MORE) that it would look best with a finished ‘normal’ piece of wood along the top – so we went to Home Depot & picked up a piece of wood (approx 1×6) that would fit best with the headboard.
After it was all put together and we liked how everything looked – I busted out the sander and sanding the living daylights out of the headboard. I tried to be a little softer on some of the pallets that had a little variation to color (didn’t want to sand it all off), but I also wanted to make sure people wouldn’t visit us and wake up covered in splinters. Then I vacuumed it off really good, gave it a small wipe with a wet cloth & got it all set up to be stained.
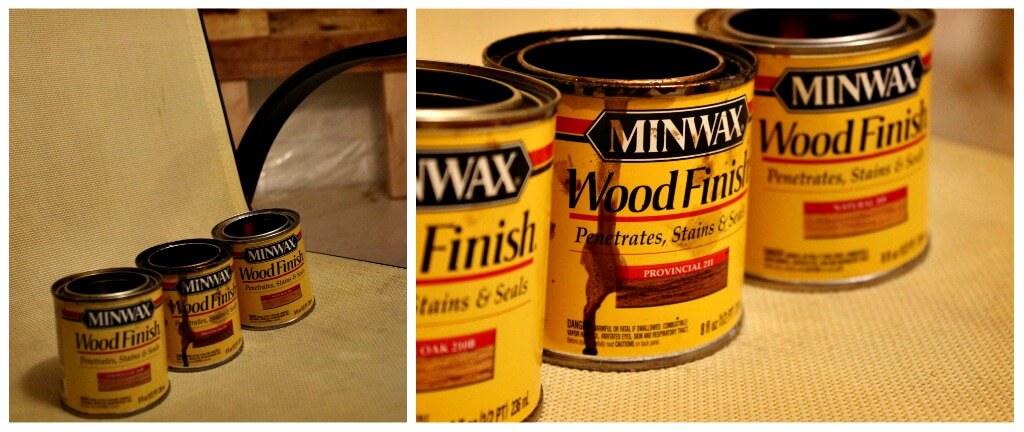
I chose to use 3 different types of stain & to apply them all differently – to help make all the pieces of wood look just a little bit differently. It took 2 nights (After Presley went to bed) to stain & then I painted on a polyurethane to seal it & let it sit for a week to cure completely.
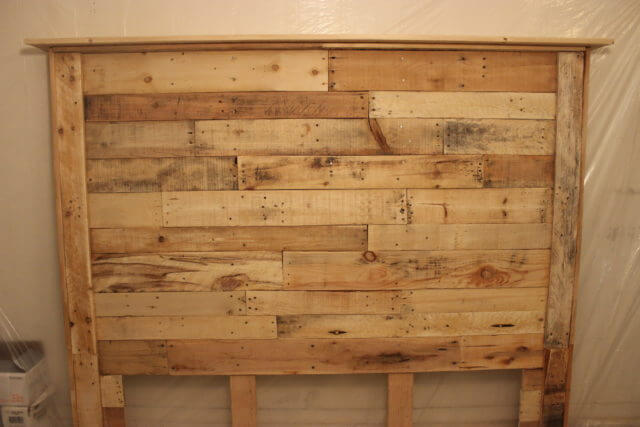
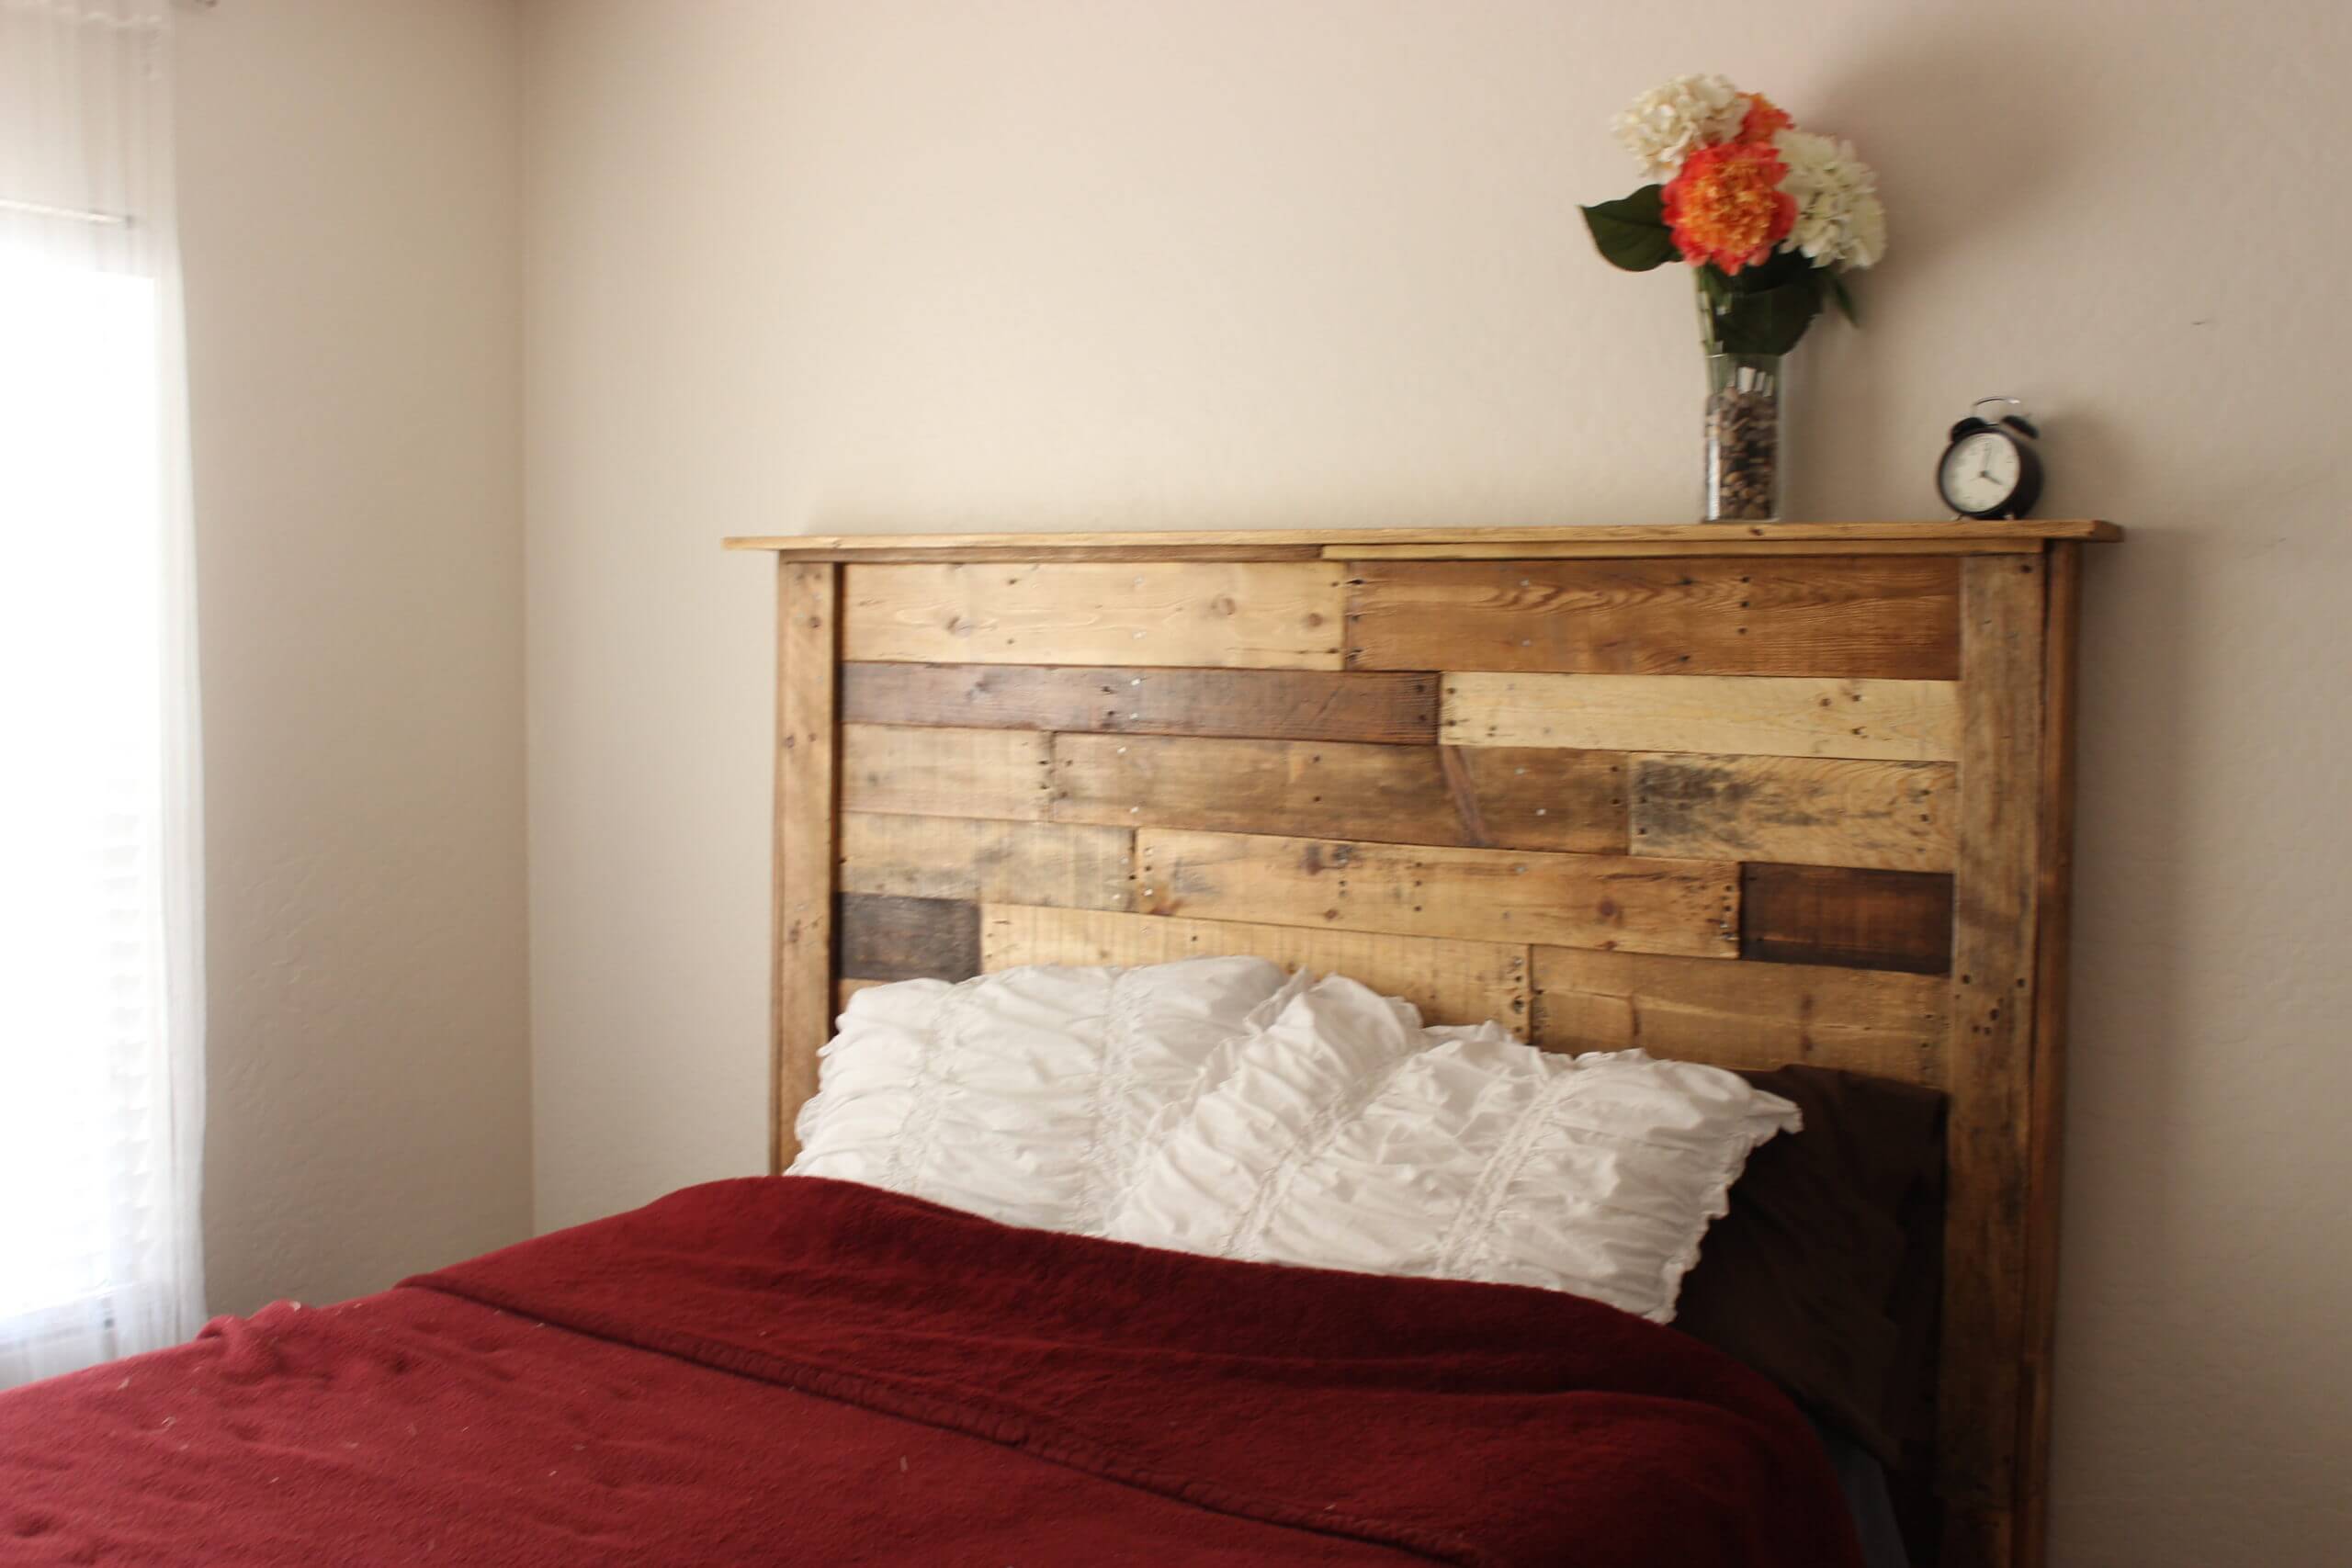
I was so excited to get into the Guest Room and set up with the bed.
I cannot wait to put our big white fluffy bedding on it & to decorate the top of the bed – that larger piece of purchased wood makes the perfect ledge for storing books, flowers, a clock & even our guests wallet & phone. I’m pretty sure we went into the Guest Room everyday just to look at our finished headboard, we are absolutely IN LOVE with how it turned out & so excited to have people come visit us!
Price Breakdown:
two 10ft 2x4s: $8.50 total
Top piece: $7:00
Brackets: $2.00
Stain: $10.00
(I had one stain on hand, as well as polyurethane & the nails from the pallets)

It’s gorgeous!! I’ve been dying for a pallet headboard but the ones I’ve found have always been too pricey, and I didn’t realize it was so easy to just make one! Thank you so much for the tutorial!
xoxo
Love, love, love!!! One more thing to add to my hubby’s & my project list! 😀
I absolutely freaking love this! We are getting ready to PCS this summer and I really want to put one of these together for our guest bedroom in the new place!
Hi. I came across your pallet headboard for the guest room on Pinterest during my browsing for plans or tutorial for creating one for our king sized bed.your tutorial was great and perfect for me…the DIY-er with no great knowledge of building things. My hubs is my go to guy. He’s the muscles and I come up with the ideas for diy projects. So, anyway, I was looking at your tutorial and thought I’d ask if you could clarify the measurements on your rough plan for me? There are a few I can’t see in the picture. And also, how long was your 1×6 board that you put on the top?
I like the idea of the different stain colors top. What were the colors you used? Thanks a bunch!! We are getting pallets this weekend and beginning this project. We’ve had our bed for over a year without a headboard and it’s so naked! I can’t wait yo finally do this!!
Hey Sharon,
Thanks for stumbling upon my blog. The Pallet headboard is definitely one of my favorite projects. It’s in our guest room with a queen bed & all of our guests love it! We measured how wide the queen bed was & then just added around 6 inches on each side. I wanted it to be visible enough that when the bed was made – you could still see the sides. The wood we just bought and trimmed to size – You’ll need a pretty big one for a king bed – so I’d just take your measurements & then head to the store and cross your fingers! Let me know if that helps at all, or if you have other questions. I’d love to help!
taushawierlo@gmail.com is my direct email if you want to send a message that way.
This is wonderful! Thank you for listing your steps so nicely. I came across another pallet headboard project on Pinterest but had to jump ship because their instructions weren’t as clear as yours! Silly question I’m sure…did you attach the headboard to the wall or bed itself, or is it freestanding/pushed against the wall and the bed?
Thanks a ton, I’ll be sure to post my project once it’s all done!
Hey Rebecca,
I’m glad you’ve found me & that the instructions were helpful! I can’t wait to see your project when it’s done! Because the headboard is so heavy, we just leaned it up against the wall & then pushed the bed up against it!
Hi. Roughly how many pallets did you need to complete your queen headboard? I just bought a king size mattress and am getting all of my supplies together- I don’t want to be in the thick of it and have to stop what I’m doing to venture out to find more pallets because I ran out. Thank you!
I think we used between 10-15 so we could pick and choose which boards we liked best!