Everyone seemed to love my office reveal (seen here) so I figured I’d stop by today to breakdown how we built the desk with a ton of pictures & hopefully enough information so that you could build your own if you choose. I am no Ana White so I would label this as a “medium challenge” project. Some (okay, almost all) of the project needed Chads strength and patience. When it comes to projects I am a get it done & fix it later person. Chad is a slow & steady wins the race kind of person. I really did want the desk to turn out perfect so I recruited his help.
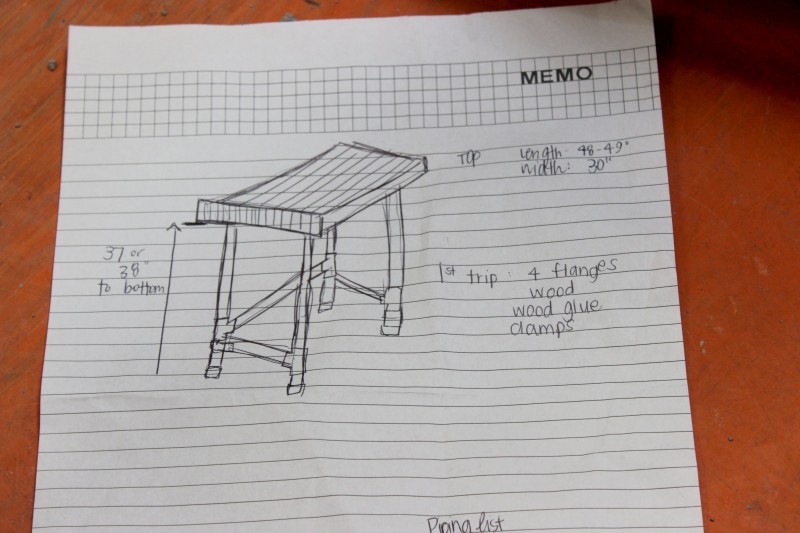
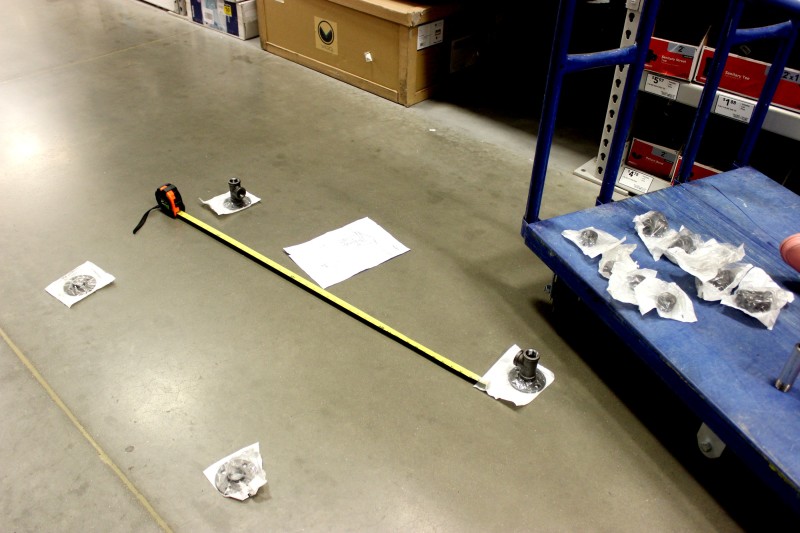
 Step one is to decide the measurements you want your table. I wanted the desk to be really tall, so after I purchased a stool I sat on it & measured where I wanted the bottom to sit then measured that on the wall. I wanted the tabletop to be pretty large so after I figured out how tall – I had to decide how wide I wanted it to be. I was hoping to make the desk more rectangular than square so I just sort of lined up the tape measurer against the wall & wrote down my estimates. Seems legit right?
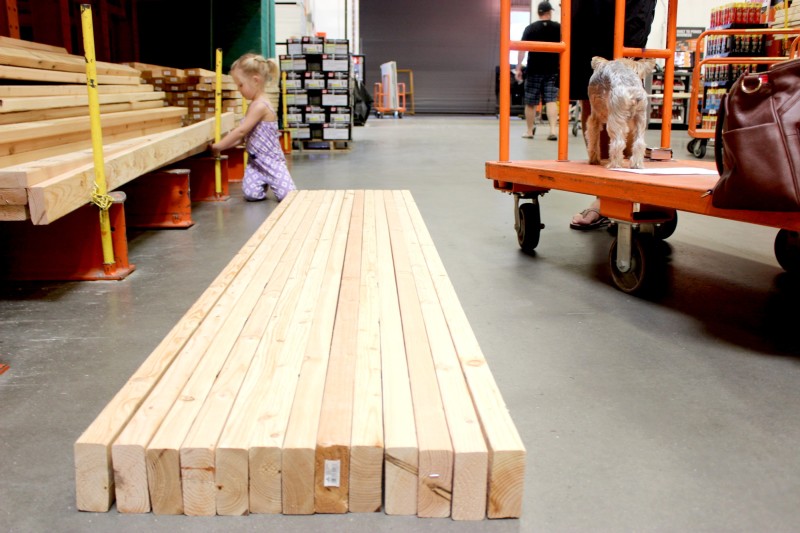
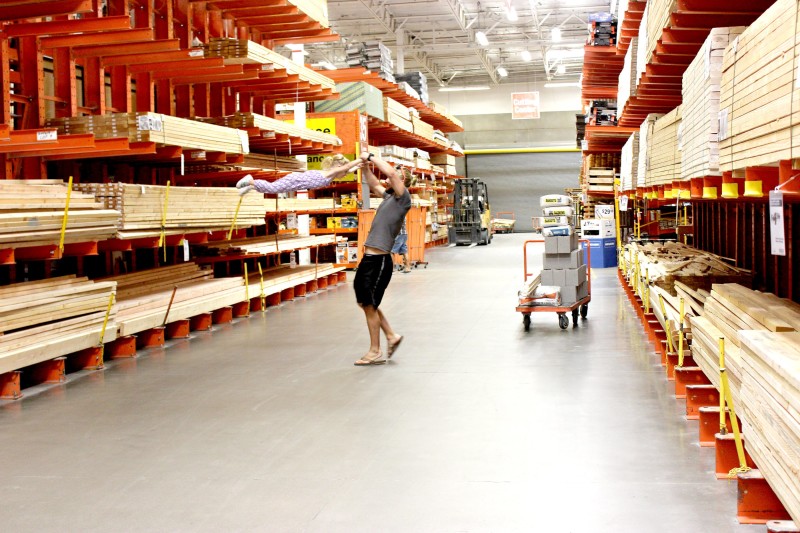
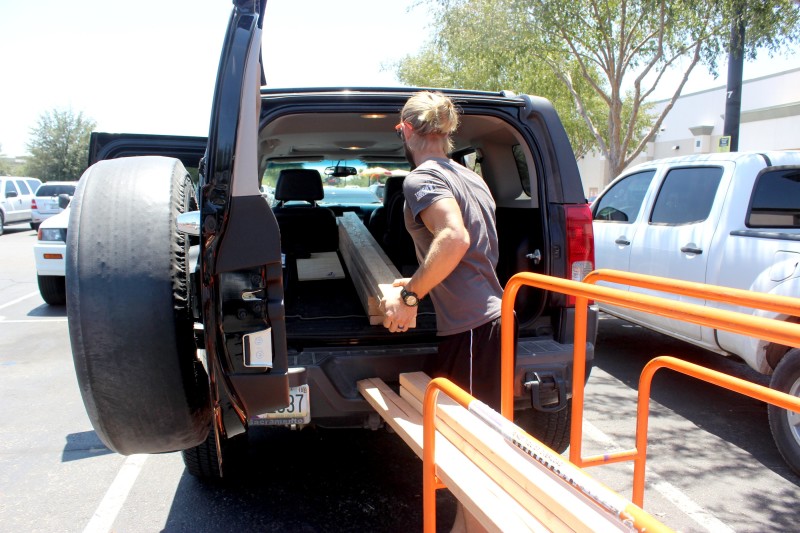
 I had some other wood but the dimensions didn’t work out so we headed to Home Depot and picked up a bunch of 2x4s. The 2x4s were long enough that when we cut them in half they were the perfect length that I wanted. For $2.60 a piece I couldn’t pass up this wood. The only downside of buying 2x4s is that the edges are rounded; once we got them home Chad cut them in half (they are 8 ft long) & then ran them through his table saw to plain the edges. This made them perfectly square to make sure that the desk ended up perfect and flat on all edges. Time consuming as all get up, but also really worth it in the end (said as I sat inside the air-conditioned house not breathing in hours of sawdust).
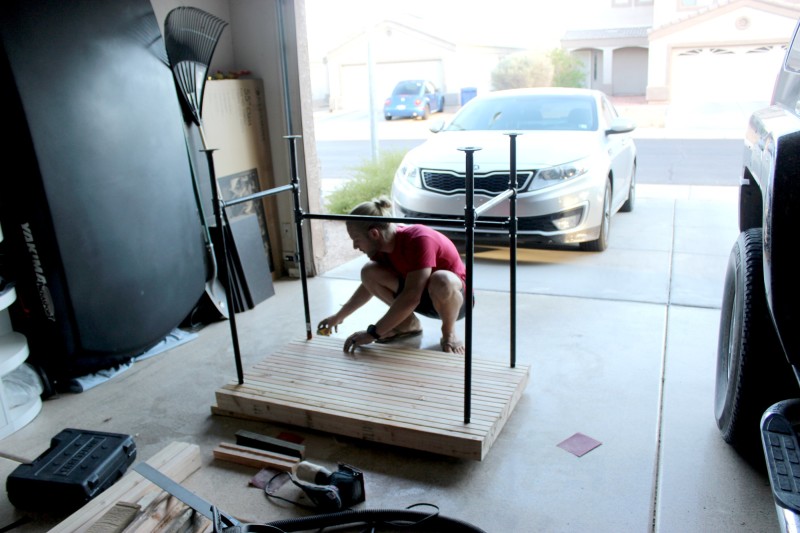
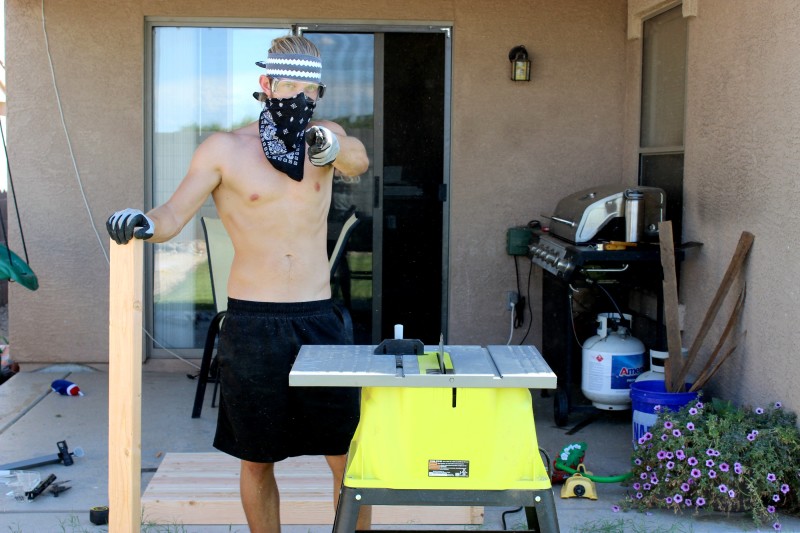 (HOTTIE ALERT! Yowza I married up!) Then we lined up all the pieces & I put them in the order I wanted them based on color, knots, and grain lines. We (me) just started gluing and clamping things together. At the end of that, the table slightly veered left ever so slightly about half way down. Because it was crooked I had to bust out the hand sander and spend hours trying to get it even. Fail. *note to self* Make husband do all projects.

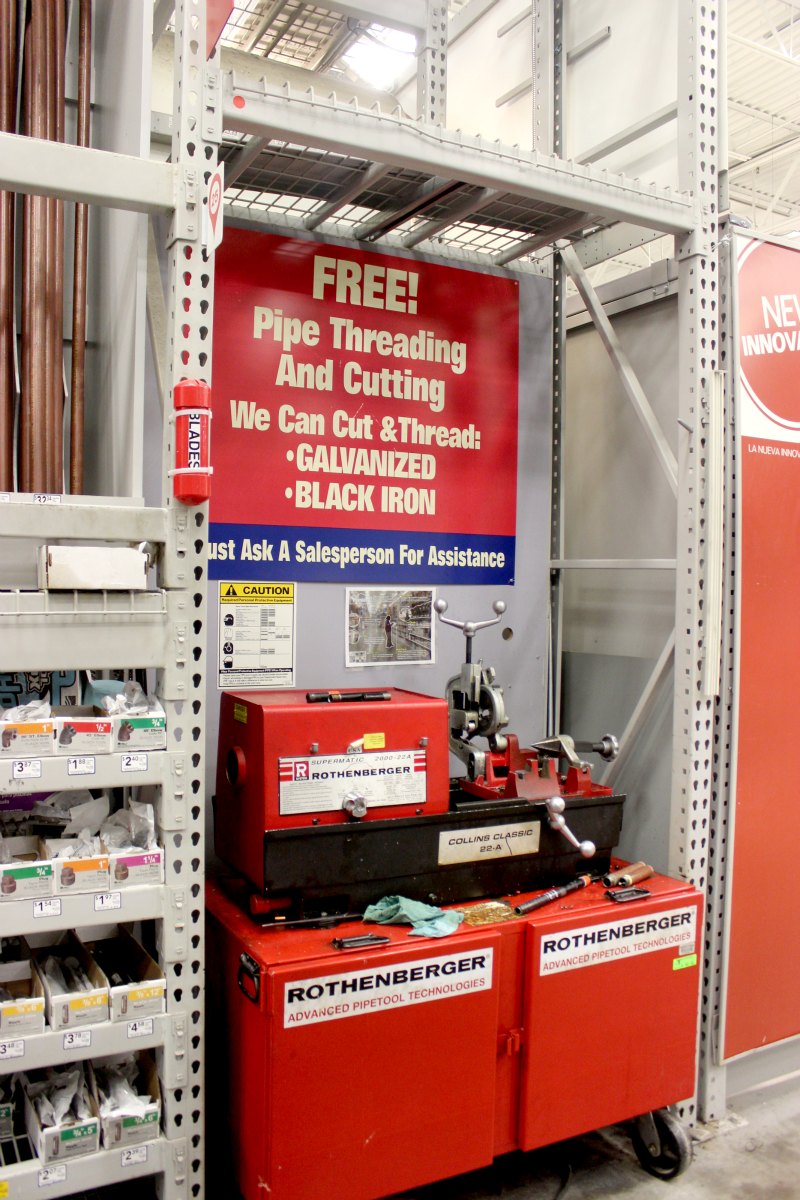
 About halfway through sanding we decided to take a break to head to Lowes to get our piping. We had planned on getting the piping at Home Depot but Lowes cuts and threads for free. While we were there picking out piping we met a contractor who gave us some tips on how to put the piping together & we ended up sharing pictures & projects & he mentioned he had a saw large enough to cut down the table so I didn’t have to spend another billion hours sanding it down to be even. Chad took it over to him the next morning and he cut it down in a few minutes. After he brought it home, I still spent about an hour sanding the top down so that is was perfectly soft, flat, and smooth.
The piping was definitely the trickiest and most expensive part of the entire project. I had no idea piping would be so dang expensive! The tricky part is, while Lowe’s will cut and thread your pipe for free – they can’t cut under 12inches so instead of using a cheaper huge piece of piping we had to buy lots of little pieces individually priced and way more expensive. This could have been eliminated if it was built differently but because of the overall size and weight of the top we really needed some cross and back bar support. We literally hung out at Lowes for around 3 hours while we sized, cut & threaded all the piping to fit together perfectly. I am so thankful my mom was in town while this happened because she wandered the store with Presley the entire time we were piecing this together. Once we had everything put together we headed home to put it together with the tabletop.
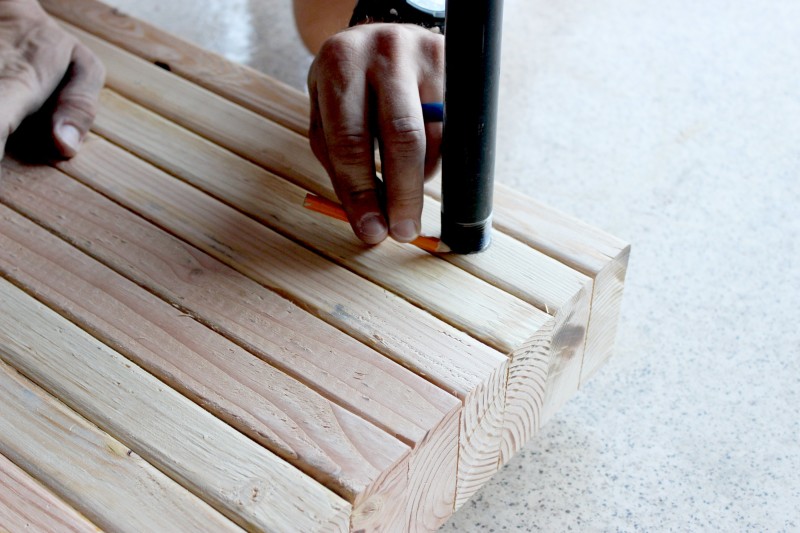
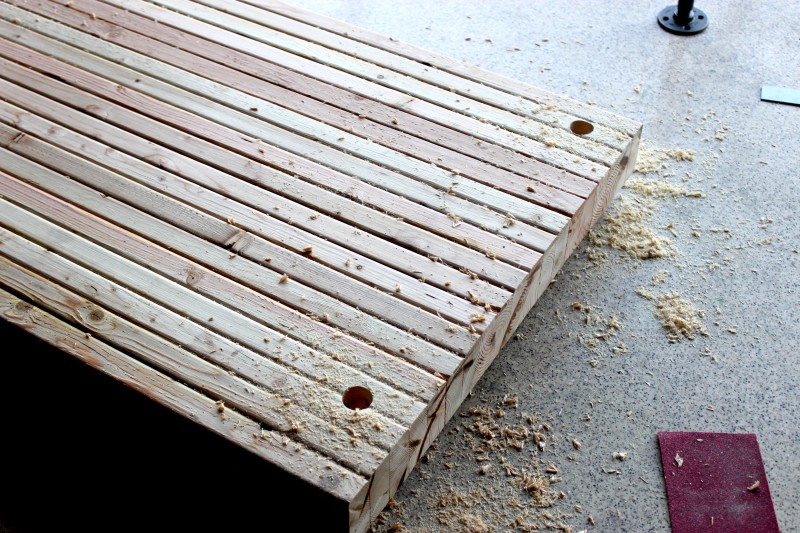
 One of the tips we got from John the carpenter at Lowes was instead of spending $25+ on flanges to connect the piping to the desk to just drill down holes & to set the table on top of. Genius I tell ya. We flipped the table over & Chad marked & drilled out the wood so that the piping would fit snug right inside of the hole. I cleaned the piping & painted a thin layer of DecoArts Chalky Finish in Black to make it all flat and gorgeous.
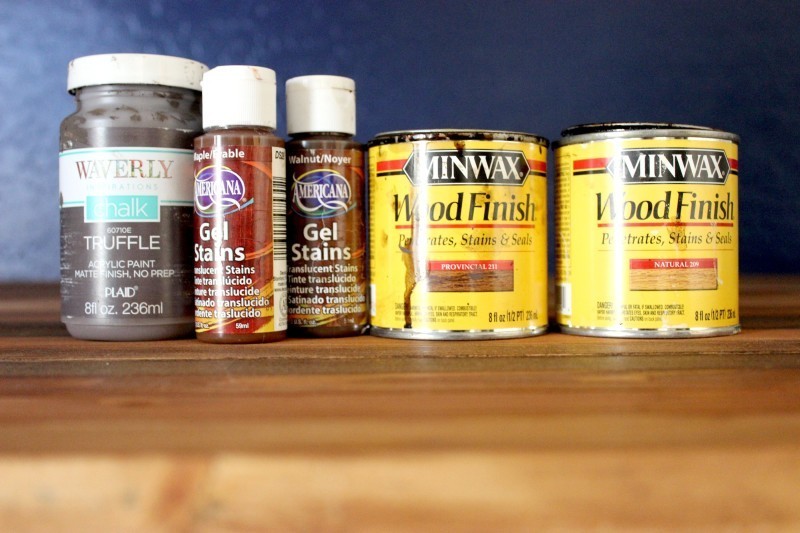
 Then, we carried it inside & I spent a few hours staining it. I went piece by piece and stained one at a time to make the wood all look a little different. It took forever but turned our perfect! Then, I let that sit for a few days before adding a polyurethane to the top & let that sit for a week to perfectly cure before setting up my desk just how I wanted. Phew. Mouthful.
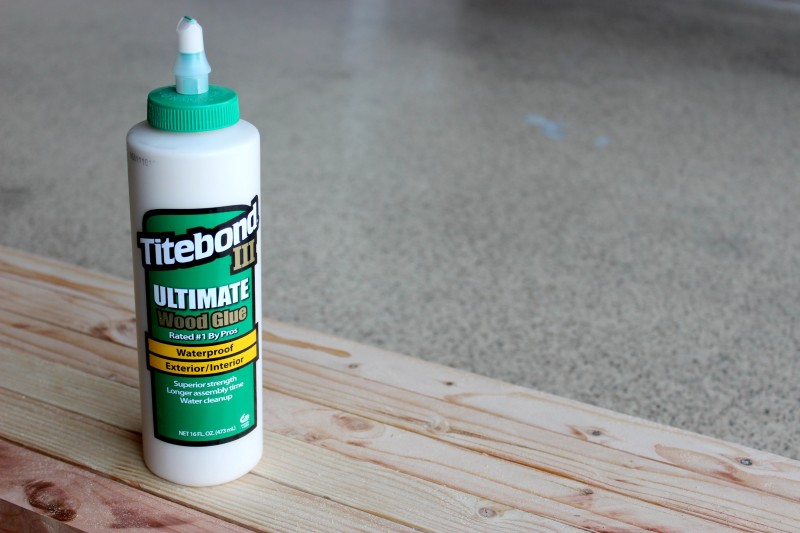
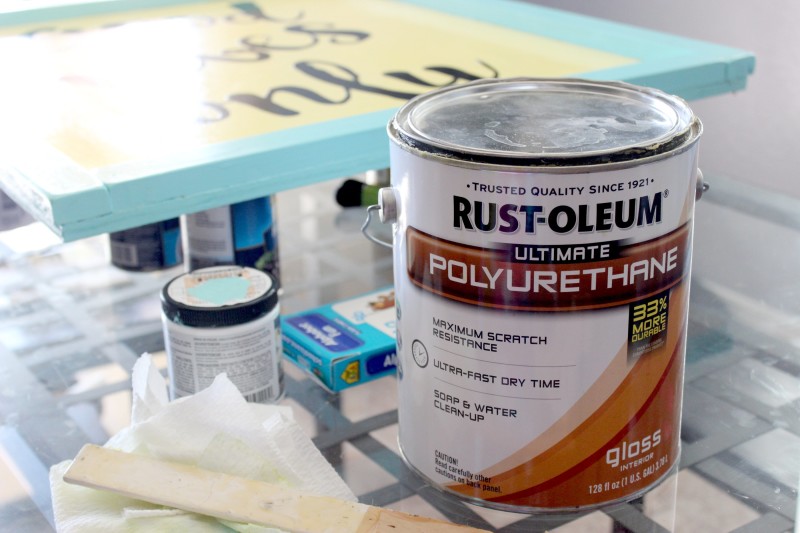
 Waiting for a week is such a pain. But you’ve gotta do it! Here is the Polyurethane that I use for all of my projects. I absolutely love it.The ONLY downside is that is does yellow slightly so I won’t use it on any white projects.
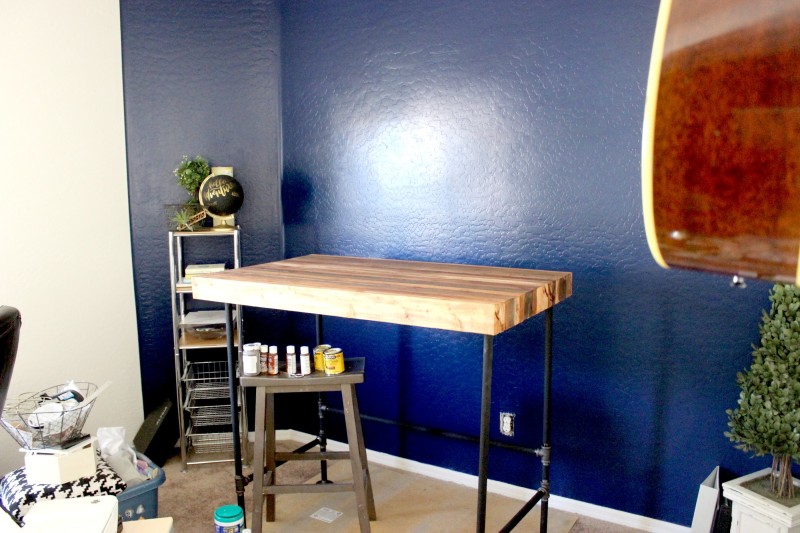
 And there you have it. You’ve got a gorgeous, farmhouse industrial desk. Gorgeous aint it?
PRICE BREAKDOWN:
2X4’s = (9) at $2.60 a piece = $24.00
Flanges (4) = 20.00
T joints (6) $15.00
Black Iron (we used 16 feet total) – cutting and threading is free at Lowes totaled: $14.00
Small 8inch pieces for the bottom legs at Lowes pre-packaged (machine cant cut that short): $13.00
Small 4inch pieces for the bottom pre-packaged : $5.00
(I am rounding up because we receive a military discount and it’s just easier to add even numbers)
TOTAL: $91.00
Sand paper: $11 ish. I ended up using 50 grit after spending hours with 80 grit. Lowe’s sandpaper is definitely cheaper than Home Depot.
Stain & Poly I had on hand.
Whoop whoop. If you have any questions, let me know. Either in a comment, or via email. I’d love to help you make your own. You can do it!

What a smart idea! And so affordable. It came out really well – great job!!
So what I am going to do is send Ernie down to Arizona to get trained by Chad. He needs some woodworking skills so he can start making me some projects. You guys are so talented!!
Oh man look at you go! The desk looks incredible. You should seriously start SELL them! Do you think you ever would?
That desk is gorgeous! I need to get more tools to make projects like that.