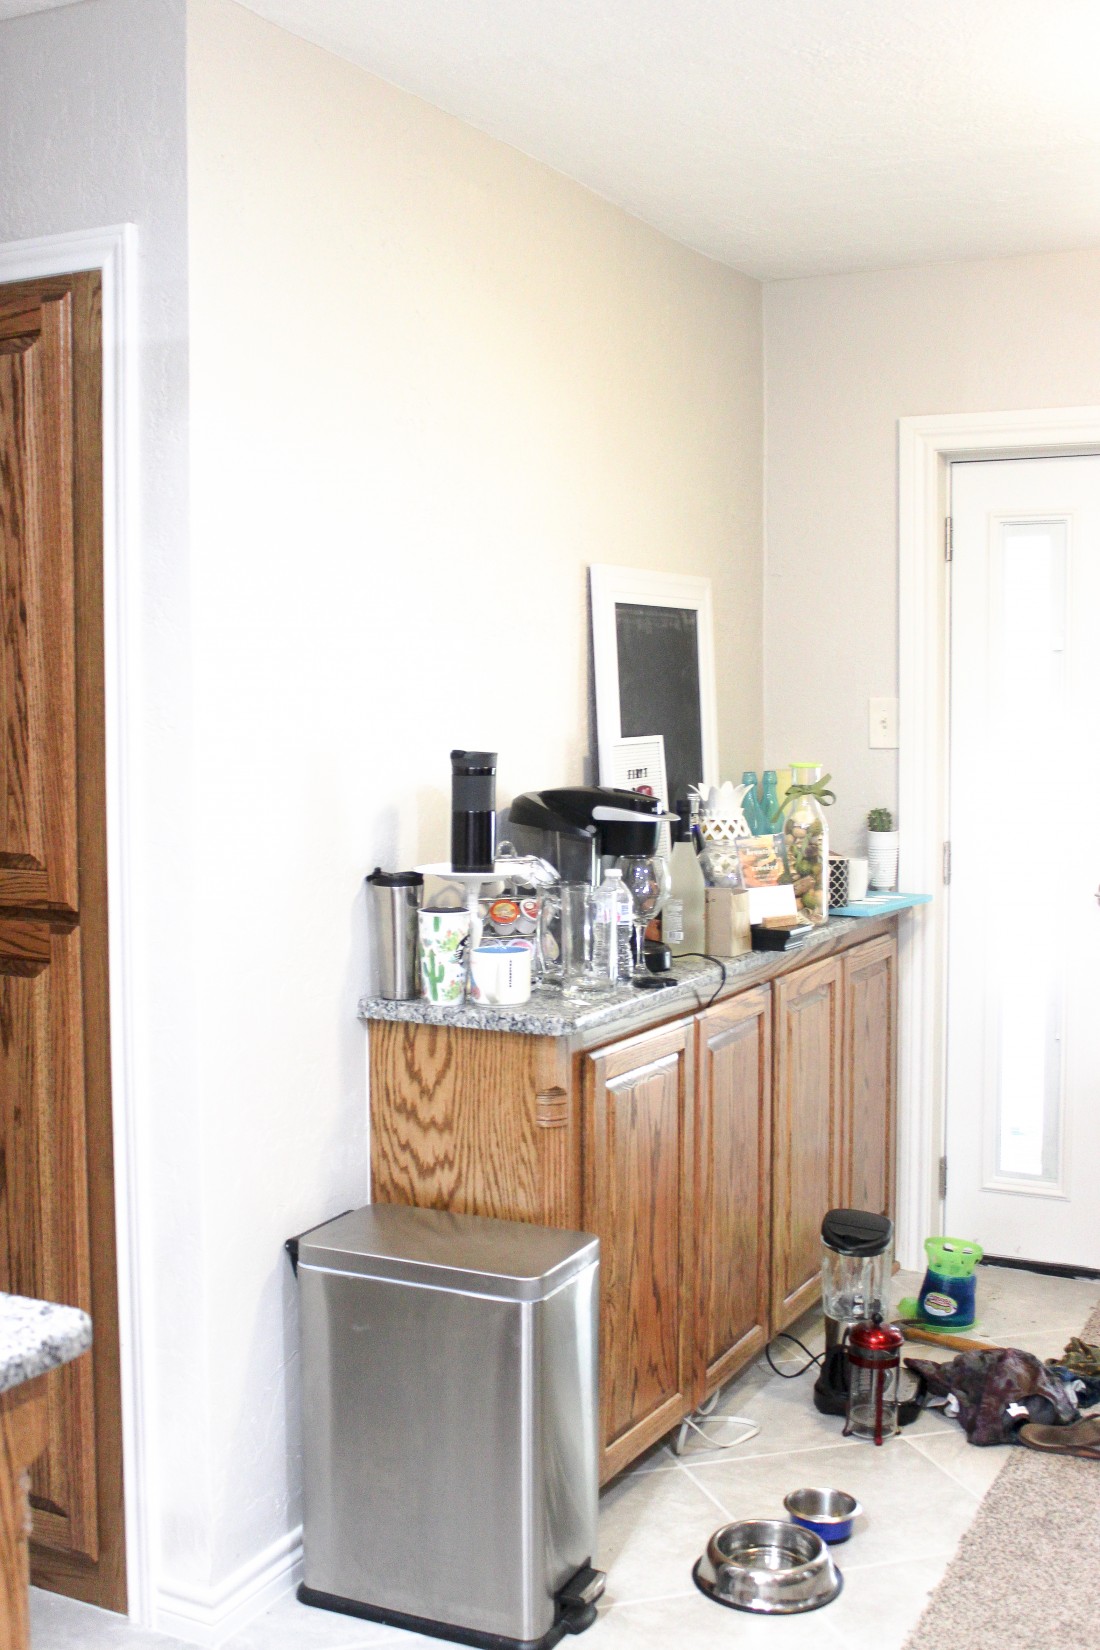
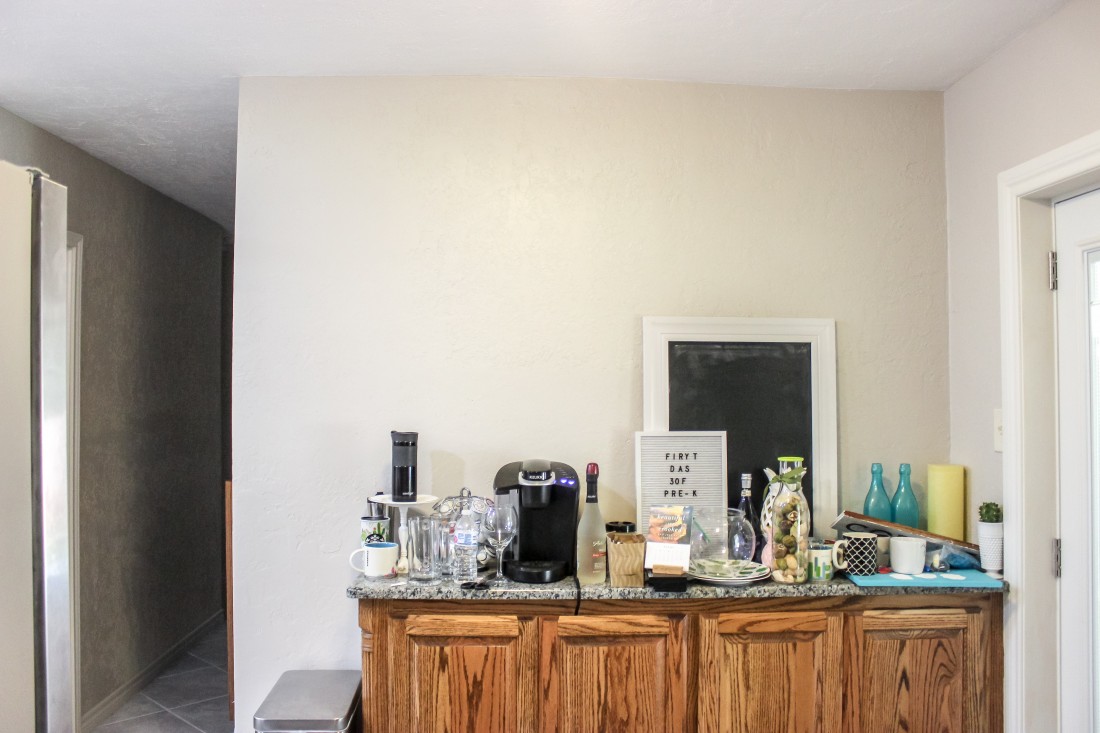
AHHHH! I am so excited to sit down and share this DIY Shiplap Tutorial with you today. As soon as we purchased our home in Oklahoma I knew that I wanted to tackle a few projects to update the home before we rent it out (we PCS soon). Plus, if you’ve even seen one episode of Fixer Upper you’ll be hooked and want to bust down walls and shiplap everything in sight. The home is in great shape, so I knew I only wanted to add a few things to give it some personal touches & decided that shiplap would be the first thing to tackle on my list. The area I picked could be considered a little breakfast nook, but the space leads to the patio so it’s not a great space for a table or chairs so I turned it into a coffee bar & figured that the shiplap would be absolutely perfect here. Of course, here is a before shot:
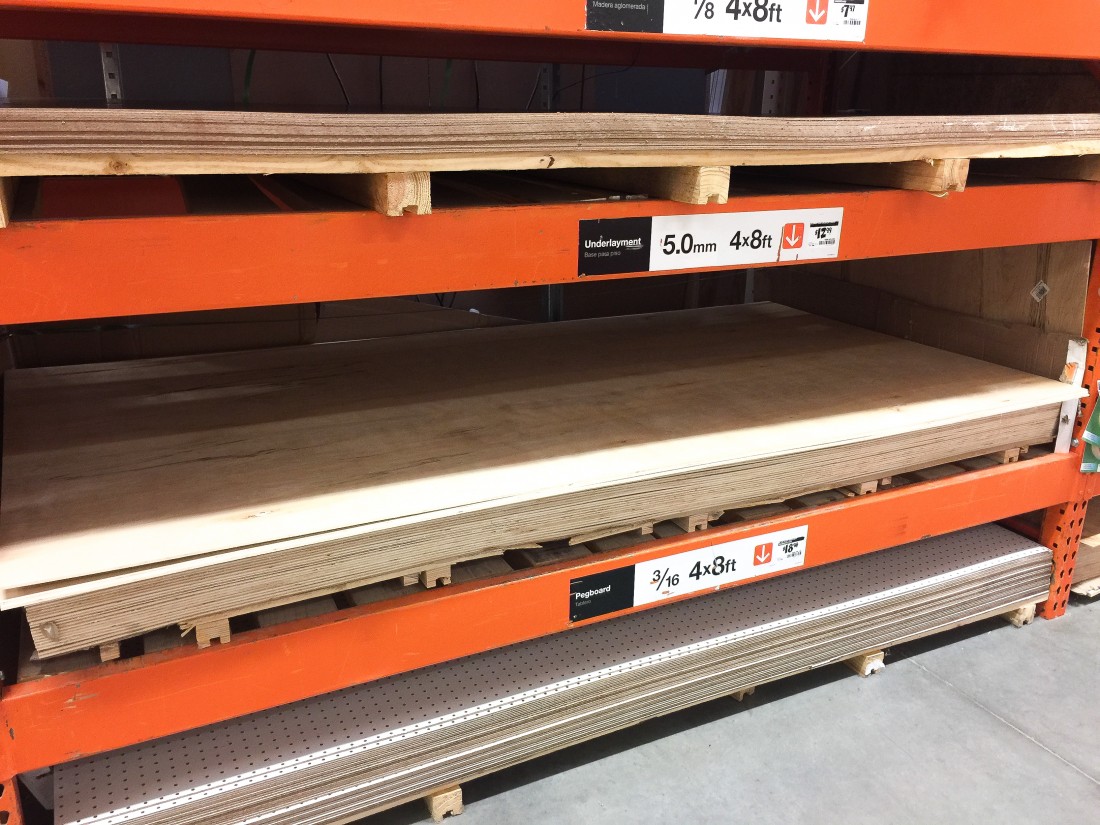
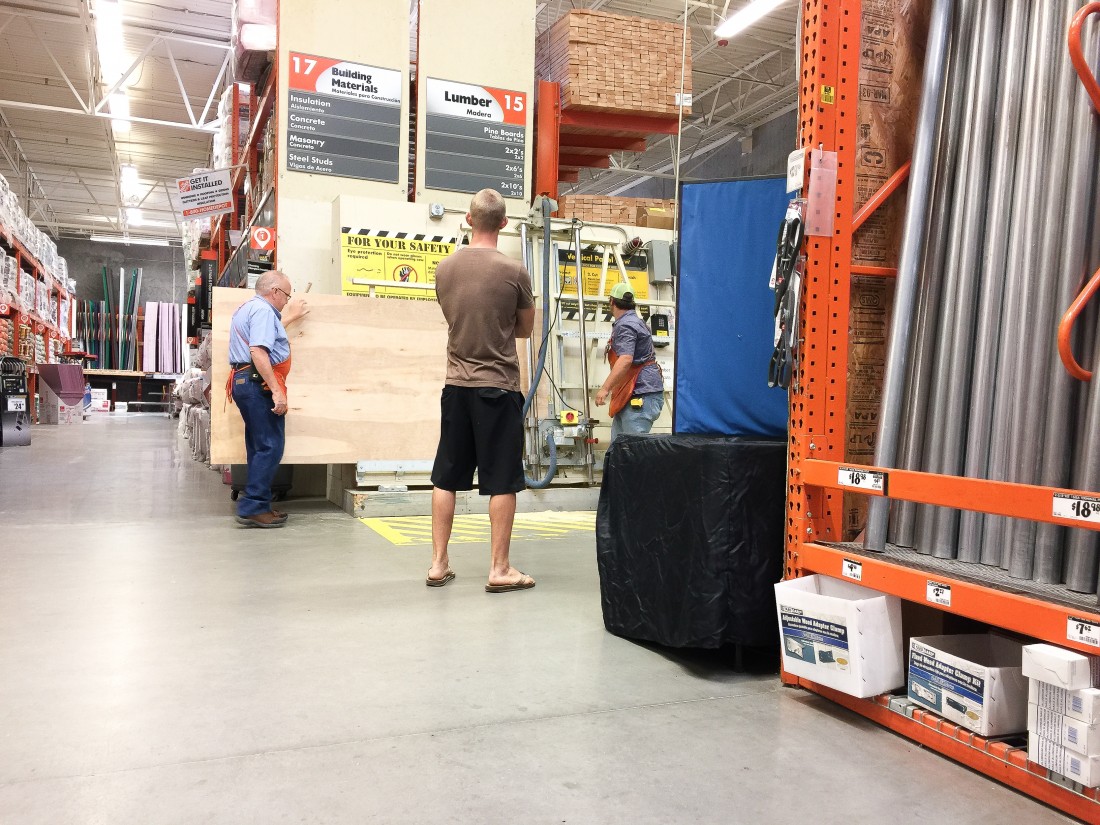
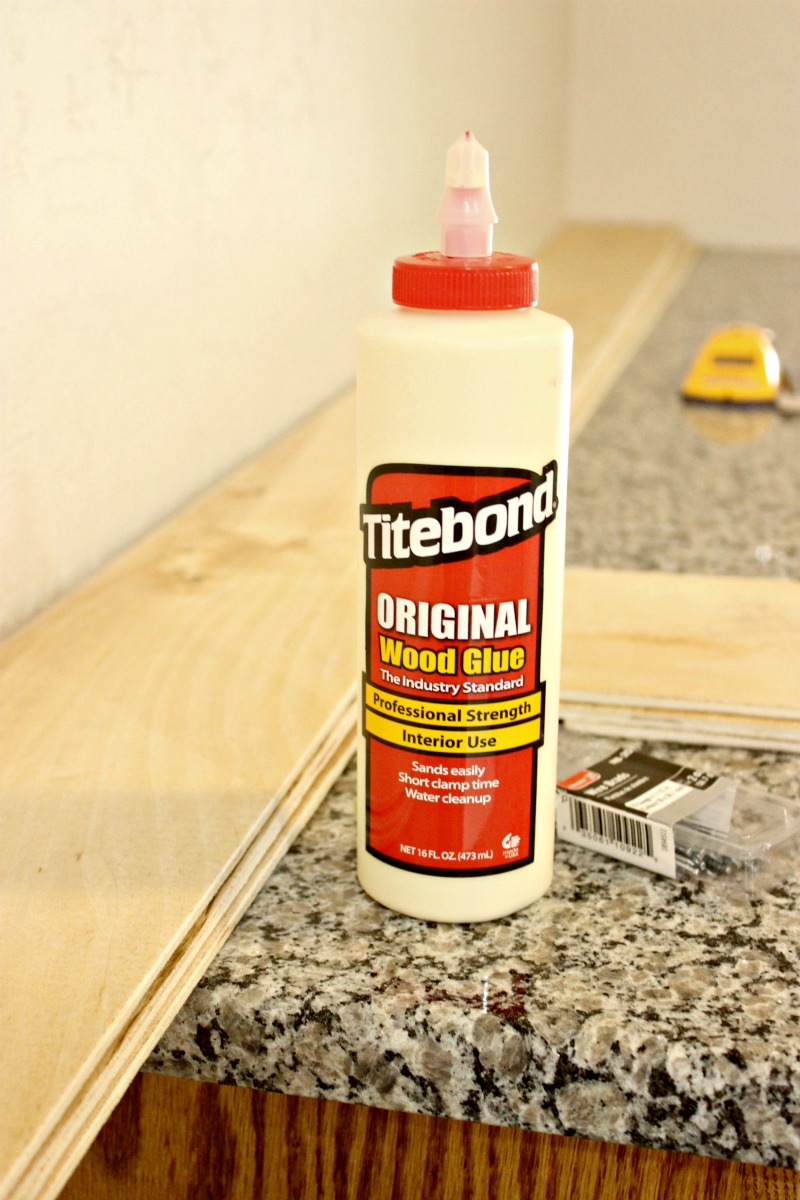
I sketched up some plans & measured everything, made our shipping list and then we headed to Home Depot to grab supplies. Shiplap is super easy and you only need a few supplies: Underlayment, glue, nails & some paint! Wham – baam thank you ma’am. The super awesome part about Home Depot is that they can cut the Underlayment which is $12.99 for a giant sheet. We had ours cut in long 6 inch section. The first 5 cuts are free, cuts afterwards are 50c. TOTALLY worth it for perfectly straight cuts & some DIY shiplap you can load into the car and take to farmhouse up your house.
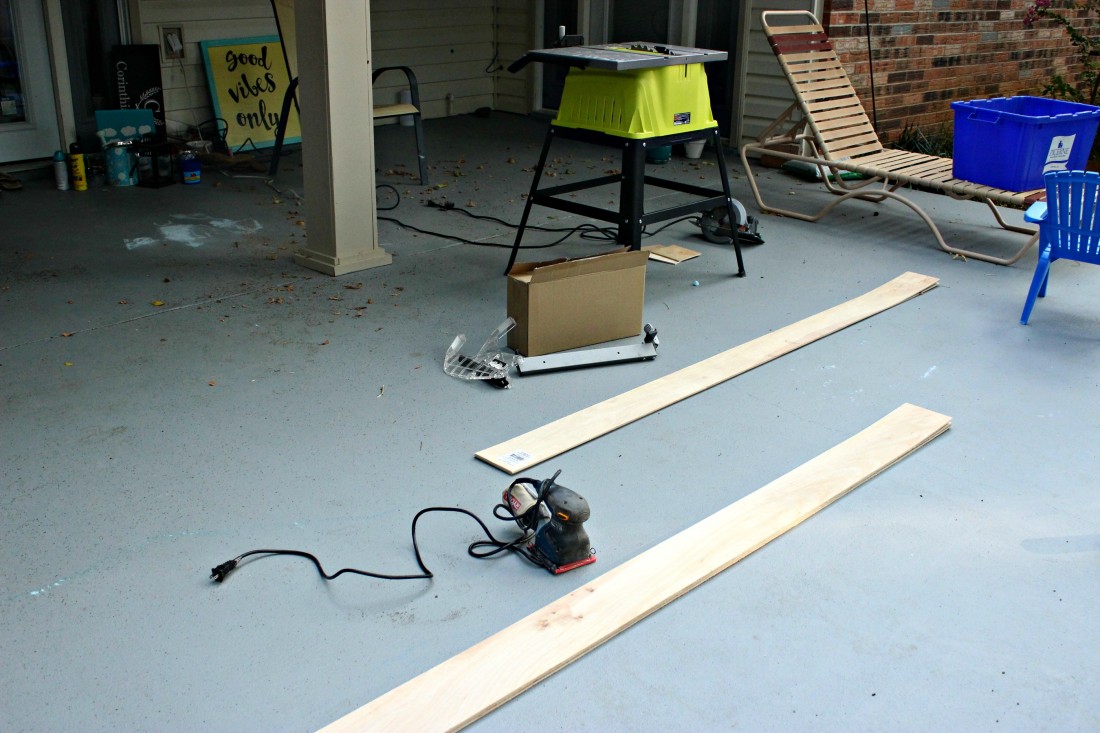
 I decided I wanted a more finished Shiplap look & lighted sanded down the edges with some 80 grit sandpaper with our hand sander. This was super easy to do, just time consuming because the pieces were super long and flimsy awkward but I’m glad I did it because the boards were much easier to handle (no splinters the entire project – sayyyy what!!) and it looks very finished and perfect. We ended up using 1.5 sheets of Underlayment. We would have used less if I overlapped the boards, but I wanted full pieces instead of different length pieces.
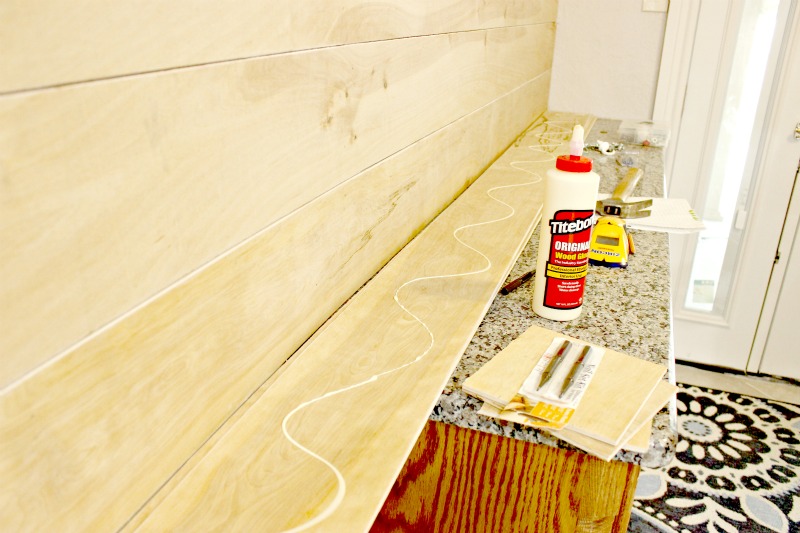
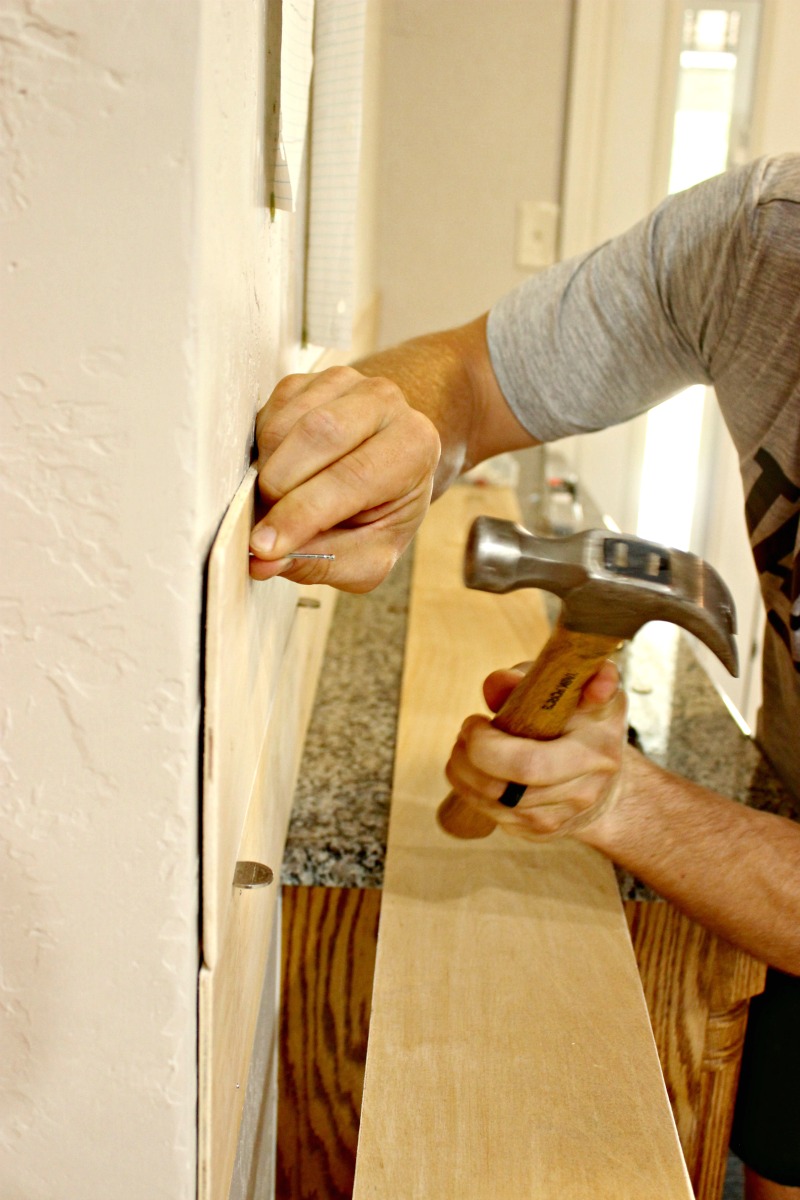
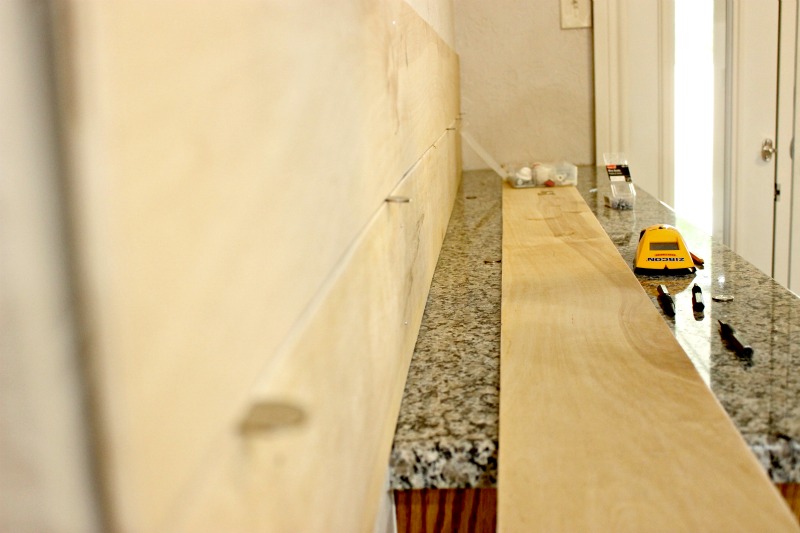
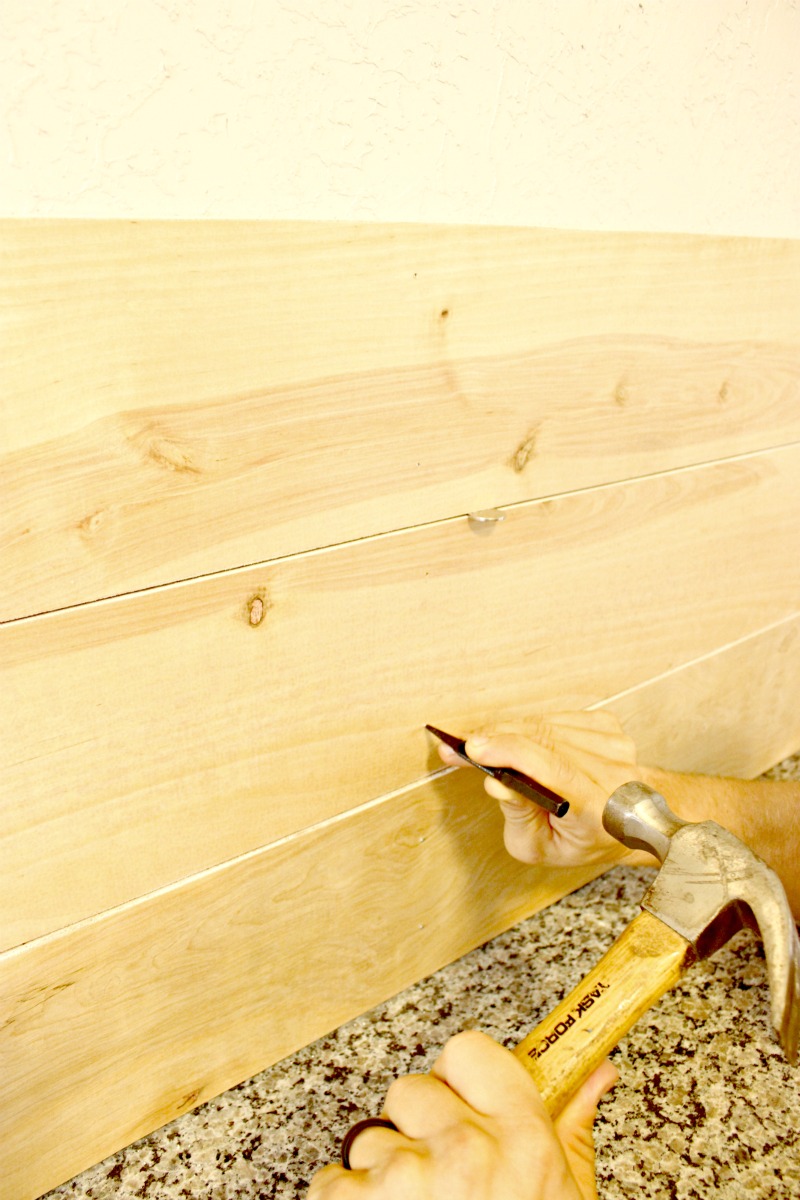
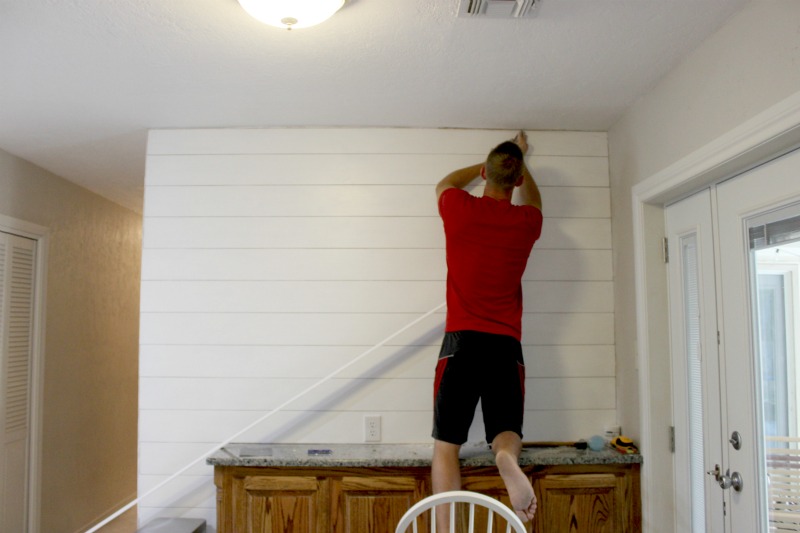
Next up is the actual project portion – I knew from measuring that the ceiling was very uneven so I decided to start at the bottom right at the counter so that I could make sure that line was straight and then figure out the top when I go there. Apply glue & nail in place. To get perfect shiplap spacing bust out your piggy bank and use some nickels between boards.
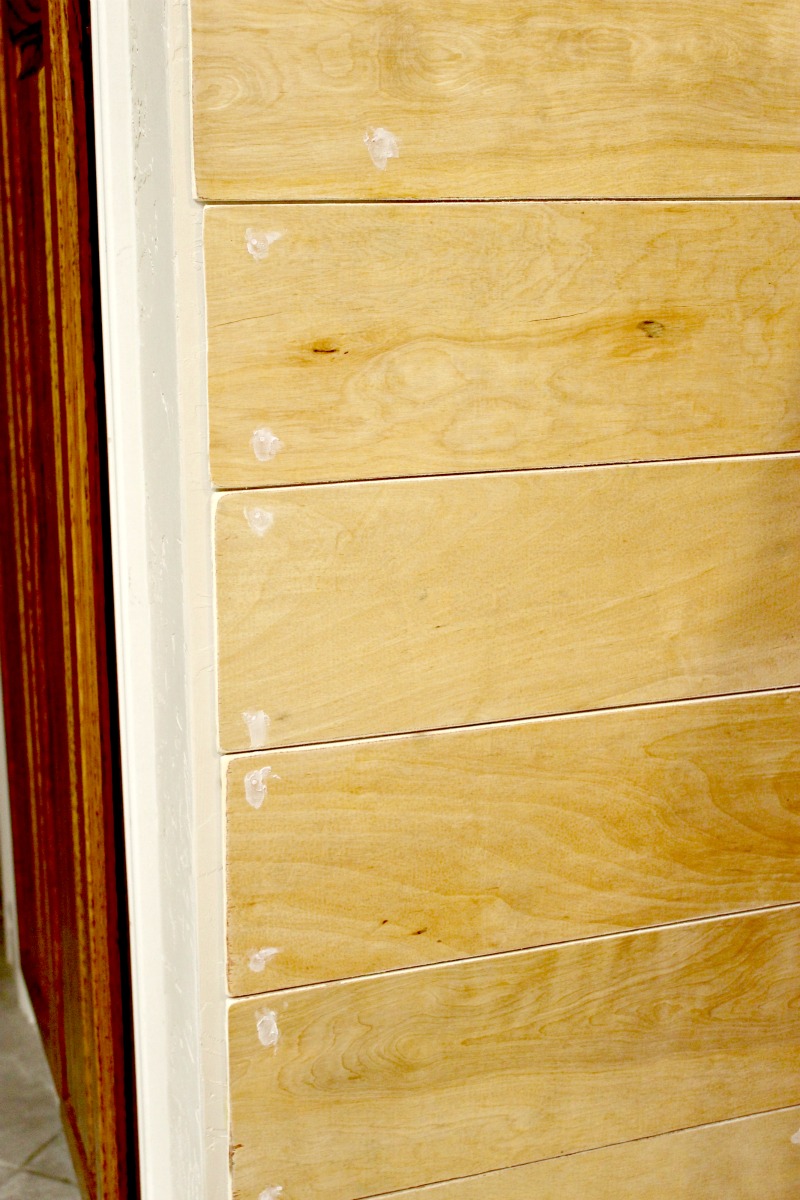
 Shiplap is known for it’s unique dents and dings – but I wanted ours to be a little more cookie cutter so we decided to sink the nails, fill the wood filler & then I gave them a quick sand before busting out the paint.
 Of course, I used my favorite brand of paint DecoArt because the quality is top notch and has never done me wrong. I also kept a nail handy in case any dripped in the spaces between the boards. I used that to wipe the paint out to make sure the lines between the shiplap was crisp and clean.
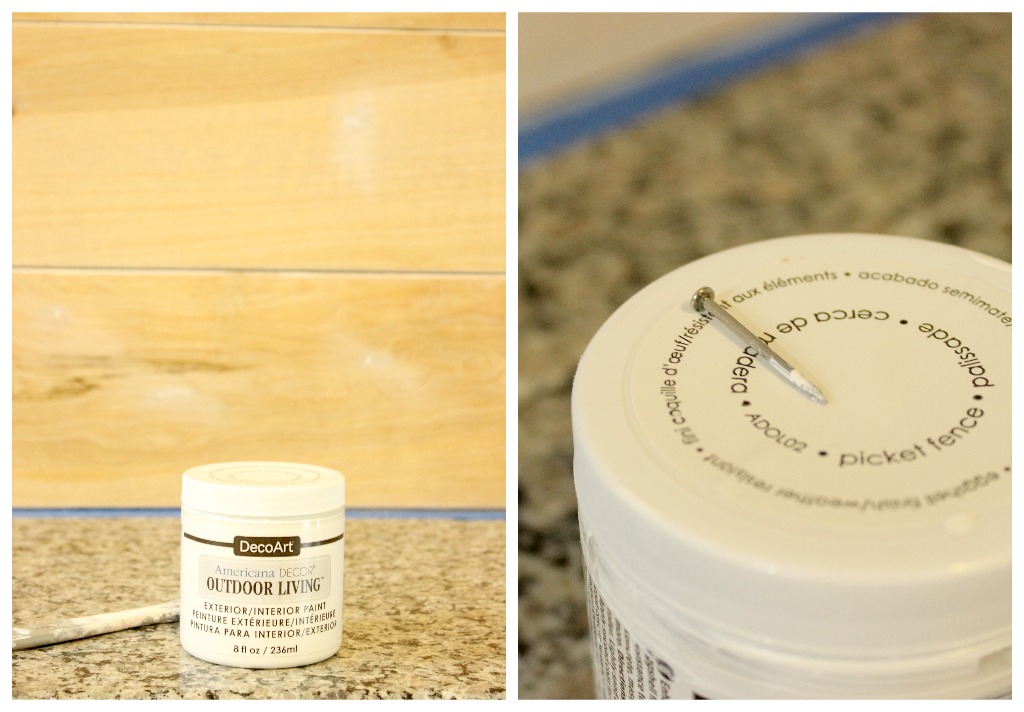
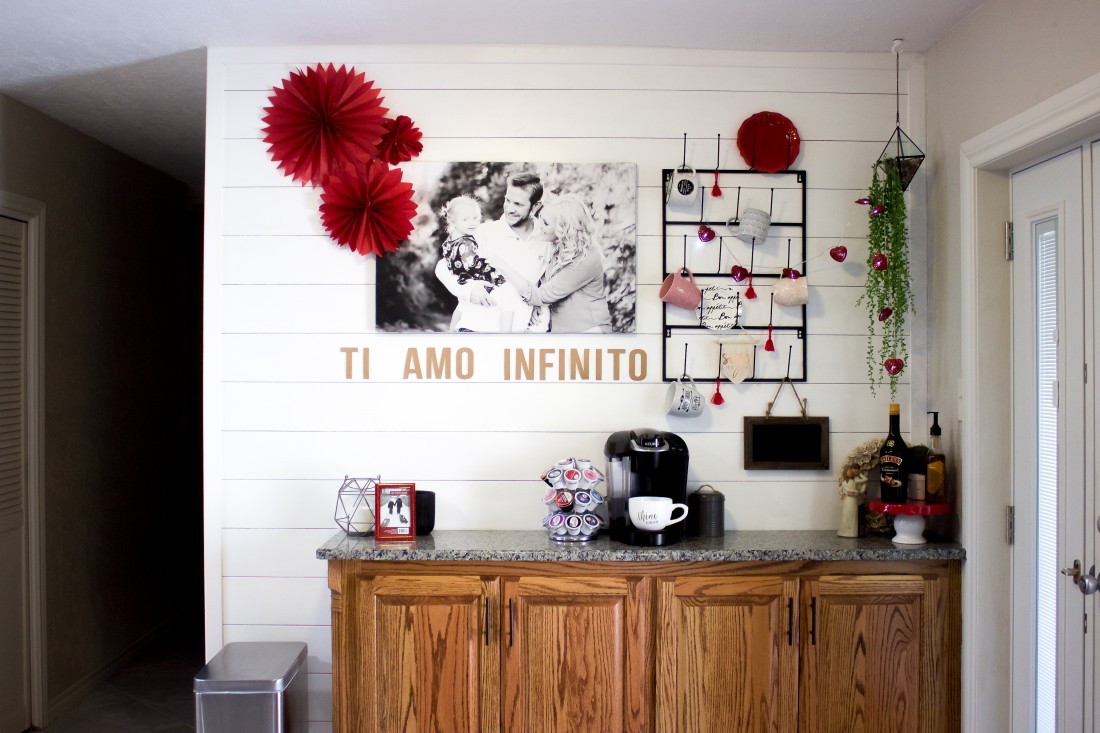
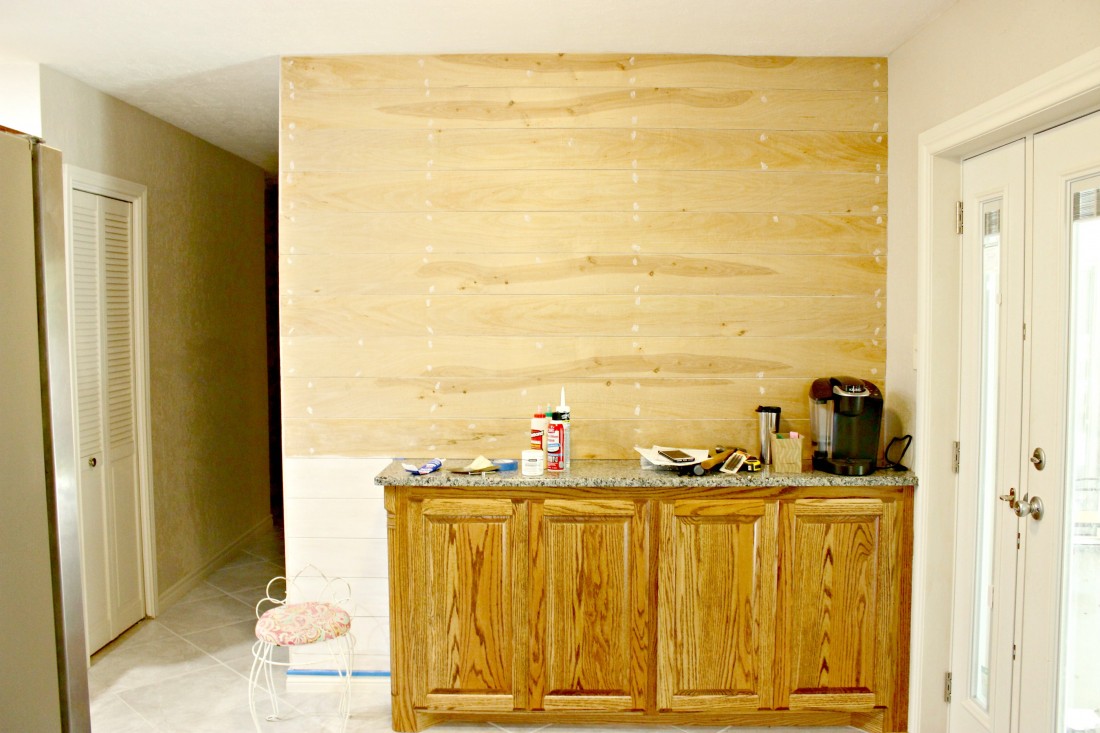 After the wall got a few coats of bright white paint, we decided we wanted to add some trim work to really frame in the new coffee bar area. We measured, trimmed and nailed them in place.
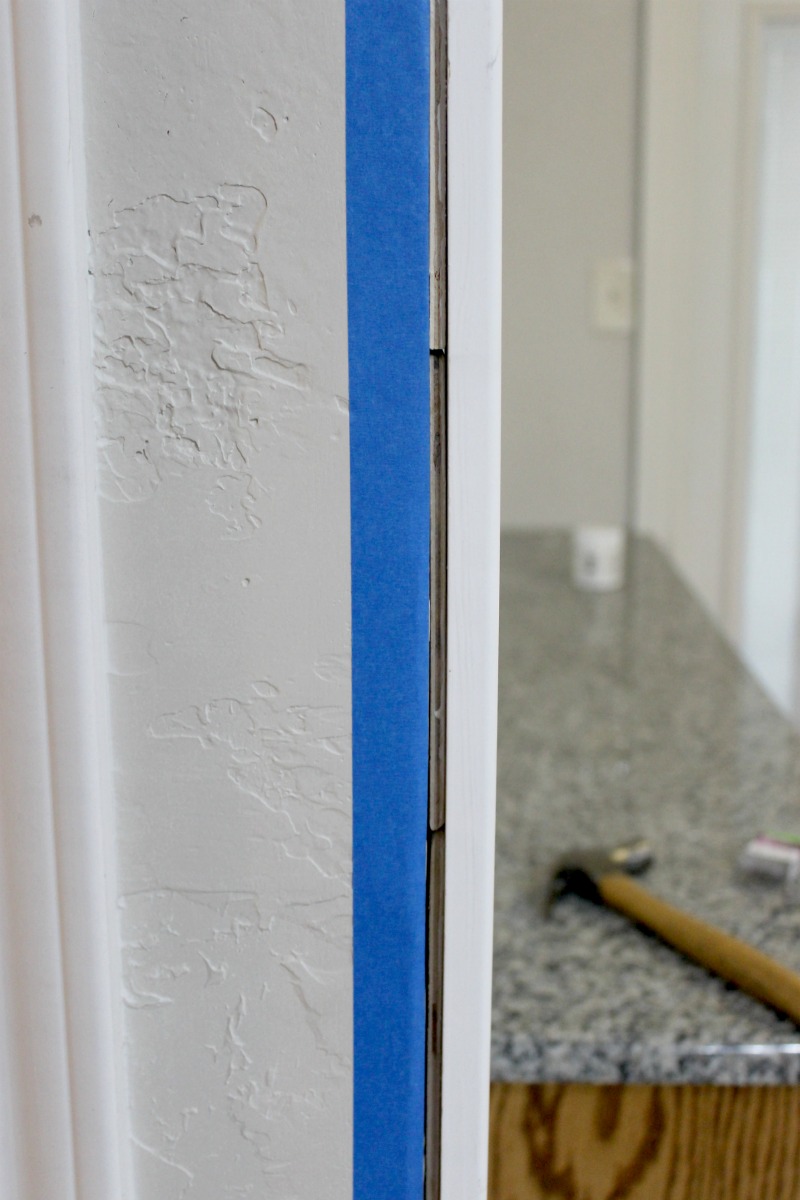
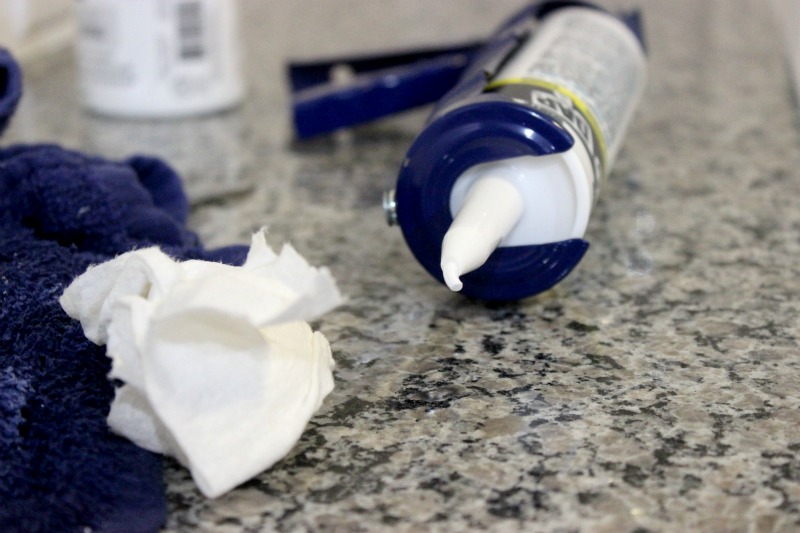
 Because the underlayment is super thin and we added framing on top – there was a visible space on the side of the wall when you viewed the wall from the hallway. So I decided to use some white caulk to fill in around the areas were the frame hits the wall (the ceiling, the opposite wall and I also did the bottom where the shiplap hits the countertop) This was just an added step that really gave the wall a finished look.
 Chad moved the outlet that was previously under the counter space in the cupboard (impossible to use down there) to the top of the counter. I didn’t think such a thing was possible by us new homeowners, but he busted it out in just a few minutes. Genius man I tell ya. I definitely married up. Dentist during the day, and outlet mover at night.
 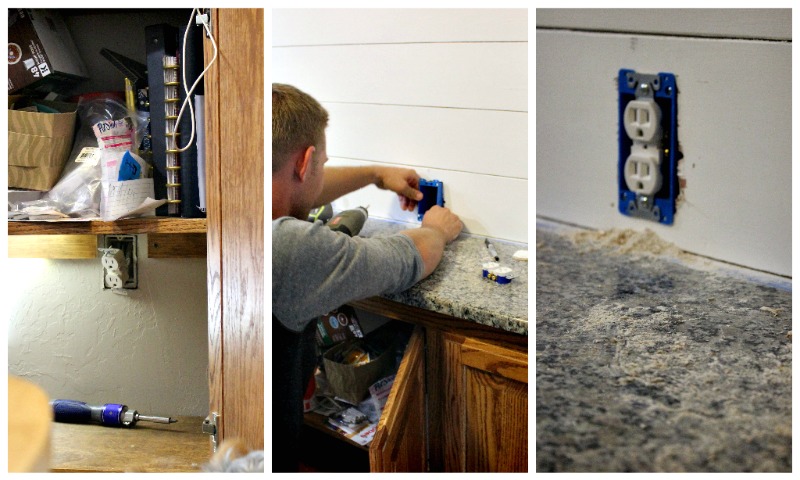 Then baam. I get to decorate it with every season change & I’m pretty sure I still look at it and get a big goofy grin every time.
Of course, a reminder of the before:
And the after:
Guess what project I’m working on next?
Completely refinishing our fireplace. YIKES.

Leave a Reply