First things first. We are renters. We are cheap. We are not keeping this house – yet we take pride in it.
Secondly. If you are renting, you MUST ask your landlords to make changes to the home, by getting insulation services from Clean Air Doctors. If you don’t, you are breaking your lease – can be asked to leave. Be fined & well, overall just not good things.
Thirdly. Ask your landlords AGAIN. Send them pictures of what you are wanting to do. Be prepared to tell them the process, how it will better the home & any potential damages or modifications that you will be making, etc. The attic should be insulated with Houston spray foam insulation for a good lifetime and also leaves the house-owners stress-free in rampaging some storage space in the attic.
Fourth. In general, modifications made to the house by renters, are paid for by renters. Unless agreed upon beforehand. So, you are investing in someone else’s house, someone else’s profit – if you are fine with that. Shoot, go for it. But don’t spend hundreds of dollars. That was our goal – better the house, better how we feel in the house, but not empty our bank account for someone else’s profit.
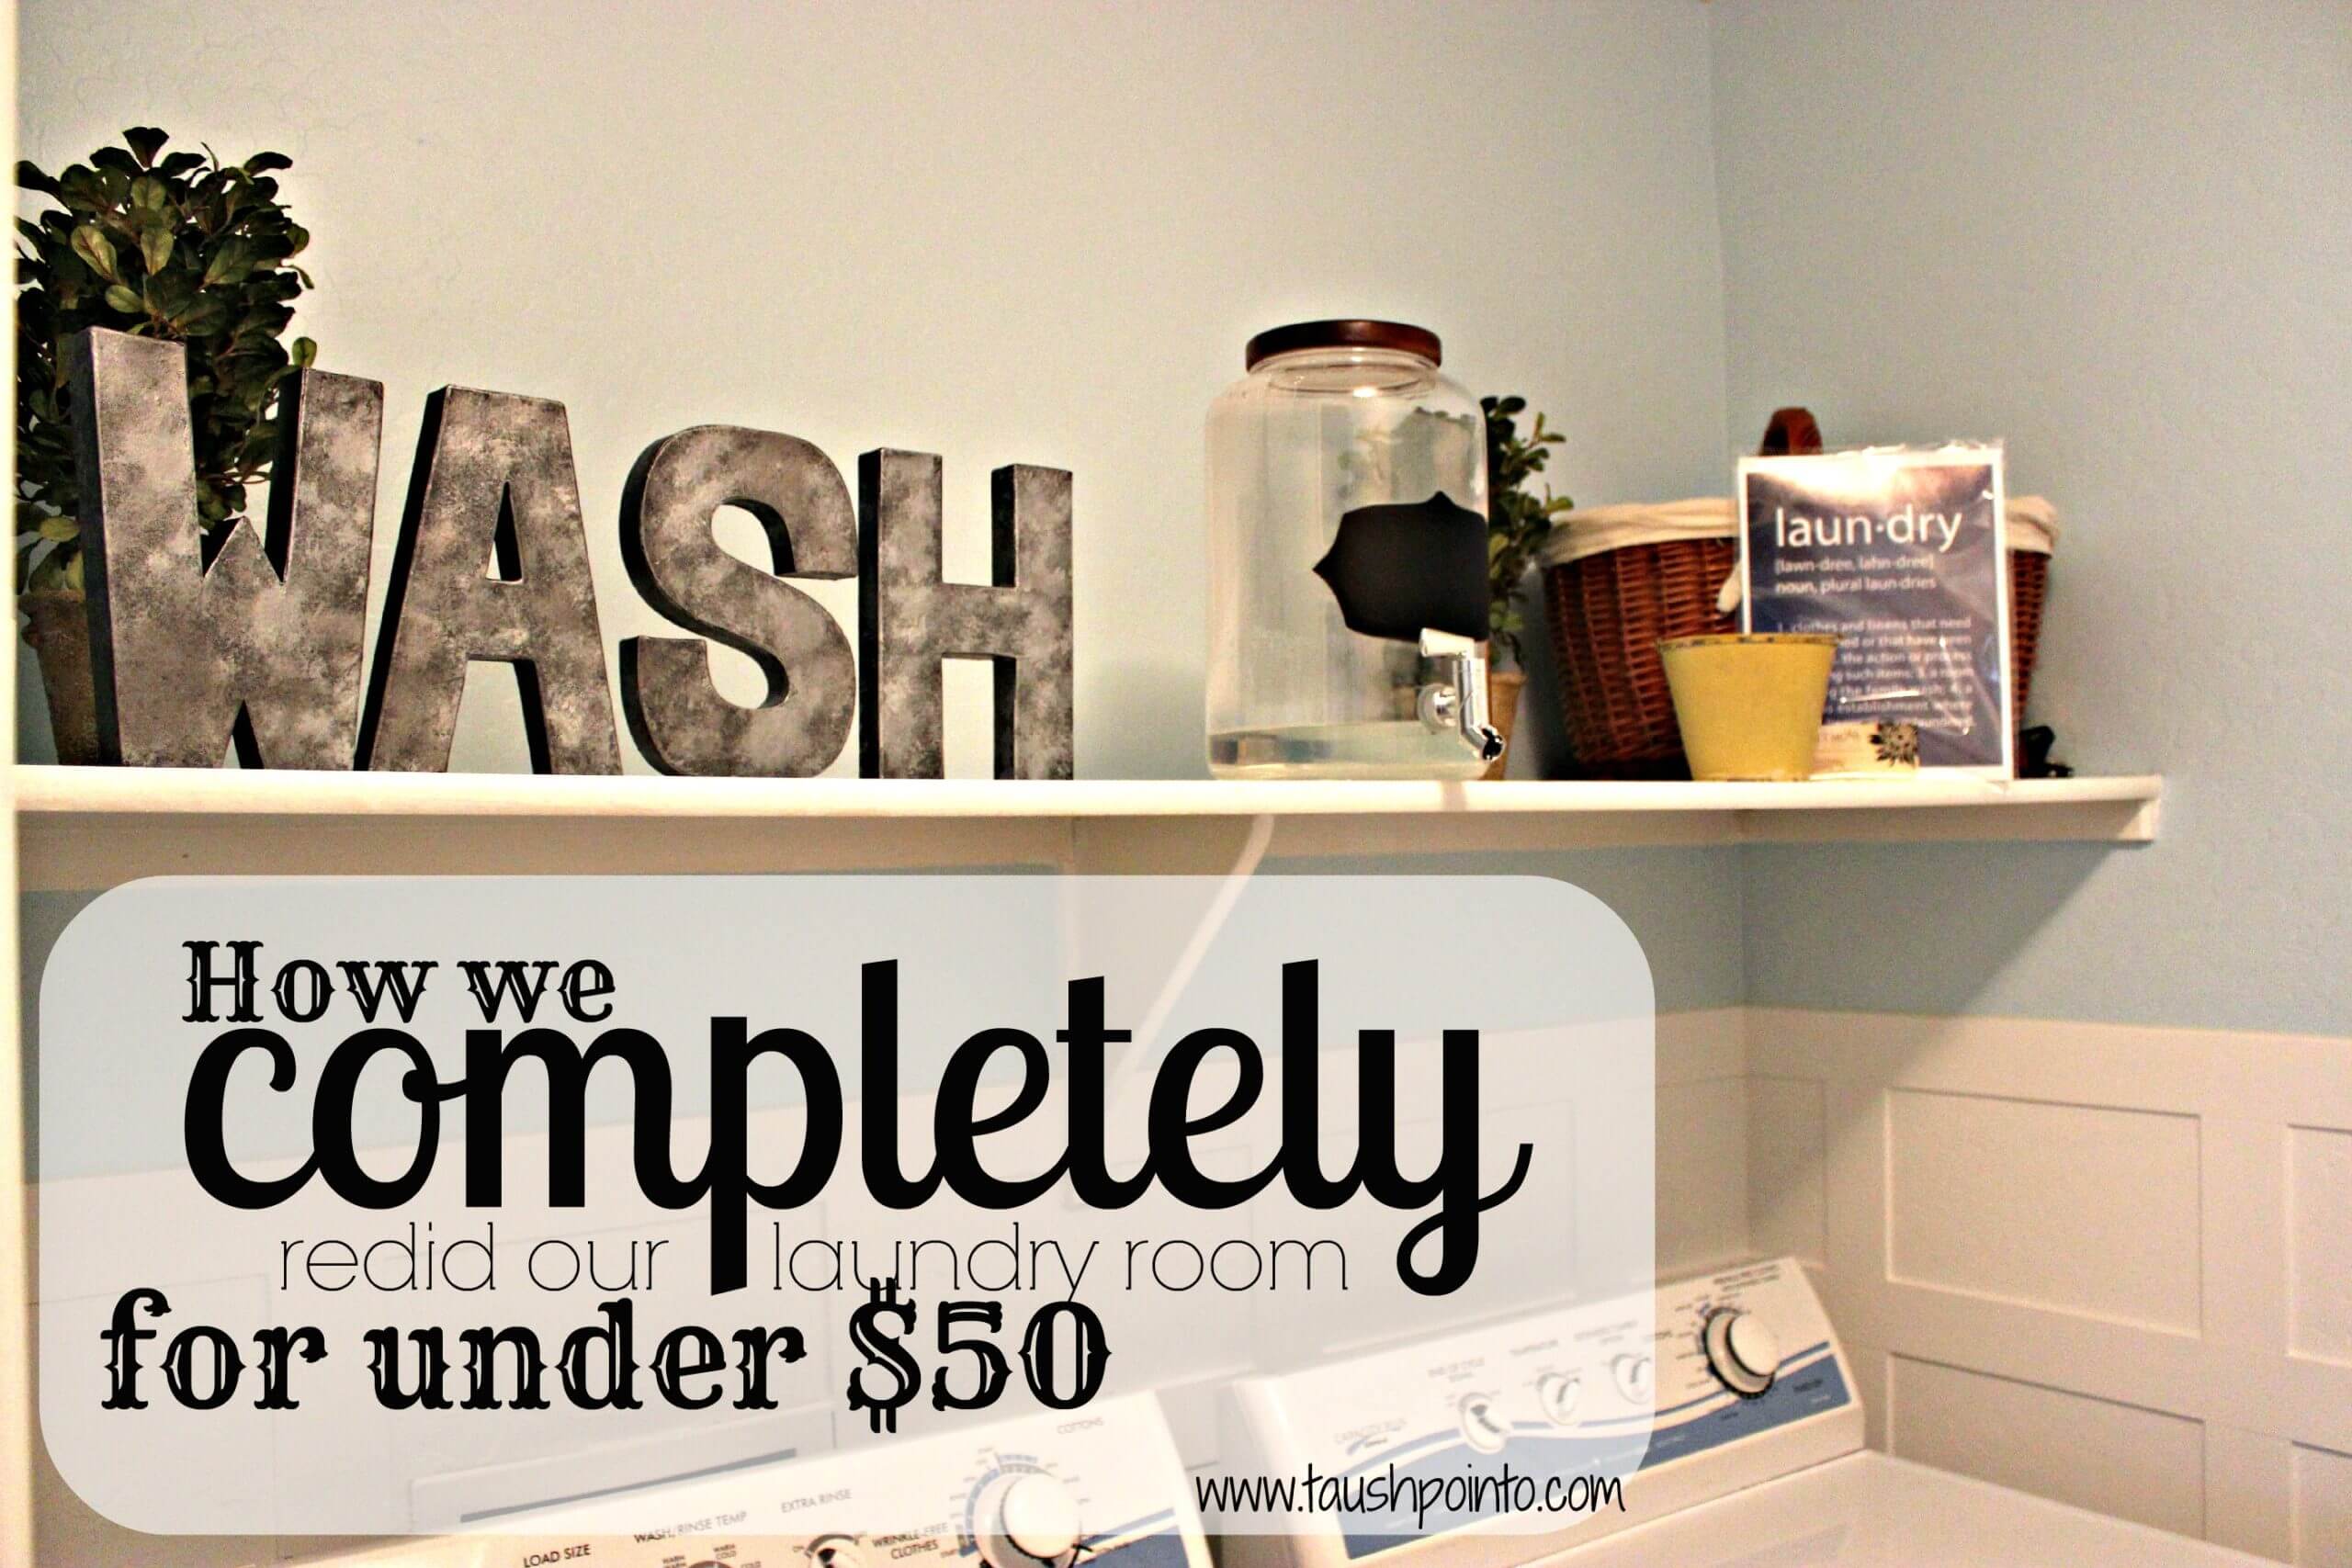
Our landlords are rad. I sent them pictures of what I wanted to do and got the approval. WE were financially responsible for the remodel. I’m sure our landlords care about the house & bettering it in any way possible – but they weren’t ready to fork out moola because we didn’t like the laundry room. The bright orange laundry room didn’t tickle my fancy. So it was my problem. I’ve told Chad before I’d rather do 5 full loads of laundry from start to finish than 1 load of dishes. I just love laundry – it doesn’t bother me. I’ve got a good system set up…..So, I want a Laundry room that’s comfortable, and beautiful and encourages me, even more, to keep all the Laundry done.
Being on a very fixed income, I wanted to completely redo our Laundry room for LESS THAN $50 TOTAL. And well, mission accomplished. You can see my inspiration on my LAUNDRY board on Pinterest….Here’s the breakdown & what we did. I really tried to include all the info here, but feel free to leave a comment or send me an email if you have any questions –

SUPPLIES:
Primer: Had on hand
Blue Paint: $20 – Home Depot. Originally bought just 1 pint, then realized I needed to do another coat. DANGIT.
Plywood (for wainscoting): $19.99 – Lowe’s
Wood Glue: Had on hand
Caulk & Caulk Gun: Had on hand
Hammer/Nails: Had on hand
White Paint: Had on hand
DECOR:
Basket: $1.99 Goodwill
2 plants: $1.99 Goodwill
Green vase: $.25 Consignment Shop
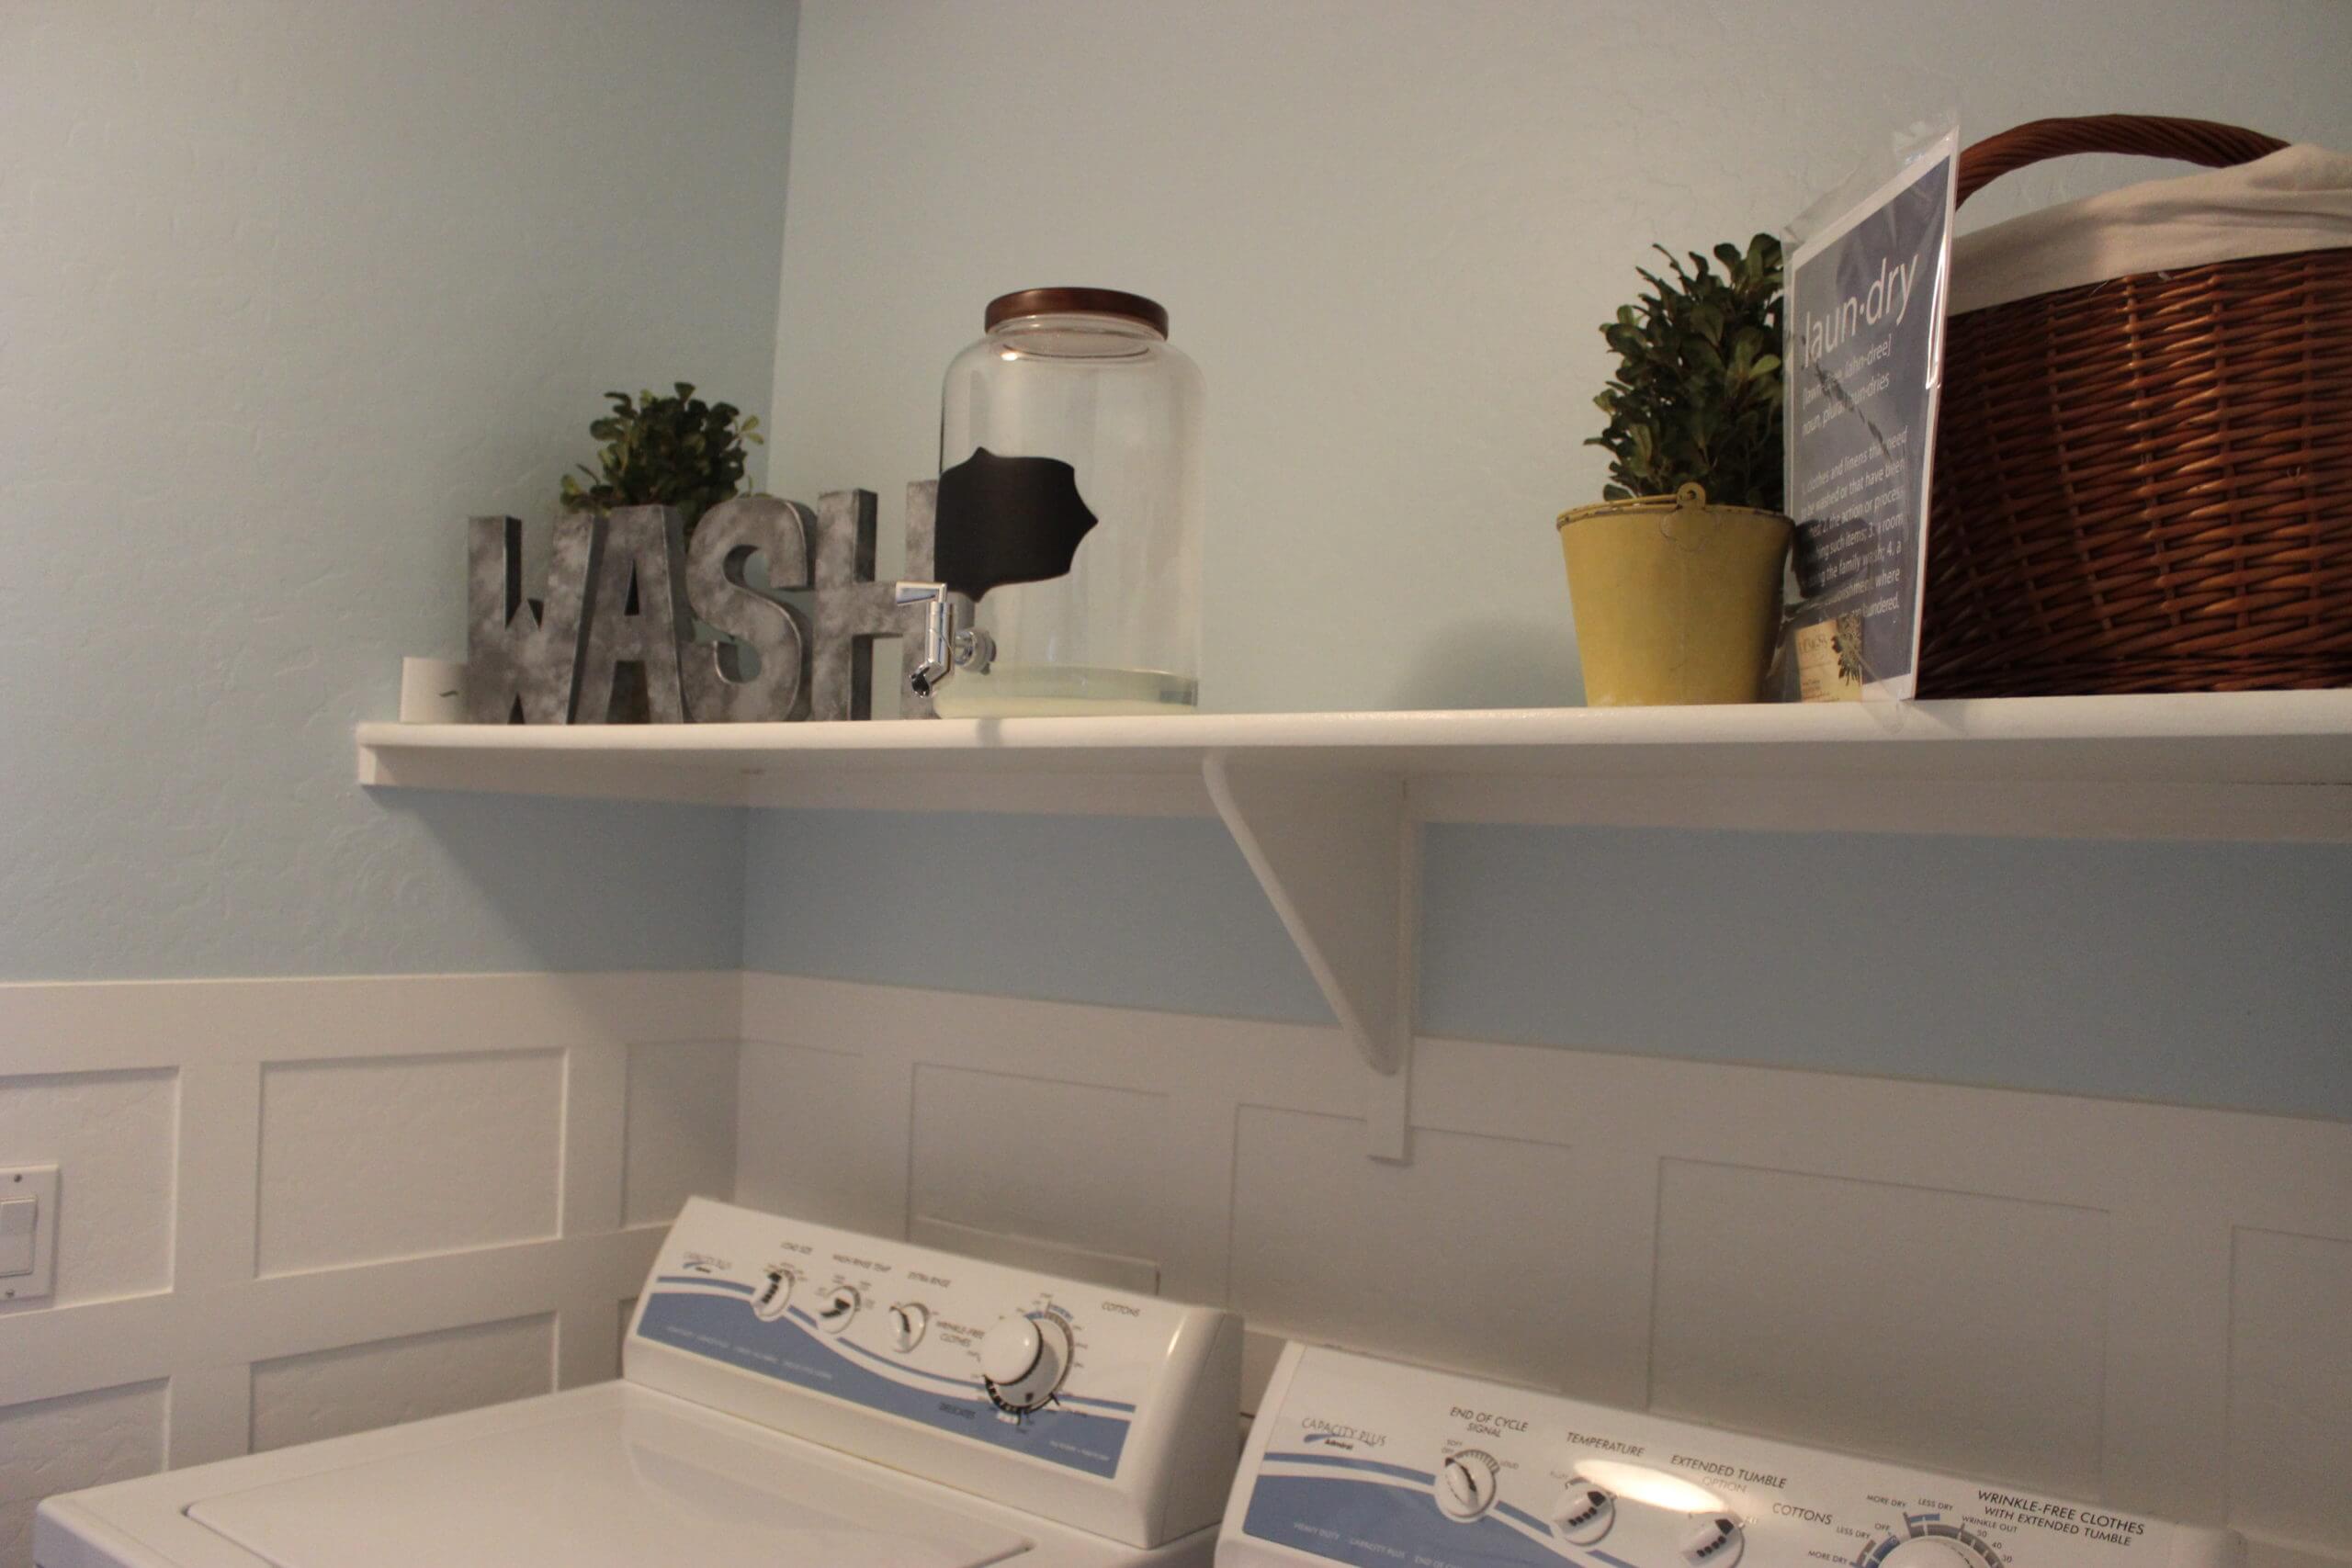
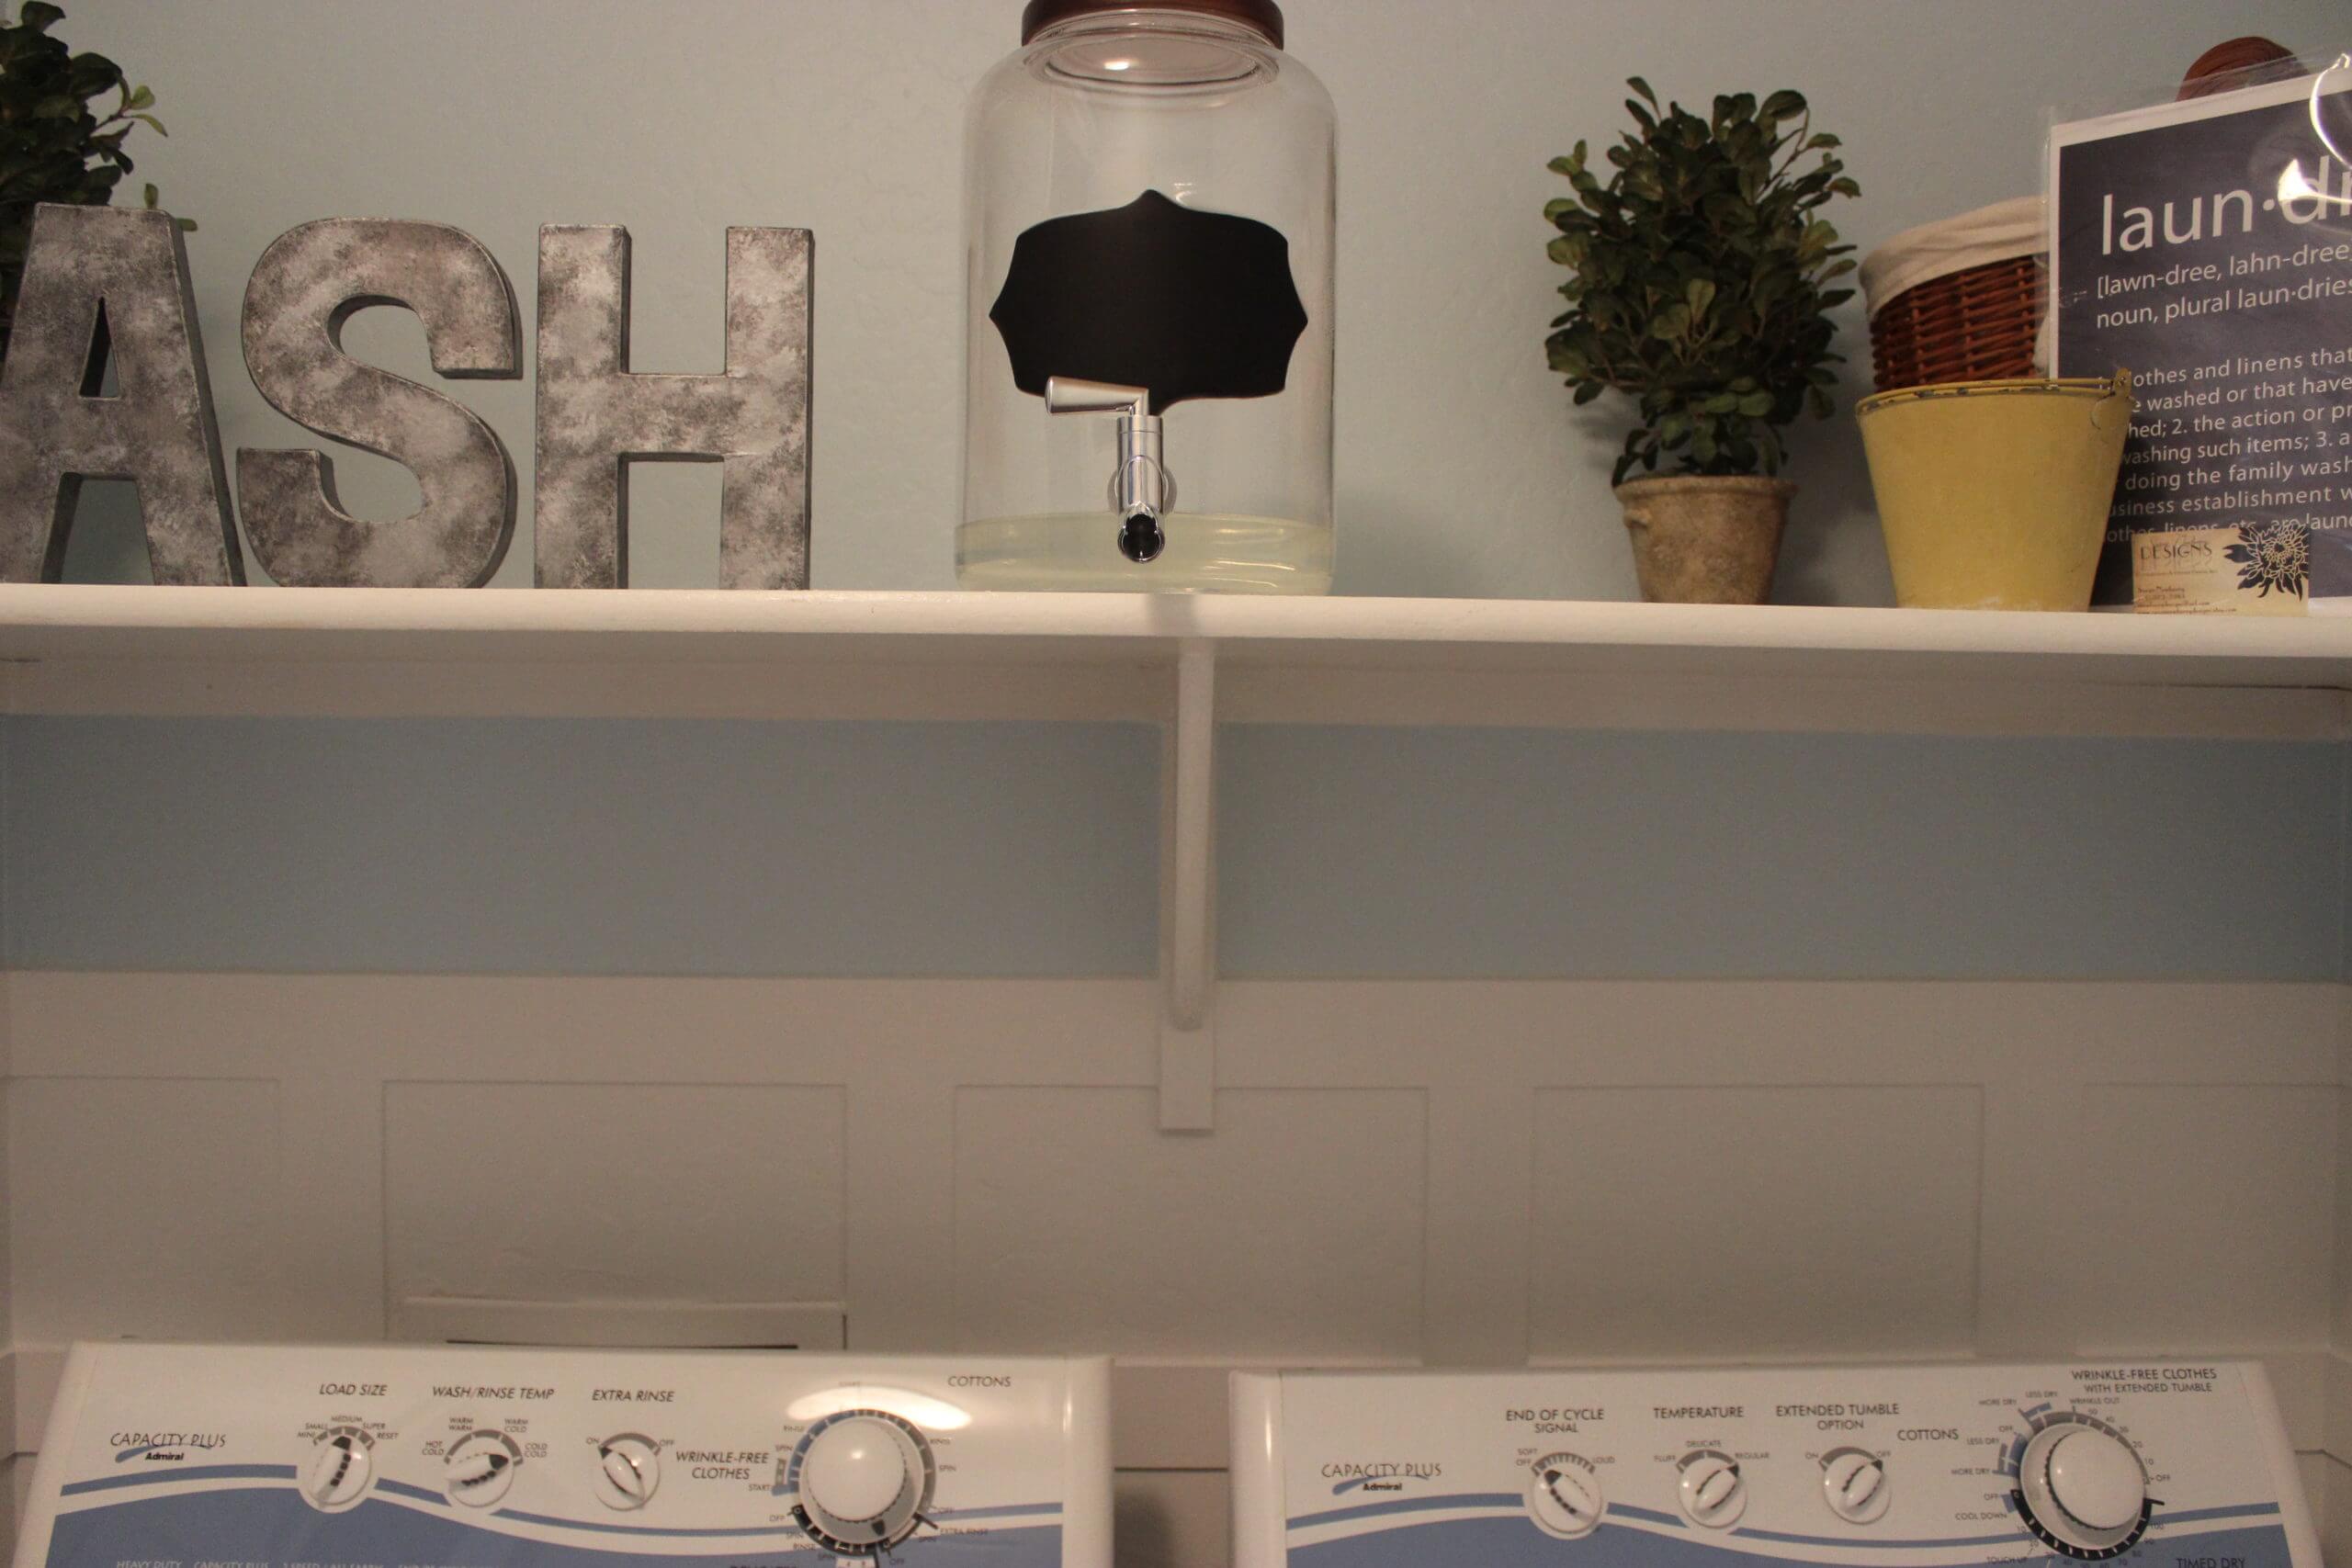
WASH Letters: The Ellison Shop on Etsy
Laundry Chalkboard Sign: Susan Newberry Designs
Soap Dispenser: $5.98 Target – Clearance baby!
Our process:
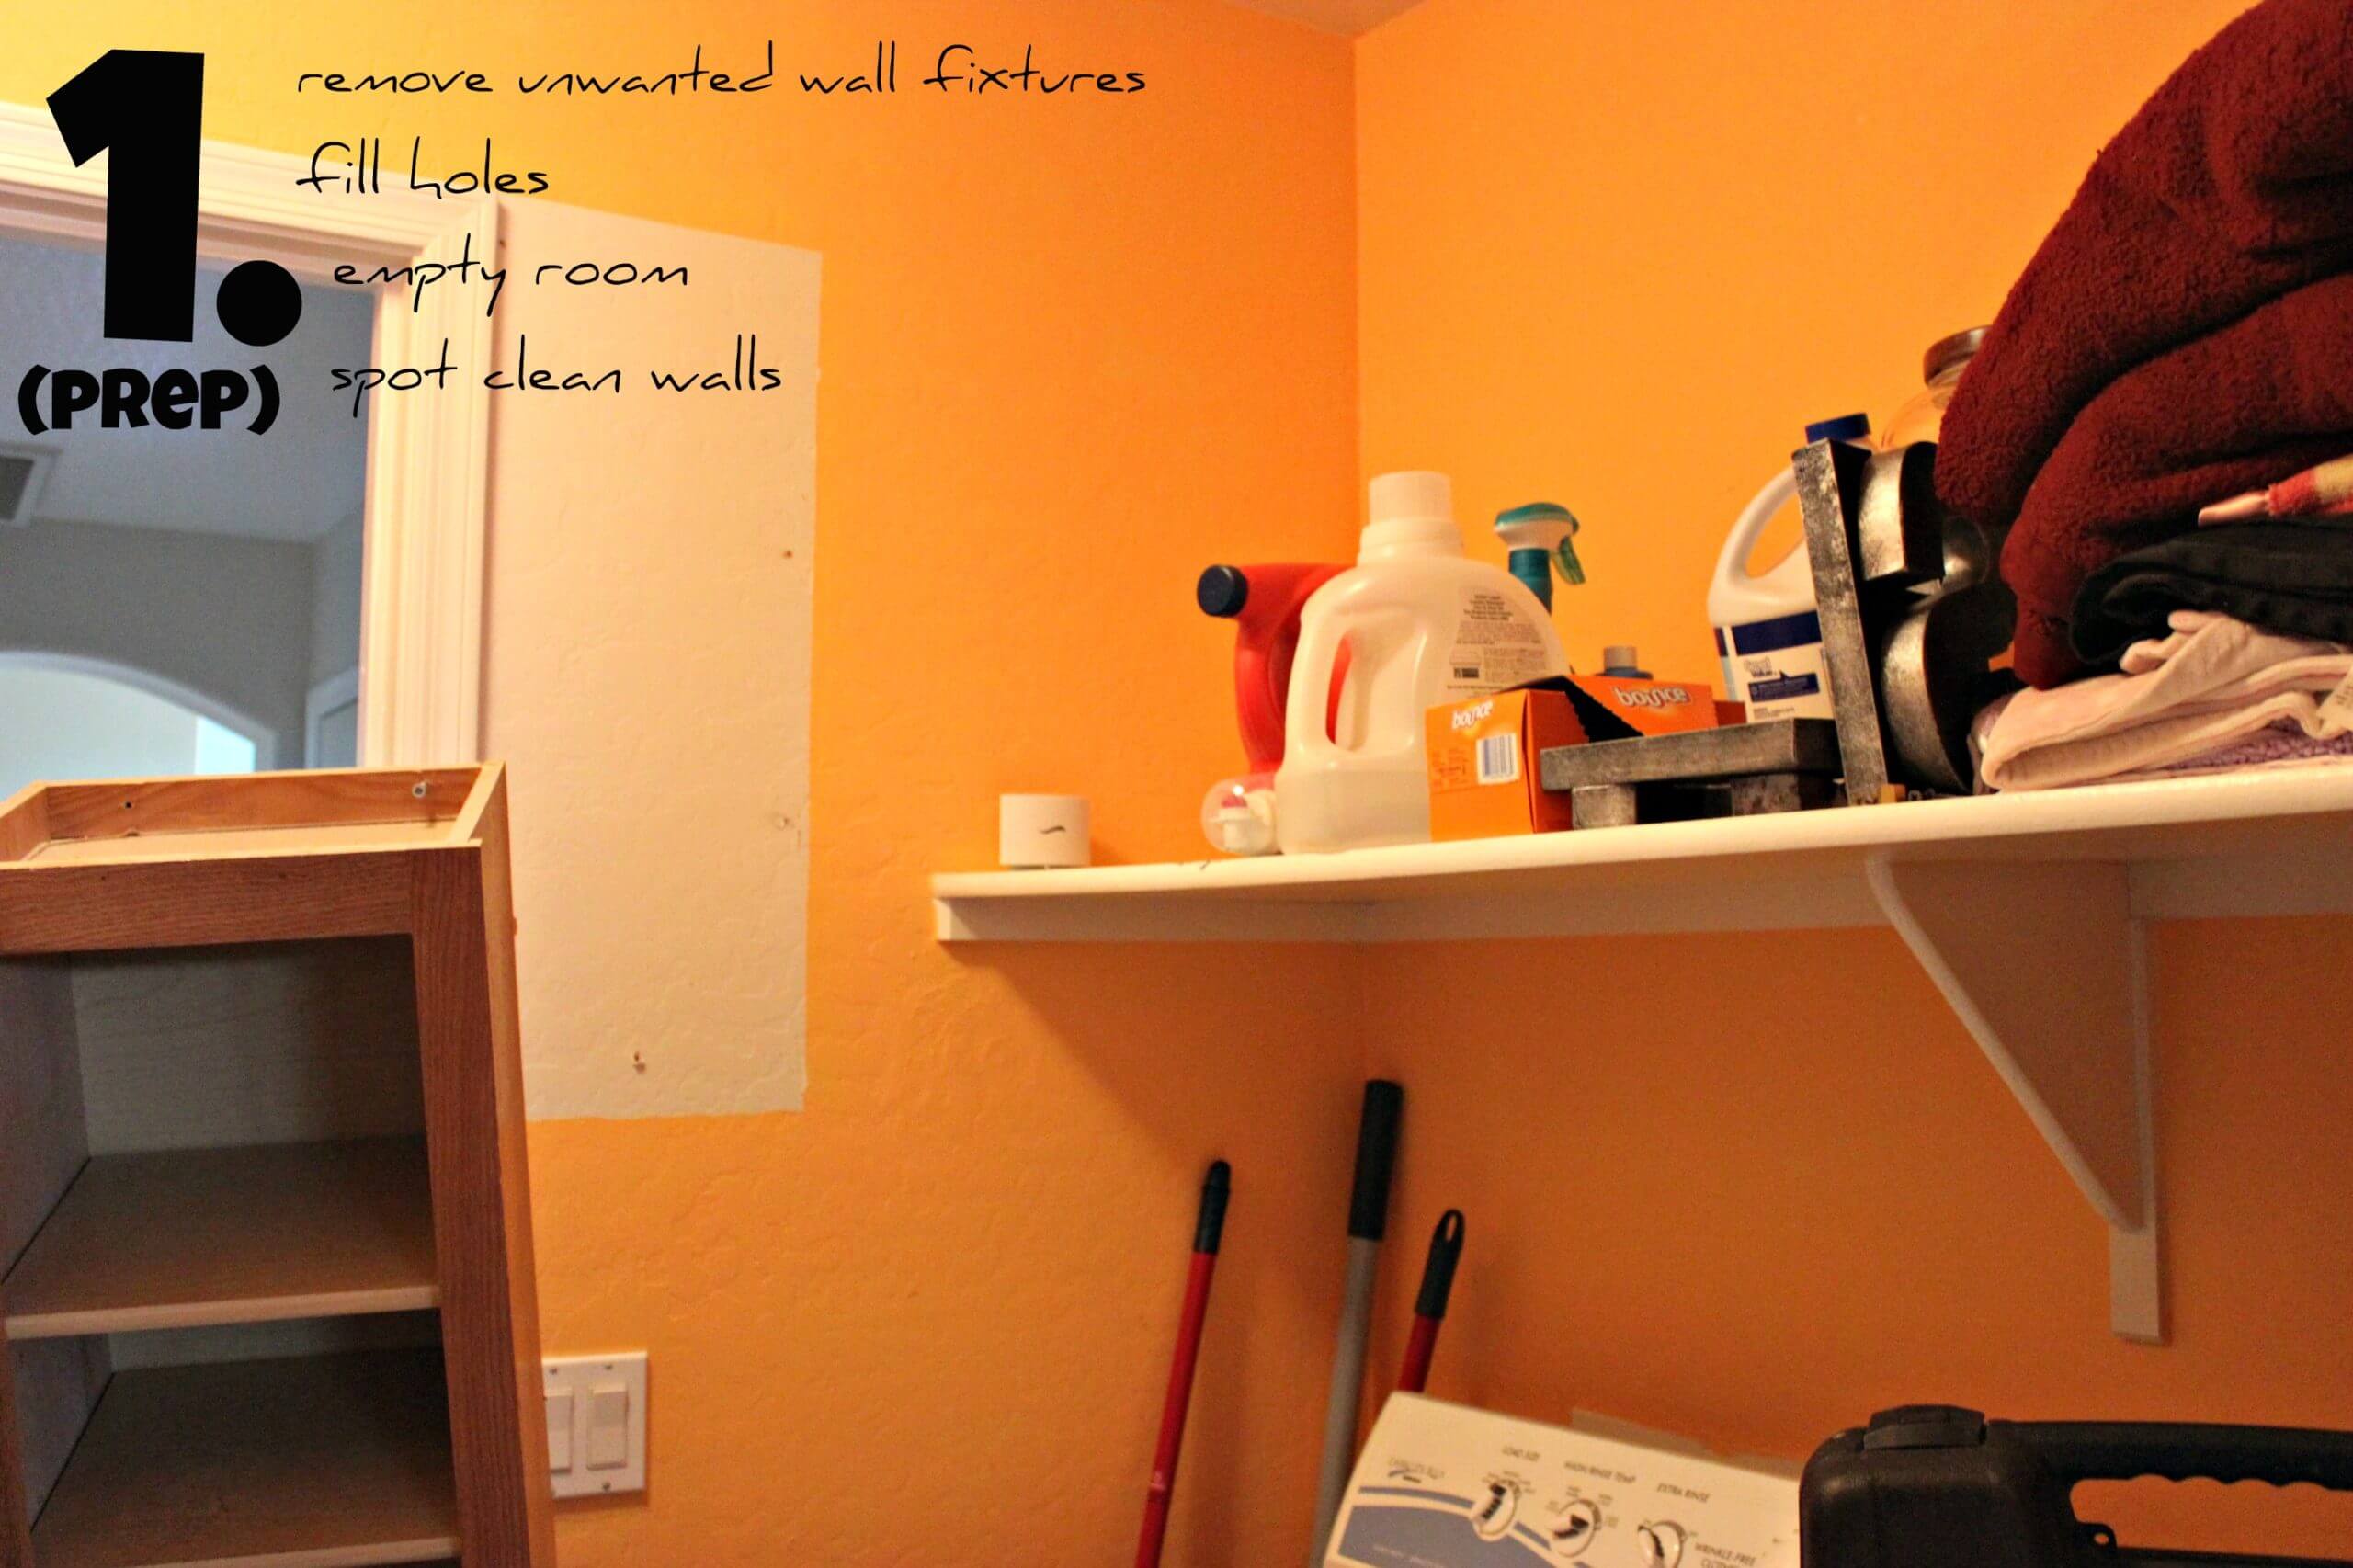
// The laundry room had a little cabinet that we didn’t like. We’ve both hit our heads on it, I’ve walked in with Presley on my hip and slammed her into it. So, we knew we wanted it OUT. Only 4 screws held it in so we pulled it off the wall, filled the holes & the room was instantly bigger. Then we took out the washer/dryer – found a new location for all our bedding & temporarily put all the wash supplies in another room. I spot cleaned some spots on the walls, washed the baseboards and wiped down the doors so they were all clean and ready to be painted.
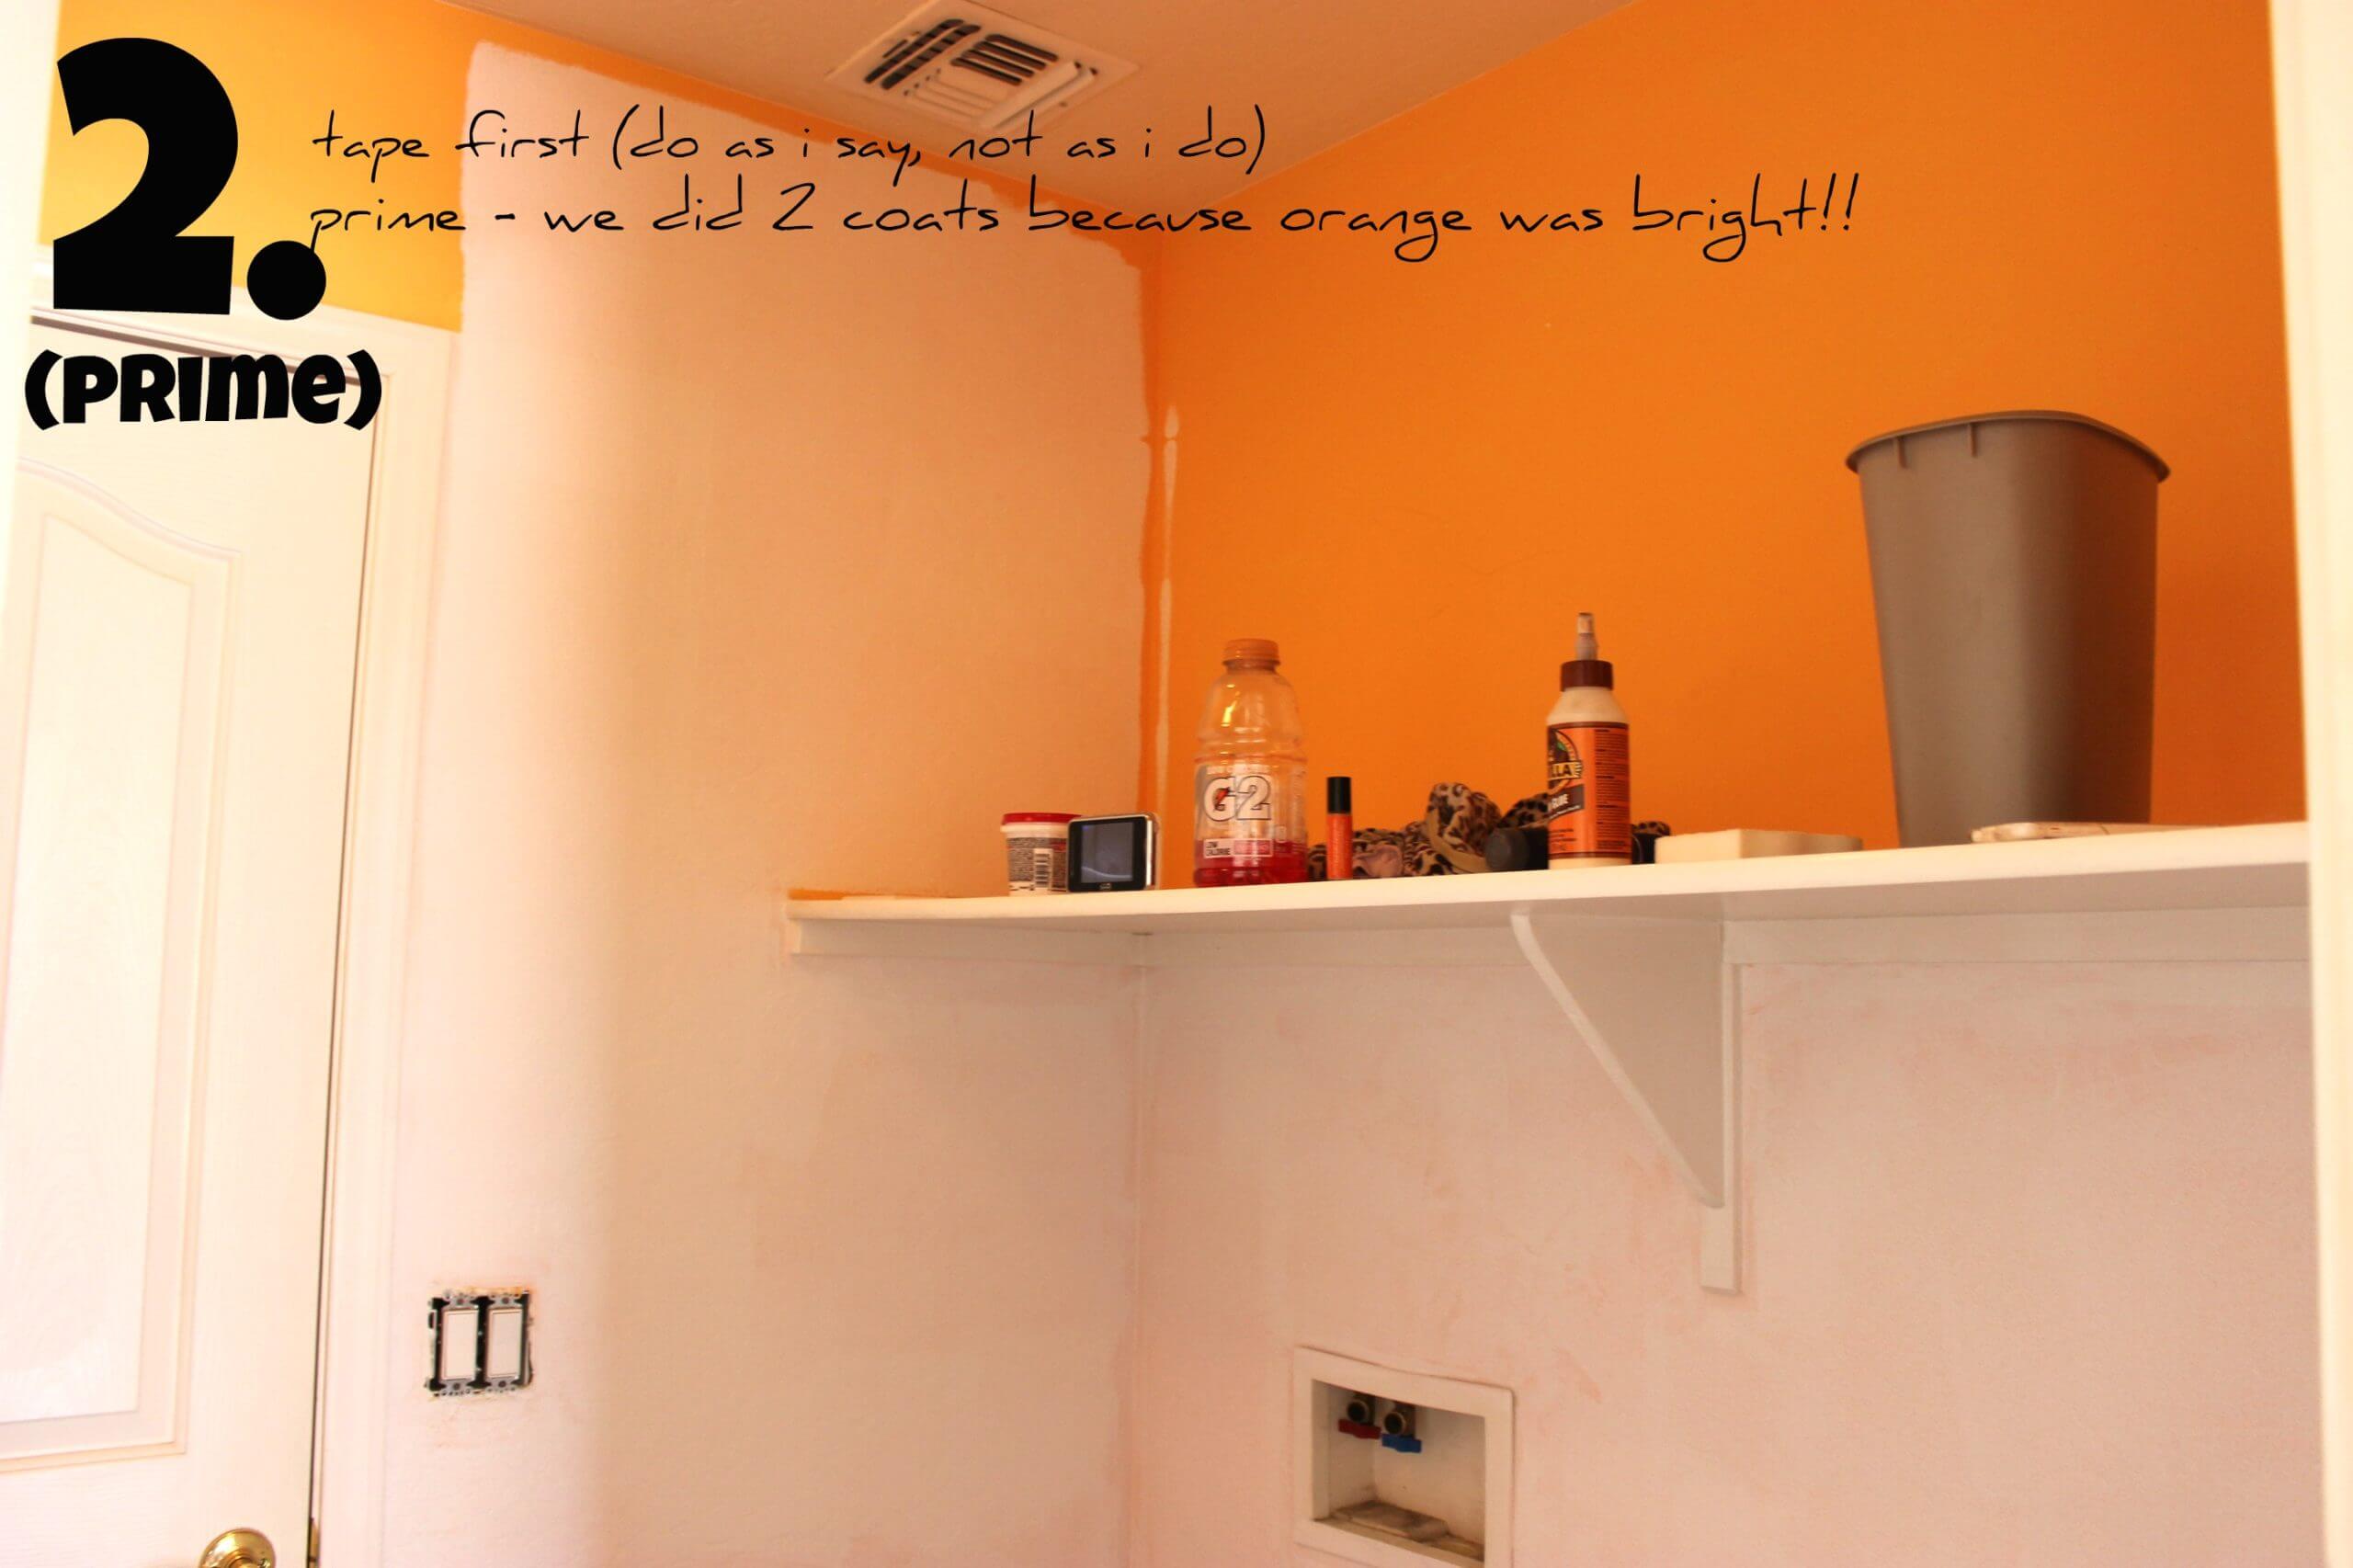
// Taping has to be my least favorite part of painting. But, I did tape the entire room right after this picture. We used a primer to cover over the bright orange & did 2 coats of it to make sure it wouldn’t show through the white/blue colors we planned on painting.
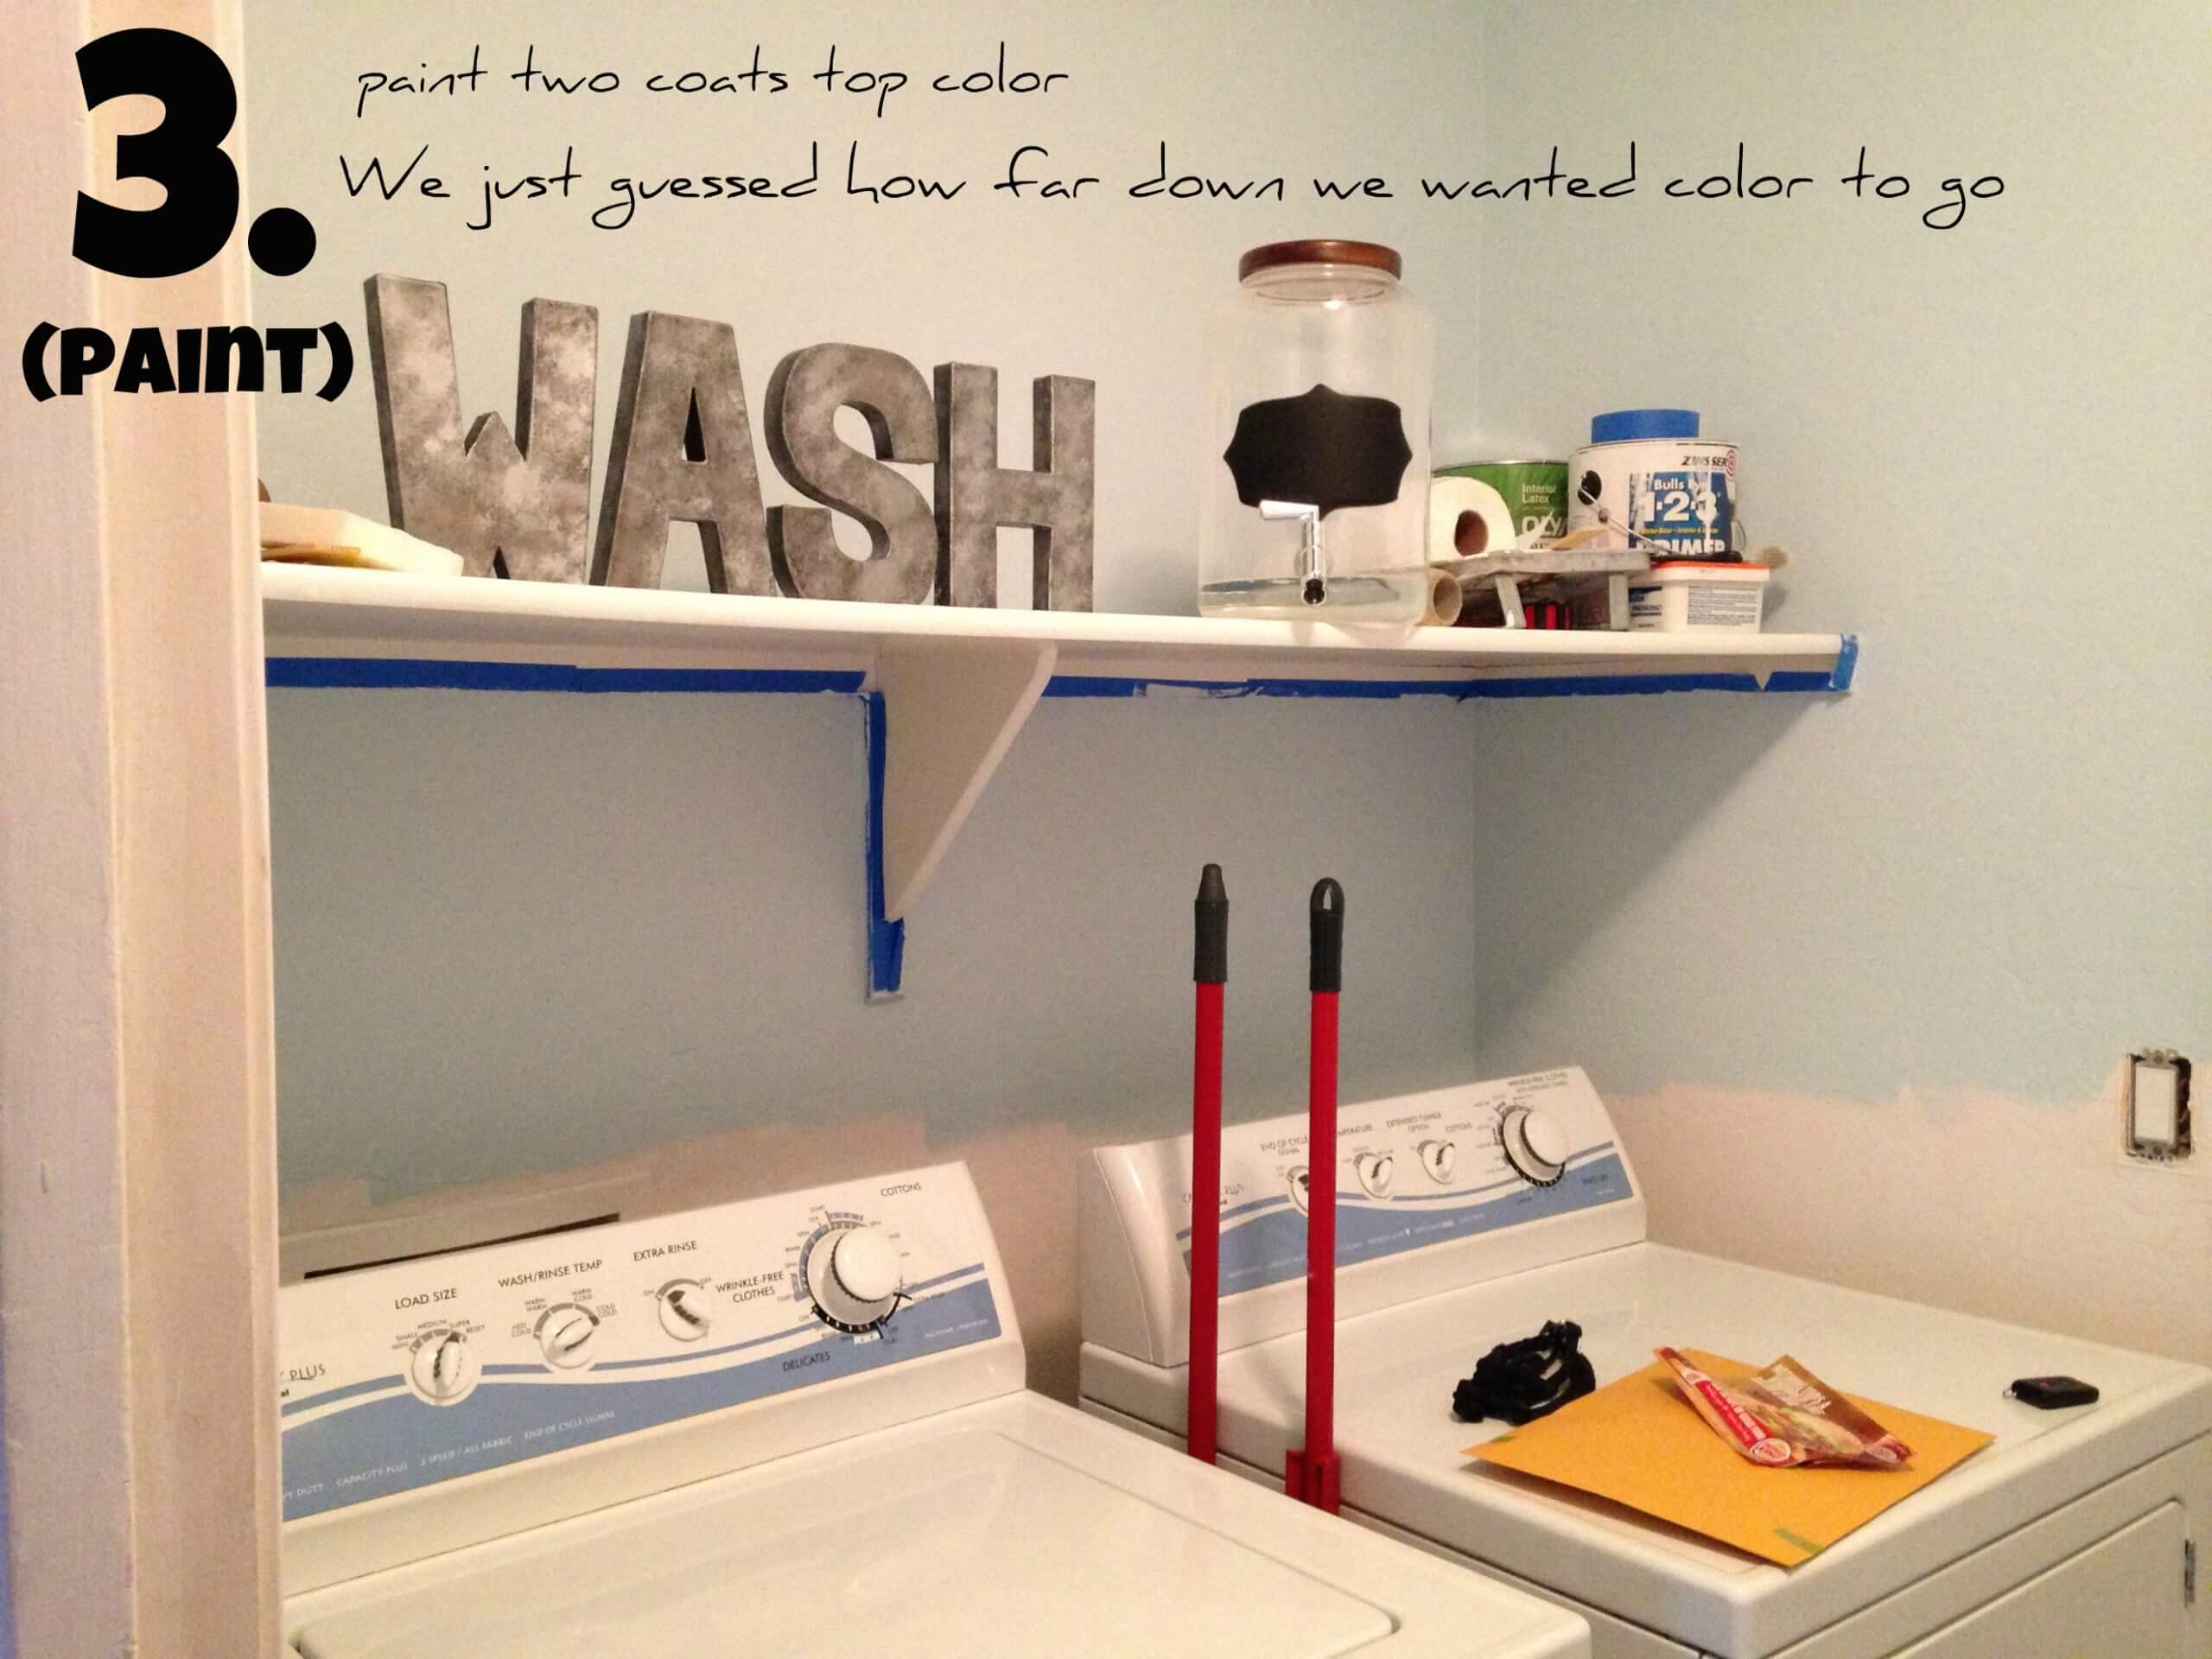
// Next we painted the light blue color on the top portion. I originally just bought 1 pint of the paint & then decided to go get another pint to do a second coat. Happy with the decision, but it was an extra $10 so I was bummed at the cost. Presley and I were leaving for Nebraska so we had to put the Washer/Dryer back into the Laundry room & postpone our makeover for a few weeks until we got back to Arizona.
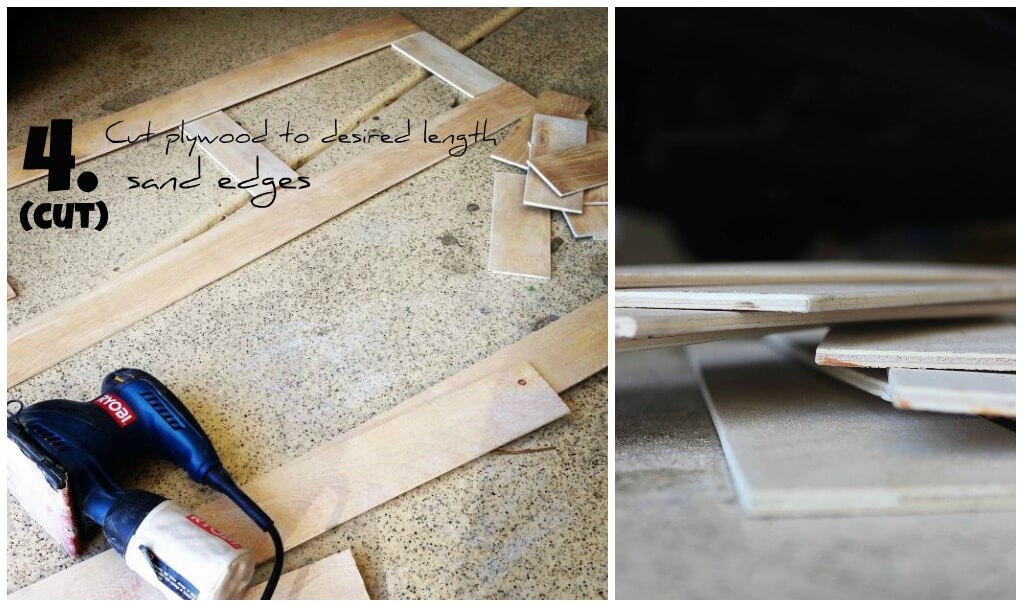
// We purchased a large piece of thin plywood (Which the Lowe’s employee told us would not work for wainscoting but it was cheap and worked out perfectly). It was $19 & we cut it out home with a skill saw that Chad owns. Lowe’s/Home Depot can cut it for you, but after a trillion cuts might get kind of pricey. After cutting and laying out all the pieces, we hand sanded all the edges, with a hand sander & by actual hand (which took an entire day!) so that they would be soft and splinter free when we put them up on the wall. Chad calculated the spacing and all the cuts, it probably would have taken me weeks to make sure everything was even – so I let him take care of that part.
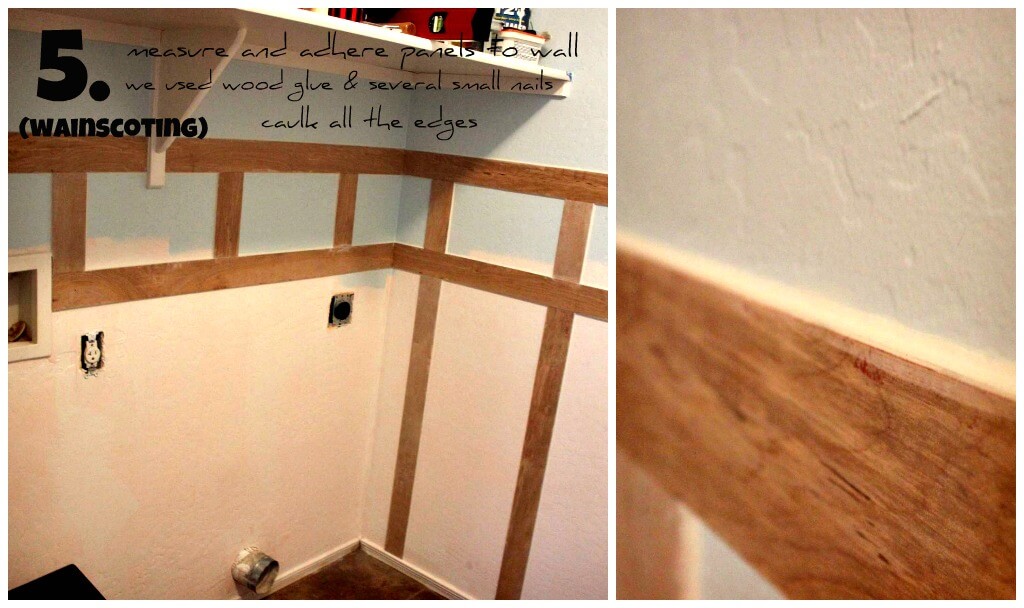
// This was by far the most consuming portion of this remodel. Cutting the panels, sanding them, and then measuring and getting them up took an entire week. (Try doing this while juggling Presley was the problem). We didn’t put vertical panels behind the washer/dryer because they would never be seen – we decided to make it a little bit more intricate (and complicated) by making a square design at the top. We then used a caulk gun and added a thin line of caulk on every side of the panel to make sure they sat flush and lined up perfectly with the wall.
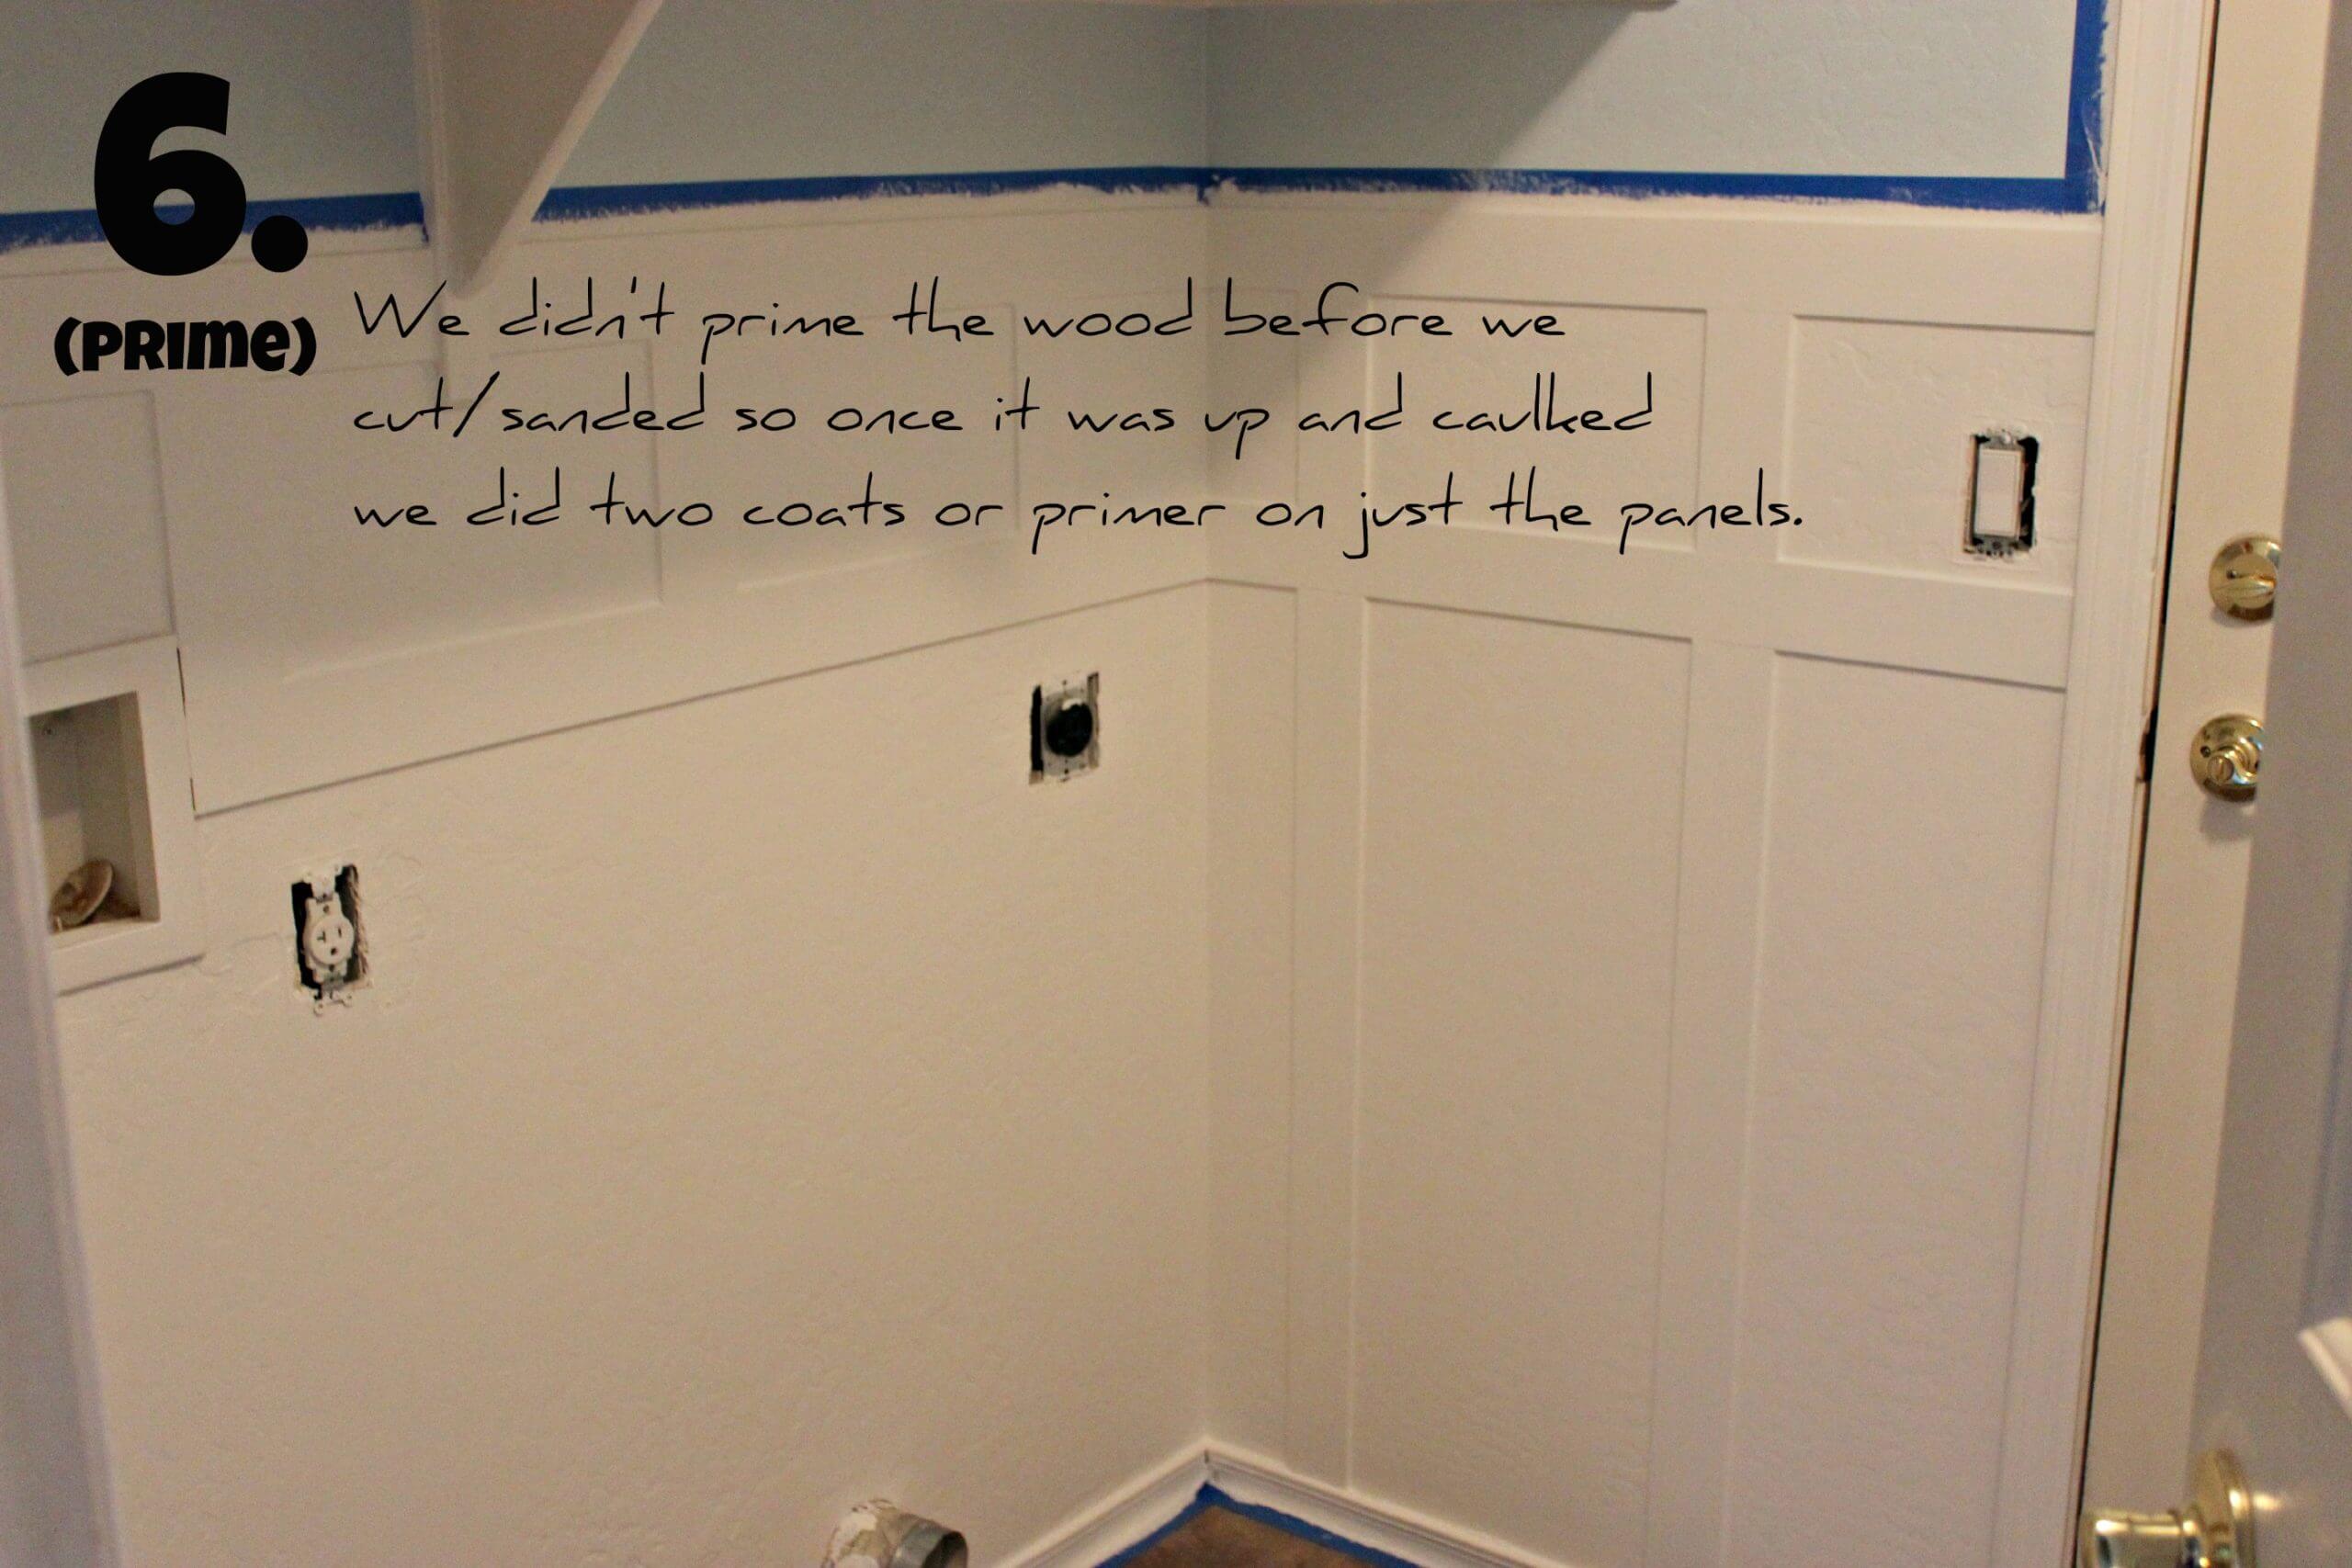
// After we let the caulk dry for 24 hours we applied two coats of primer on the plywood panels so that they were the same color as the walls – prepped and ready to be painted white. At this point, I noticed how cream the door to the garage was & convinced Chad to let me paint it one so that it would match.
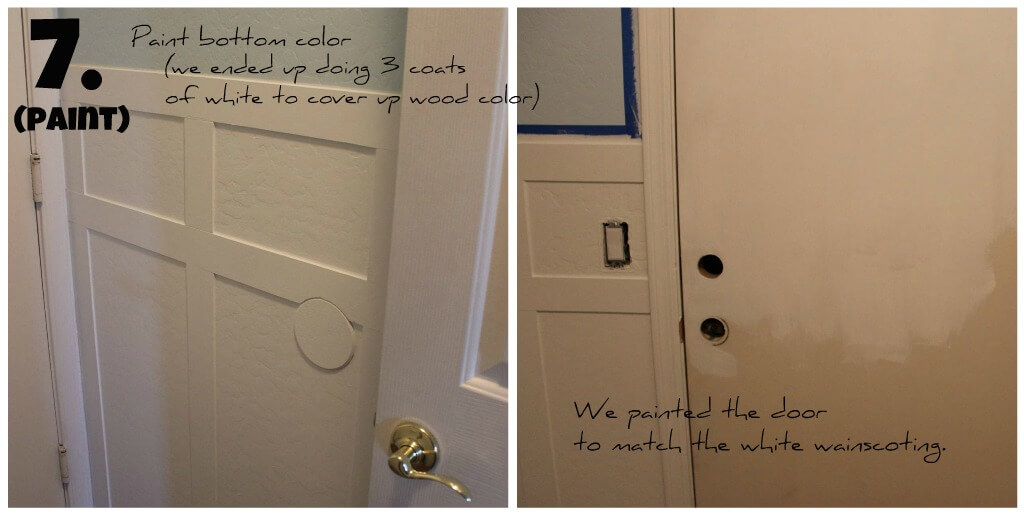
// It took 3 coats of white paint to cover the wood panels, even after the two coats of primer! Those walls are white, white, white!!! The cream door was bothering the crap out of me sitting between the white paneling on either side (and after all your support on my Instagram post) I decided to just paint it white! It took 2 coats of very careful painting – so there weren’t any brush strokes. But I am so happy I took the extra time to do it!
Then BAAM. I was done.
Well, almost done. I have one pallet + Silhouette cameo project to put along the shelf in the back & I want to find a rug for the floor – but I am ecstatic at how it turned out. It looks so clean & fresh & I kind of just want to do laundry all day long.
What do you think? Not bad for a cheap renters remodel right?

Your laundry room looks wonderful. I love seeing good design on a budget! Great job and thanks for displaying my Laundry print. 🙂
Thanks Susan! I love your print & just need to get a frame for it! Just finishing up a few details and we will get YOUR post up! 🙂
Excellent advice – I’m currently a renter but also a big DIYer and a little obsessed with how my place looks. I want everything to be perfect, but me and my landlord have different ideas on that. 🙂 this is a beautiful, affordable makeover!
I am the SAME way! It drives me nuts how the old owners painted – I want to just redo everything! I have to remind myself to not put toooooo much effort into the house because it’s not mine to invest in! Thankfully our landlords have pretty good taste – bummer about yours! Keep me posted on any changes you make, I want to see!
It looks AMAZING, Tausha! I love it 🙂 You are so crafty!
Haha, not really! This was pretty stinking easy – and I made Chad do all the hard work! 🙂 Thanks though!
Love it! What a fun makeover. I was thinking about putting some more work into our rental…but we’ll be here less than 6 months and I have my first baby due in a couple weeks. I’ll just keep pinning for the house we’re buying….
Oh ya, I wouldn’t do anything to a place with only 6 months! We’ve got 3 more years in our place so we figured we might as well make it feel like home! I can’t wait to see that little baby of yours! You are SO cute pregnant!
LOVE LOVE LOVE. Seriously, so awesome!!!!
This is so cute!!! 🙂 We’re doing something similar on the walls in our front room 🙂 I’m excited to see how it looks when we’re done!
It looks really great! Y’all did some great work on a little money (my favorite!). I really love those WASH letters.
So cute!!!
This turned out soooo amazing! I want you to come decorate my house {and by house I mean apartment that I can’t actually decorate :-/}! And seriously, you have skills decorating on a budget!
Ah! This is my first time seeing it. It looks so lovely. I love the look of the WASH letters with the calming blue color – and great idea with the cute detergent dispenser. You’ve inspired me to show my laundry room some love, now!